

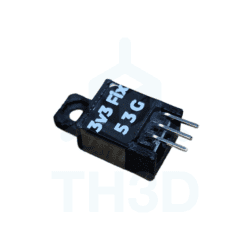
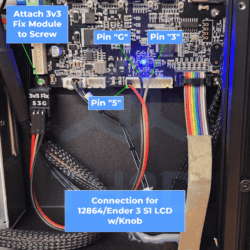
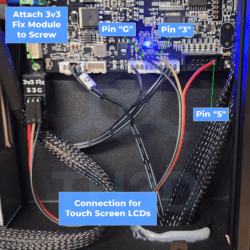
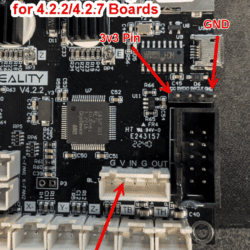
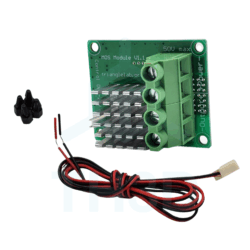
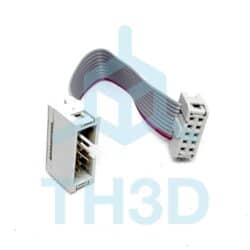
3.3V Fix Kit for Ender 3 S1 & Ender 5 S1 Stock Boards, V4.2.2, and V4.2.7 Boards
$4.99
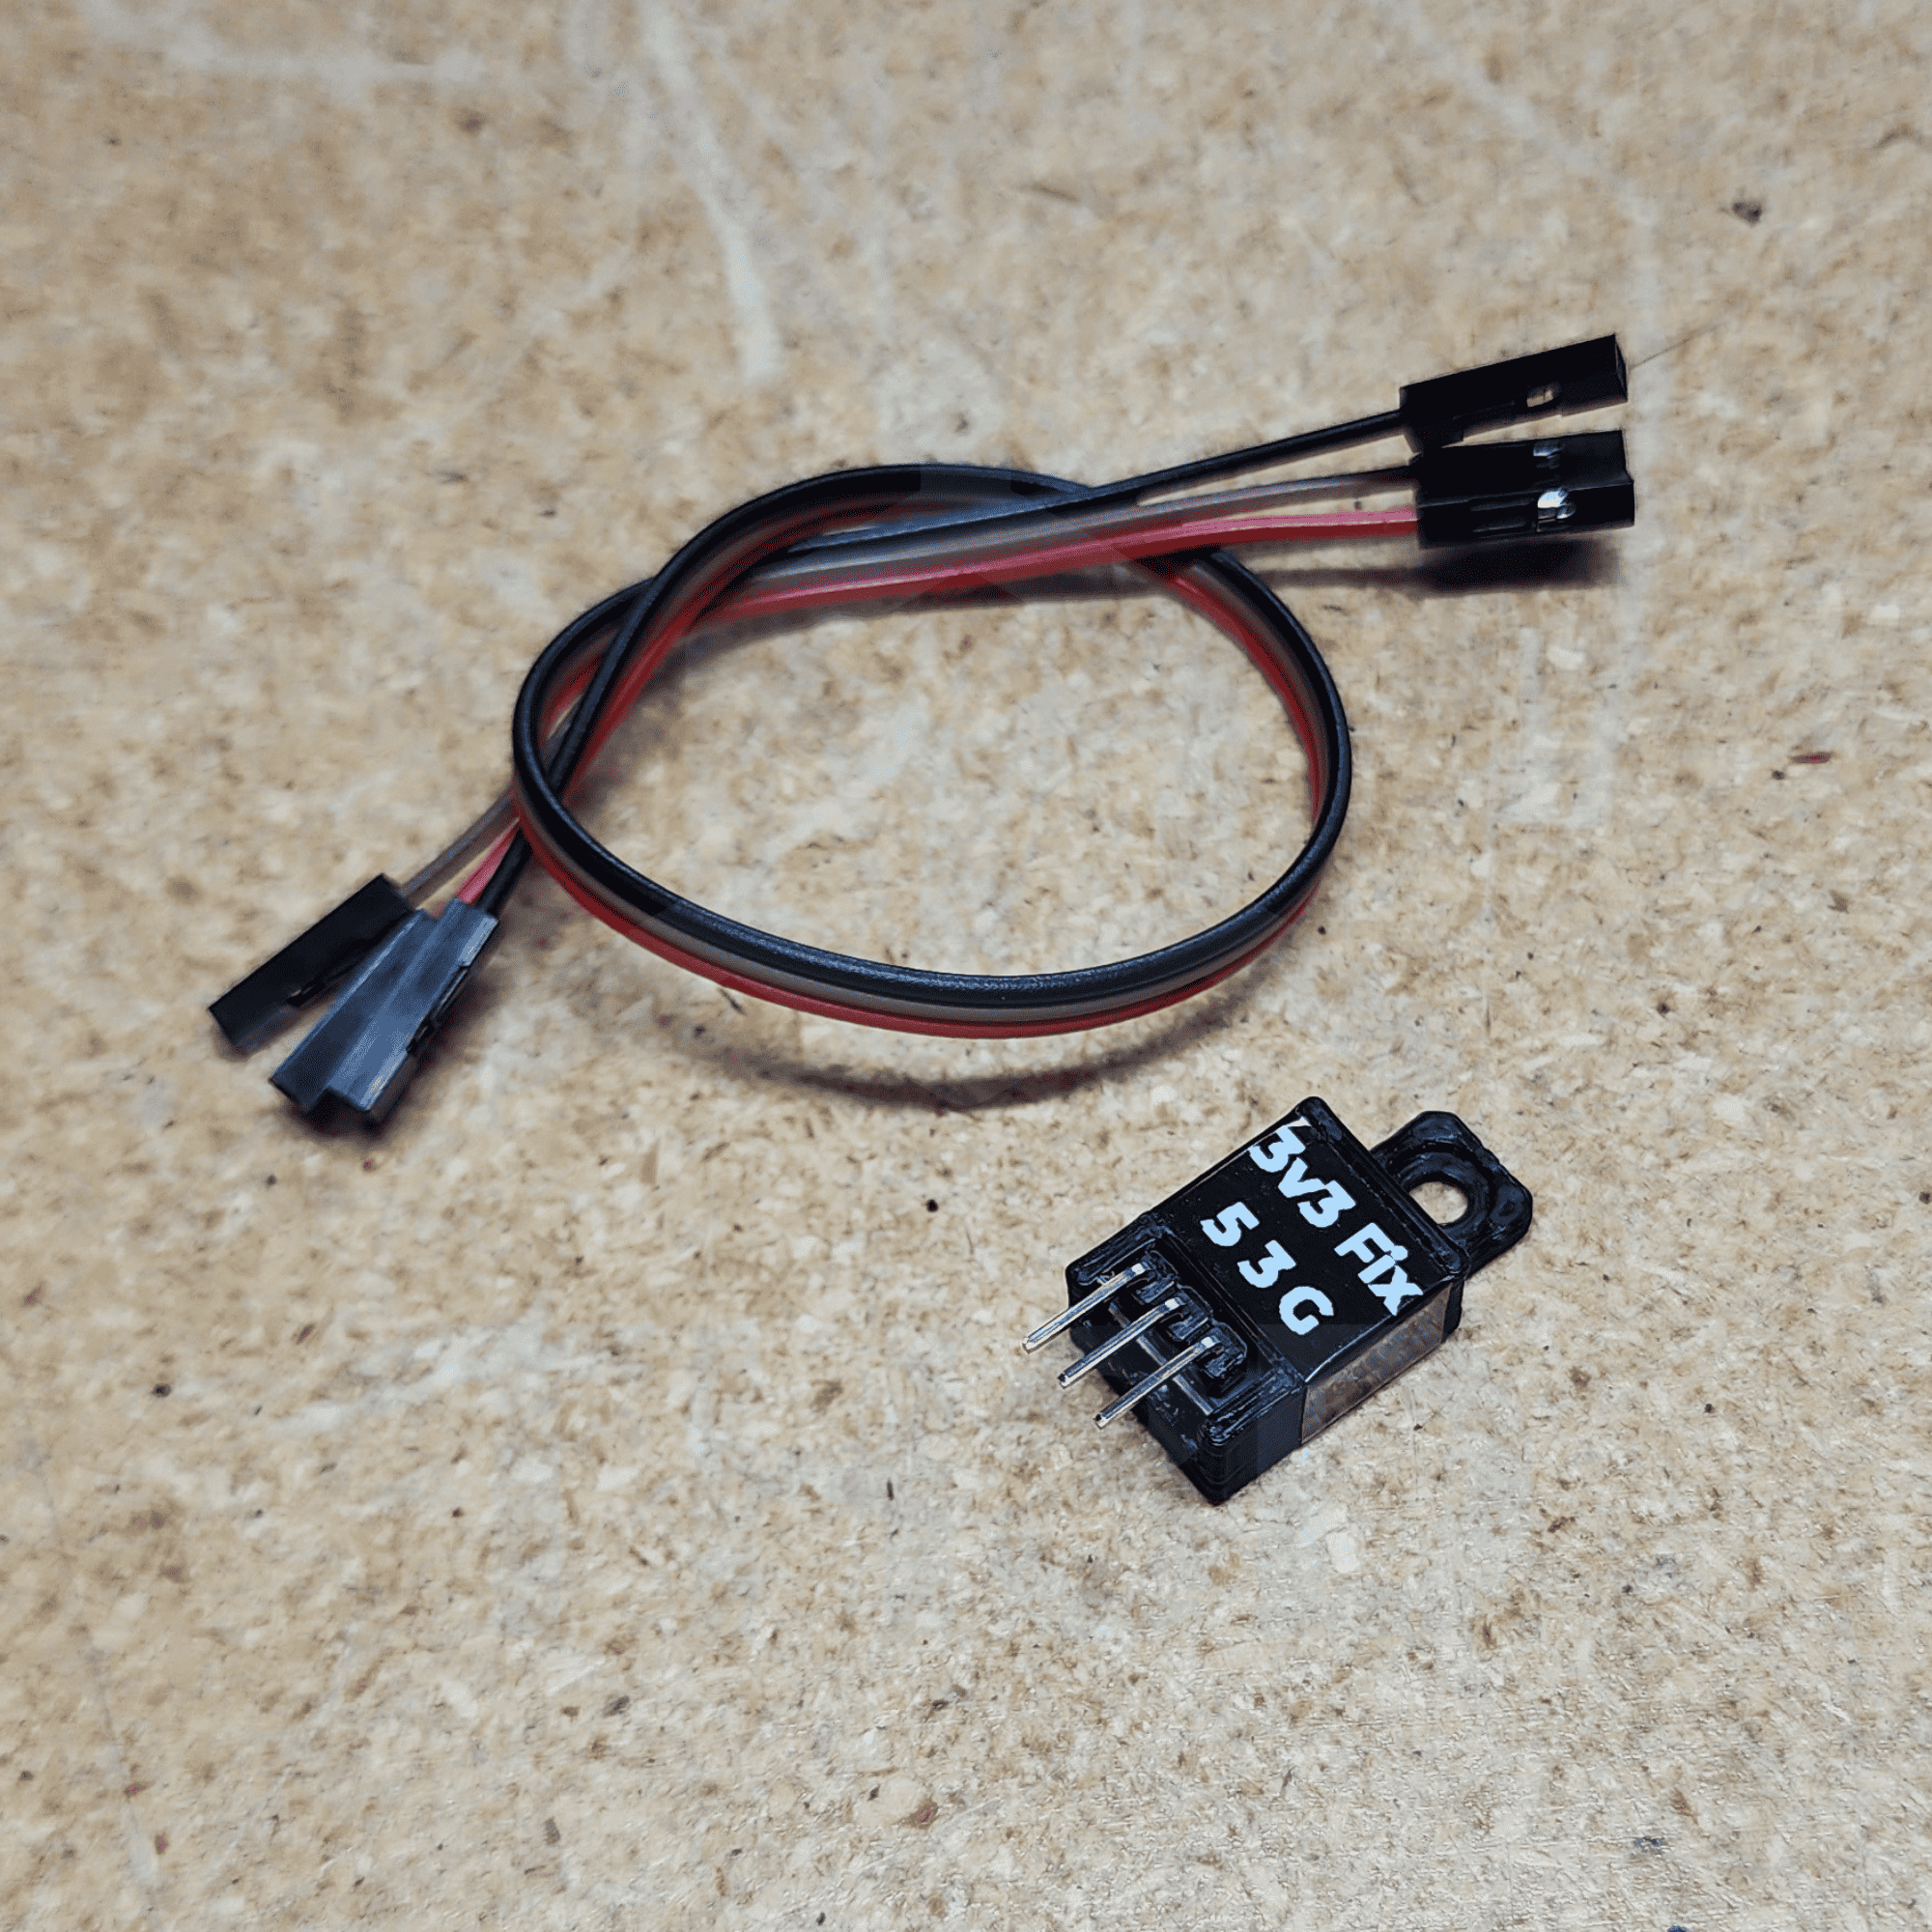
Having LCD corruption issues (weird characters, chinese text, etc), temperature stability, or general stability issues? This kit aims to fix the low 3.3v rail on these boards that cause problems. No need to replace the control board, just add on this little kit we made and get back to printing!
Not sure if you need this or not? Read the support portal article linked below.
In stock
Usually ready in 1 hour or less - See how it works | View on Google Maps
Description
🔧 Need Help?
Find setup guides, troubleshooting tips, and more in our Support Portal.
📖 Check it out here: View Documentation
DIY Pricing: Support Not Included
To keep our part prices as low as possible, this item does not include technical support.
Need help installing or troubleshooting?
We offer paid Priority Email Support and Live Expert Consultations starting at just $35.
Reviews (3)
3 reviews for 3.3V Fix Kit for Ender 3 S1 & Ender 5 S1 Stock Boards, V4.2.2, and V4.2.7 Boards
Add a review
Additional information
| Weight | 2 oz |
|---|---|
| Dimensions | 1 × 1 × 0.5 in |
| Made In | 🇺🇸 USA (with 🇺🇸 USA and 🌎 Global Materials) |
| Warranty Length | 6 Months |
Related products


Traver Bays (verified owner) –
Exactly as described. It turned out to be a grounding issue after updating to dual z on ender 3. Had to move psu. Which resulted in no ground to the frame. Installed ground to frame and bingo.
Frank McCool (verified owner) –
Everything was packaged very good, fast shipping. I tried all the mounting options that came in the package. I have an Ender 3 S1 Pro printer, this printer is in a enclosure, which I wanted the screen outside of the enclosure. I made a simple bracket to mount the screen, everything works perfect