Compatible Machines:
- CR-10 & CR-10S – ALL Sizes
- Hotend and control box
- Wanhao Duplicator i3
- Hotend and control box
- Anet A2/A6/A8 series and E10/E12 series
- Hotend
- Alfawise U10
- Hotend, Layer Fan, and Control Box
- Ender 2
- Hotend and Control box fan
- 4x M3x16 Screws needed as the stock fan in the control box has recessed screw holes.
- Hotend and Control box fan
Installation Notes:
- Be sure to check the polarity on the wires you are connecting our fans to. Typically red is positive and black is negative but some of the Chinese printers do not adhere to these standards.
- There is no list of what machines use what as it can vary from model to model and we have even seen differences in wiring colors used in the same printer models.
- Our fans use red for positive and black for negative. You can verify polarity with a cheap $10 multimeter from Amazon or you local hardware store.
- If fans are shorted out/killed due to improper wiring this is NOT covered under warranty.
- Some Creality machines have been reported to have larger size metal screw standoffs. If your fan holes do not fit over them please see this article to make the fan fit correctly while still using the stock screws.
- Fan Mod Article: Fitting Fans to Creality Machines – Larger Metal Standoffs
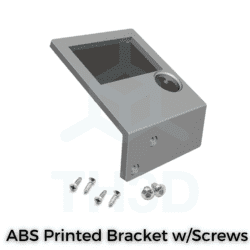
- To use in the rear in a CR-10 Control box you can either use shorter M3x14mm screws or print a spacer. Stock is 20mm thick and these are 10mm thick. Download the spacer here.
- Ender 2 Control Box – 4x M3x16 Screws needed as the stock fan in the control box has recessed screw holes.
- On some printers, the metal fan shrouds can amplify the motor noise of a fan. This is usually seen on the Ender 3/5 series with their metal fan grill that comes with the machine. The grill itself is easy to remove and takes only a few seconds to do. See this article for details.
Manufacturer’s Tech Specs:
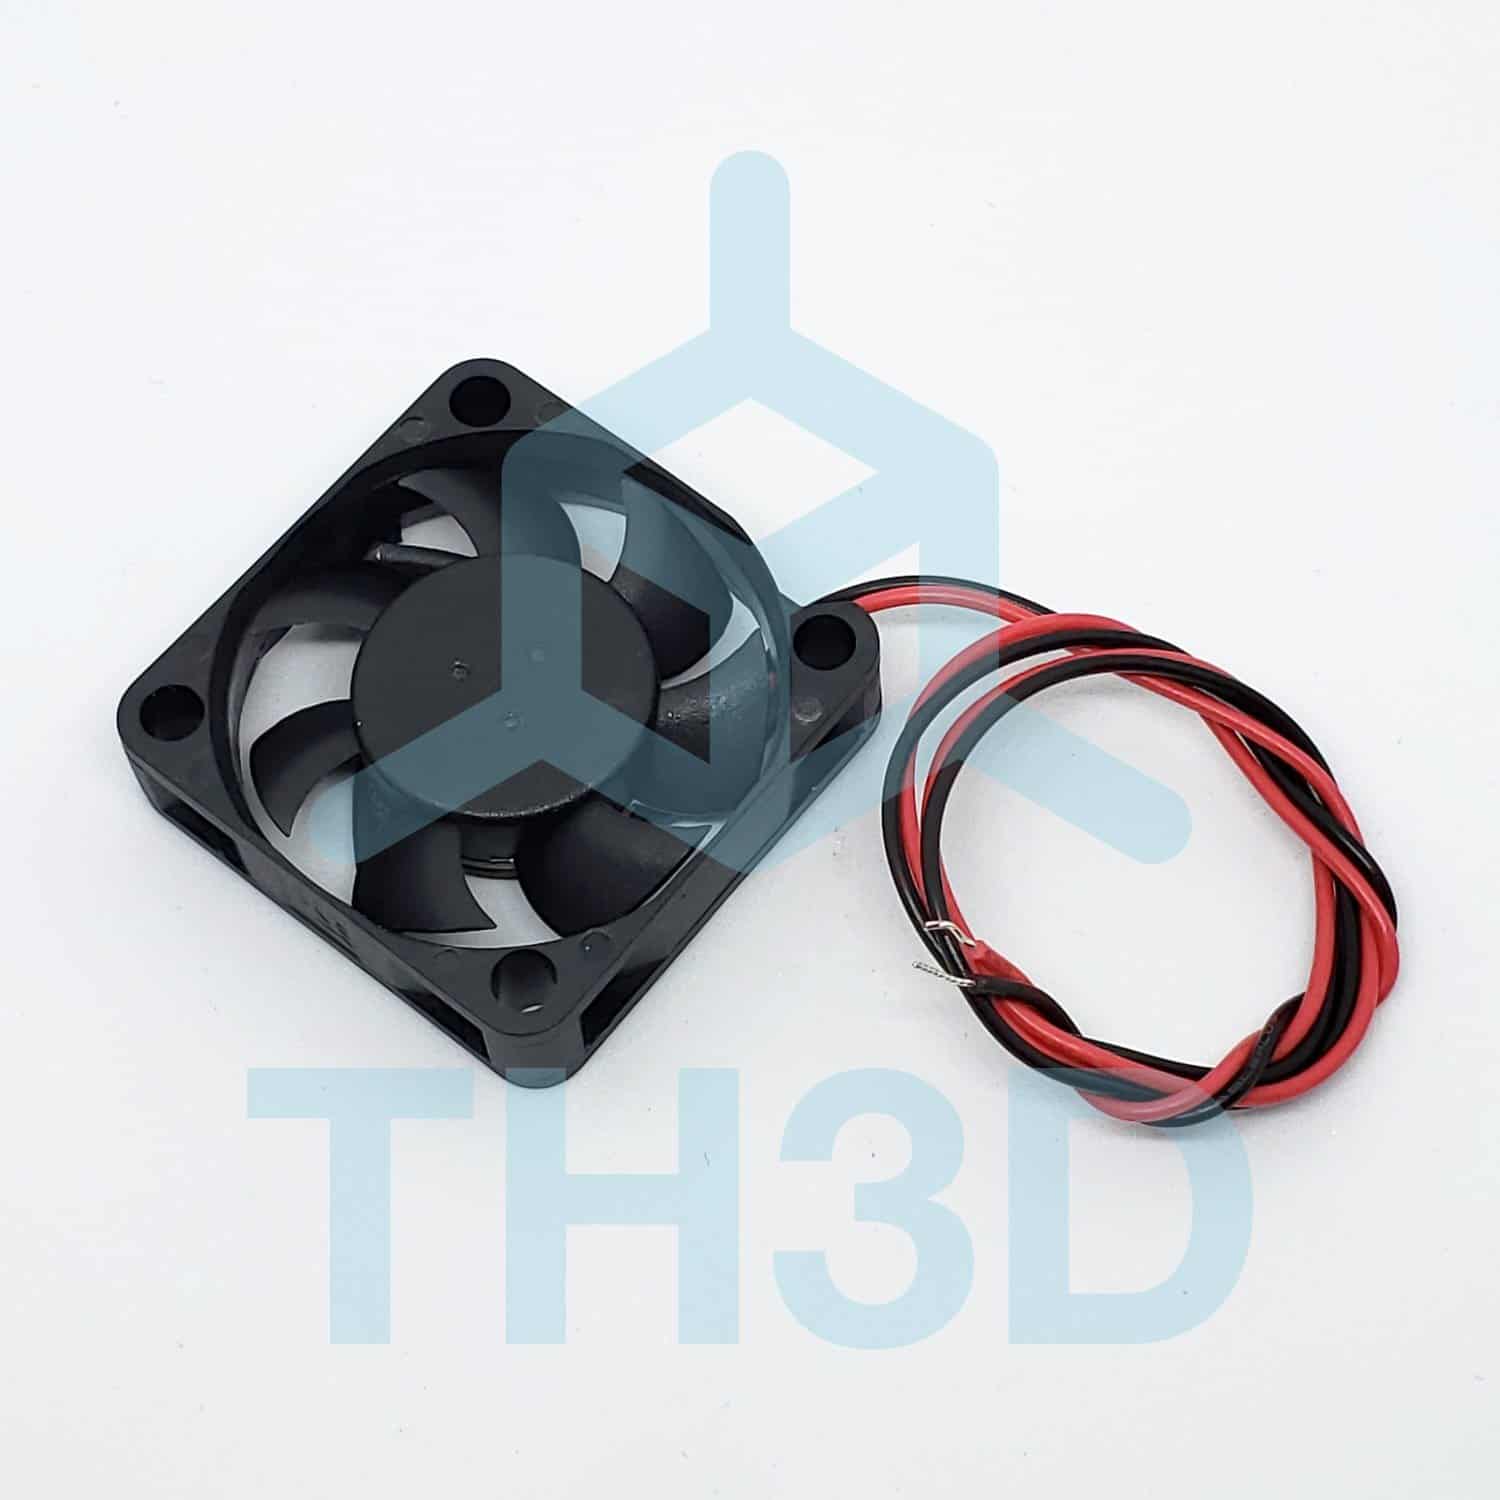
- Airflow: 5.4 CFM (0.151m³/min)
- Static Pressure: 0.090 in H2O (22.4 Pa)
- Noise: 20 dB(A)
- Voltage: 12V DC
- Bearing Type: CUI omniCool™
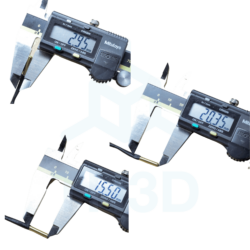
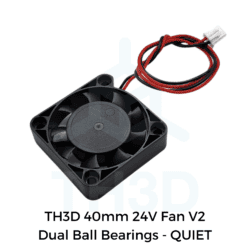
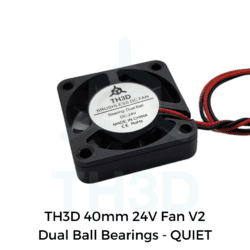
- Size: 40x40x10MM
- RPM: 5000
- Wire Length: 10″
- 2 “UY” quick connectors for solder-free installation
Quick Connectors Information
Please read our documentation on using the included UY connectors here: How to use our Fan Quick Connectors (UY Style)

DIY Part Fitment/Installation/Wiring
This is a universal DIY 3D printer part. That means it will work on almost any 3D printer, but you must know what you are doing.
Our technical support does not cover selecting/designing/assisting in firmware setup and/or 3d models to install this part on your printer. If purchased as part of a kit from TH3D for a particular printer, then it will be covered under the kit when using our firmware package.
Electrical replacement parts usually will require you to splice wires into your existing ones for the part you are replacing (soldering and heat shrinking wire splices is recommended for proper connection).
Some of our universal electrical parts come with bare wire ends or plugs on them. These ends may or may not directly plug into your 3D printer. If they do not, you will need to splice the wires into the existing ones on your 3D printer.
Warranty Information
3 Months Warranty - Our warranty covers any and all defects with the product. If your product fails or has problems within the warranty period you can contact our support team by using the Contact Us link.
Damage/Failure due to improper installation, improper usage, failure resulting from an issue with the machine the product is installed on, 3rd party products connected to our product, and/or modification of the product are not covered under warranty.
bktransactions (verified owner) –
Replacing the stock fans with this fan coupled with the other two really quieted down the fan noise from my CR-10 control box which was really annoying. I recommend buying the kit of three and saving some $.
(0) (0) Watch Unwatch
Tim Hoogland –
Thanks for letting us know. We’ll revise the file. It looks like the wrong one got posted. Our apologies.
(0) (0)
Gert Luyten (verified owner) –
Ender 2 note: make sure to purchase 4 x M3x16 bolts (so 4mm longer than stock) as you cannot use the stock bolts with the TH3D delivered fan. The stock Ender 2 fan mounting holes are deeper at one side to allow the stock bolts to slide in, the new Sunon fan does not have these.
(0) (0) Watch Unwatch
deleonc (verified owner) –
Purchased a used cr-10 had a nactua fan on the hotend, over time it would under extrude, replaced it with this 40mm fan and the issue went away.
(0) (0) Watch Unwatch
Question
Clifford Borowicz (verified owner) –
How does this work with an ender 3 which has a 24v power supply?
(0) (0) Watch Unwatch
Tor Blazeby –
It will not, you would need the 24v version, Here is the link https://www.th3dstudio.com/product/40mm-sealed-bearing-fan-24v-ender-3-tornado/
(0) (0)
ThierryC (verified owner) –
Used it to silence a CR10-S box, it did the job but was not easy to install.
First off, the UY IDC connectors are way to small to accommodate the fan wire gauge, there is no way to insert the wire to the end and if the wire is stripped, it does not hold inside. Second, the STL file for the spacer does not match the screw holders, the holes should be tampered on one side to help in positioning the spacer and the stock screws could be used. I tried to use 3×16 screws and they were too long so I went for 3×12 and it did the trick..
The noise coming out of the box is now divided by 2 which is good!!
(0) (0) Watch Unwatch
Question
Ryan Bolinger (verified owner) –
I just installed two of these fans to replace the hot end 4140 blower, have noticed that they only spin when at 100% power. I don’t think that is due to there being two rather than one though open to suggestions. I connected the black wires to the blue wire of the CR-10s and the red wires to the yellow wire of the printer. I used the M106 S100 for example to define speed and while I didn’t try every speed it didn’t spin at 200 but did at 255 and M106 without any options also spins it.
(0) (0) Watch Unwatch
Tim Hoogland –
We usually don’t recommend these for layer fan use, but you can use them with fan speed control if you enable the SLOW_PWM option in Marlin or if you are using our TH3D firmware enable the “FAN_FIX” option.
(0) (0)