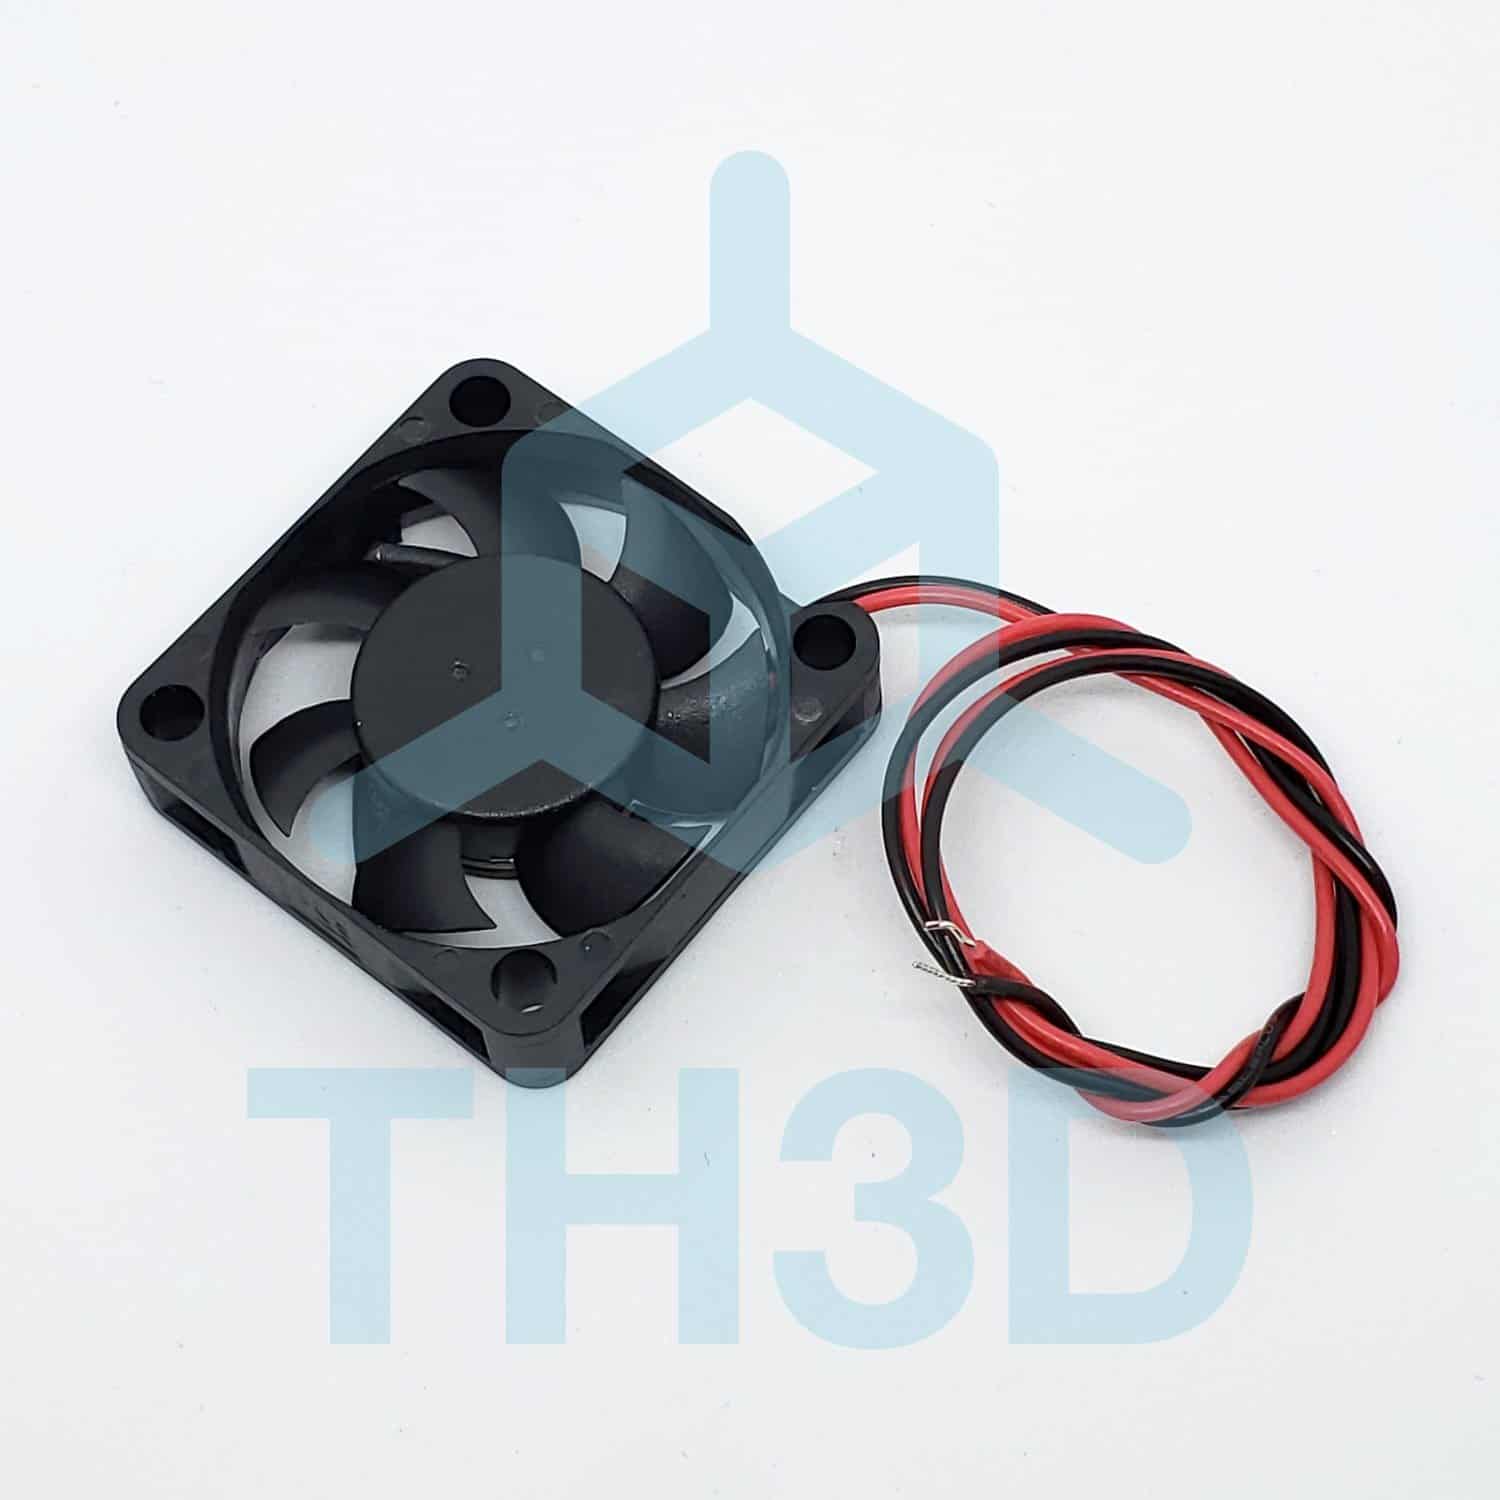
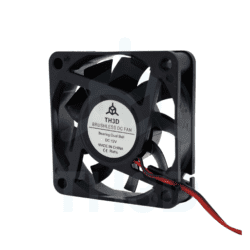
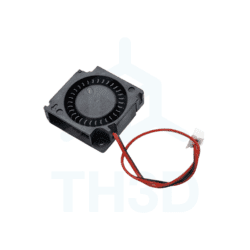
40mm omniCool™ Bearing Fan (12V)
$8.99
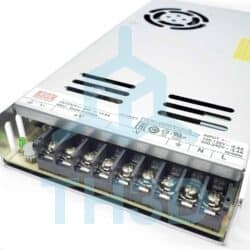
- Direct replacement for hotend and rear control box fan
- Genuine omniCool™ bearing fans
- Solder-free connectors included
- Tech specs are below
If you do not want to splice wires with a traditional soldering iron and heatshrink make sure to check out our Quick Solder connectors for a super easy way to connect and splice wires.
Only 25 left in stock
| Quantity | Discount | Price |
|---|---|---|
| 4-10 | 10% | $8.09 |
| 11-Unlimited | 15% | $7.64 |
Description
Compatible Machines:
- CR-10 & CR-10S – ALL Sizes
- Hotend and control box
- Wanhao Duplicator i3
- Hotend and control box
- Anet A2/A6/A8 series and E10/E12 series
- Hotend
- Alfawise U10
- Hotend, Layer Fan, and Control Box
- Ender 2
- Hotend and Control box fan
- 4x M3x16 Screws needed as the stock fan in the control box has recessed screw holes.
- Hotend and Control box fan
Installation Notes:
- Be sure to check the polarity on the wires you are connecting our fans to. Typically red is positive and black is negative but some of the Chinese printers do not adhere to these standards.
- There is no list of what machines use what as it can vary from model to model and we have even seen differences in wiring colors used in the same printer models.
- Our fans use red for positive and black for negative. You can verify polarity with a cheap $10 multimeter from Amazon or you local hardware store.
- If fans are shorted out/killed due to improper wiring this is NOT covered under warranty.
- When replacing a fan you will want to splice into the existing wire to your existing fan. Connect the wires with solder and heatshrink OR use our Quick Solder connectors.
- Some Creality machines have been reported to have larger size metal screw standoffs.
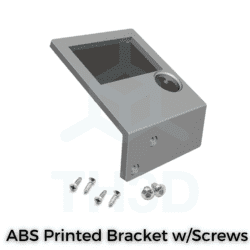
- To use in the rear in a CR-10 Control box you can either use shorter M3x14mm screws or print a spacer. Stock is 20mm thick and these are 10mm thick. Download the spacer here.
- Ender 2 Control Box – 4x M3x16 Screws needed as the stock fan in the control box has recessed screw holes.
Manufacturer’s Tech Specs:
- Airflow: 5.4 CFM (0.151m³/min)
- 3″ Red/Black Power Lead – bare wire ends
- Static Pressure: 0.090 in H2O (22.4 Pa)
- Noise: 20 dB(A)
- Voltage: 12V DC
- Bearing Type: CUI omniCool™
- Size: 40x40x10MM
- RPM: 5000
- Wire Length: 10″
Lower Prices, Flexible Support Options!
To offer you the best possible pricing, this product does not include technical support. However, if you ever need assistance, we offer affordable support options that you can purchase separately:
- Email Support: $35 per ticket
- Remote Video Call with PC Access: $40 for 30 minutes | $60 for 60 minutes
Get help when you need it! Click here to contact us to get paid support.
Part Fitment/Installation
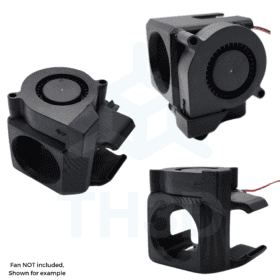
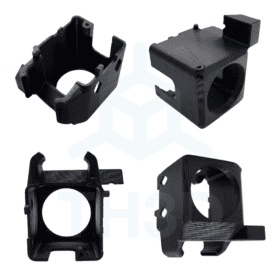
This is a universal 3D printer part. That means it will work on almost any 3D printer (check your printer voltage and part voltage) with the correct mount for your specific machine. Thingiverse is a wonderful place to locate mounts and we also have printed parts in our shop for some universal parts.
It is up to you to determine and select a mount for your specific printer model (or design one) to install this part on your machine and wire it up to your machine (if applicable). You are welcome to Contact Us for recommendations for your particular printer model for mounting options that are available online if searching yourself does not yield any results.
Reviews (7)
7 reviews for 40mm omniCool™ Bearing Fan (12V)
Add a review
Additional information
| Weight | 4 oz |
|---|---|
| Dimensions | 2 × 2 × 0.5 in |
| Made In | 🇨🇳 China |
| Warranty Length | 6 Months |


mrwidmann (verified owner) –
This van cools better and a lot quieter then the stock fan.
it works good with my Bondtech , Prusa mk2 upgrade!