


EZABL™ NG – Auto Bed Leveling Kit for Unified 2, Klipper, Marlin Firmware – Lightweight 8mm Probe
From: $64.98
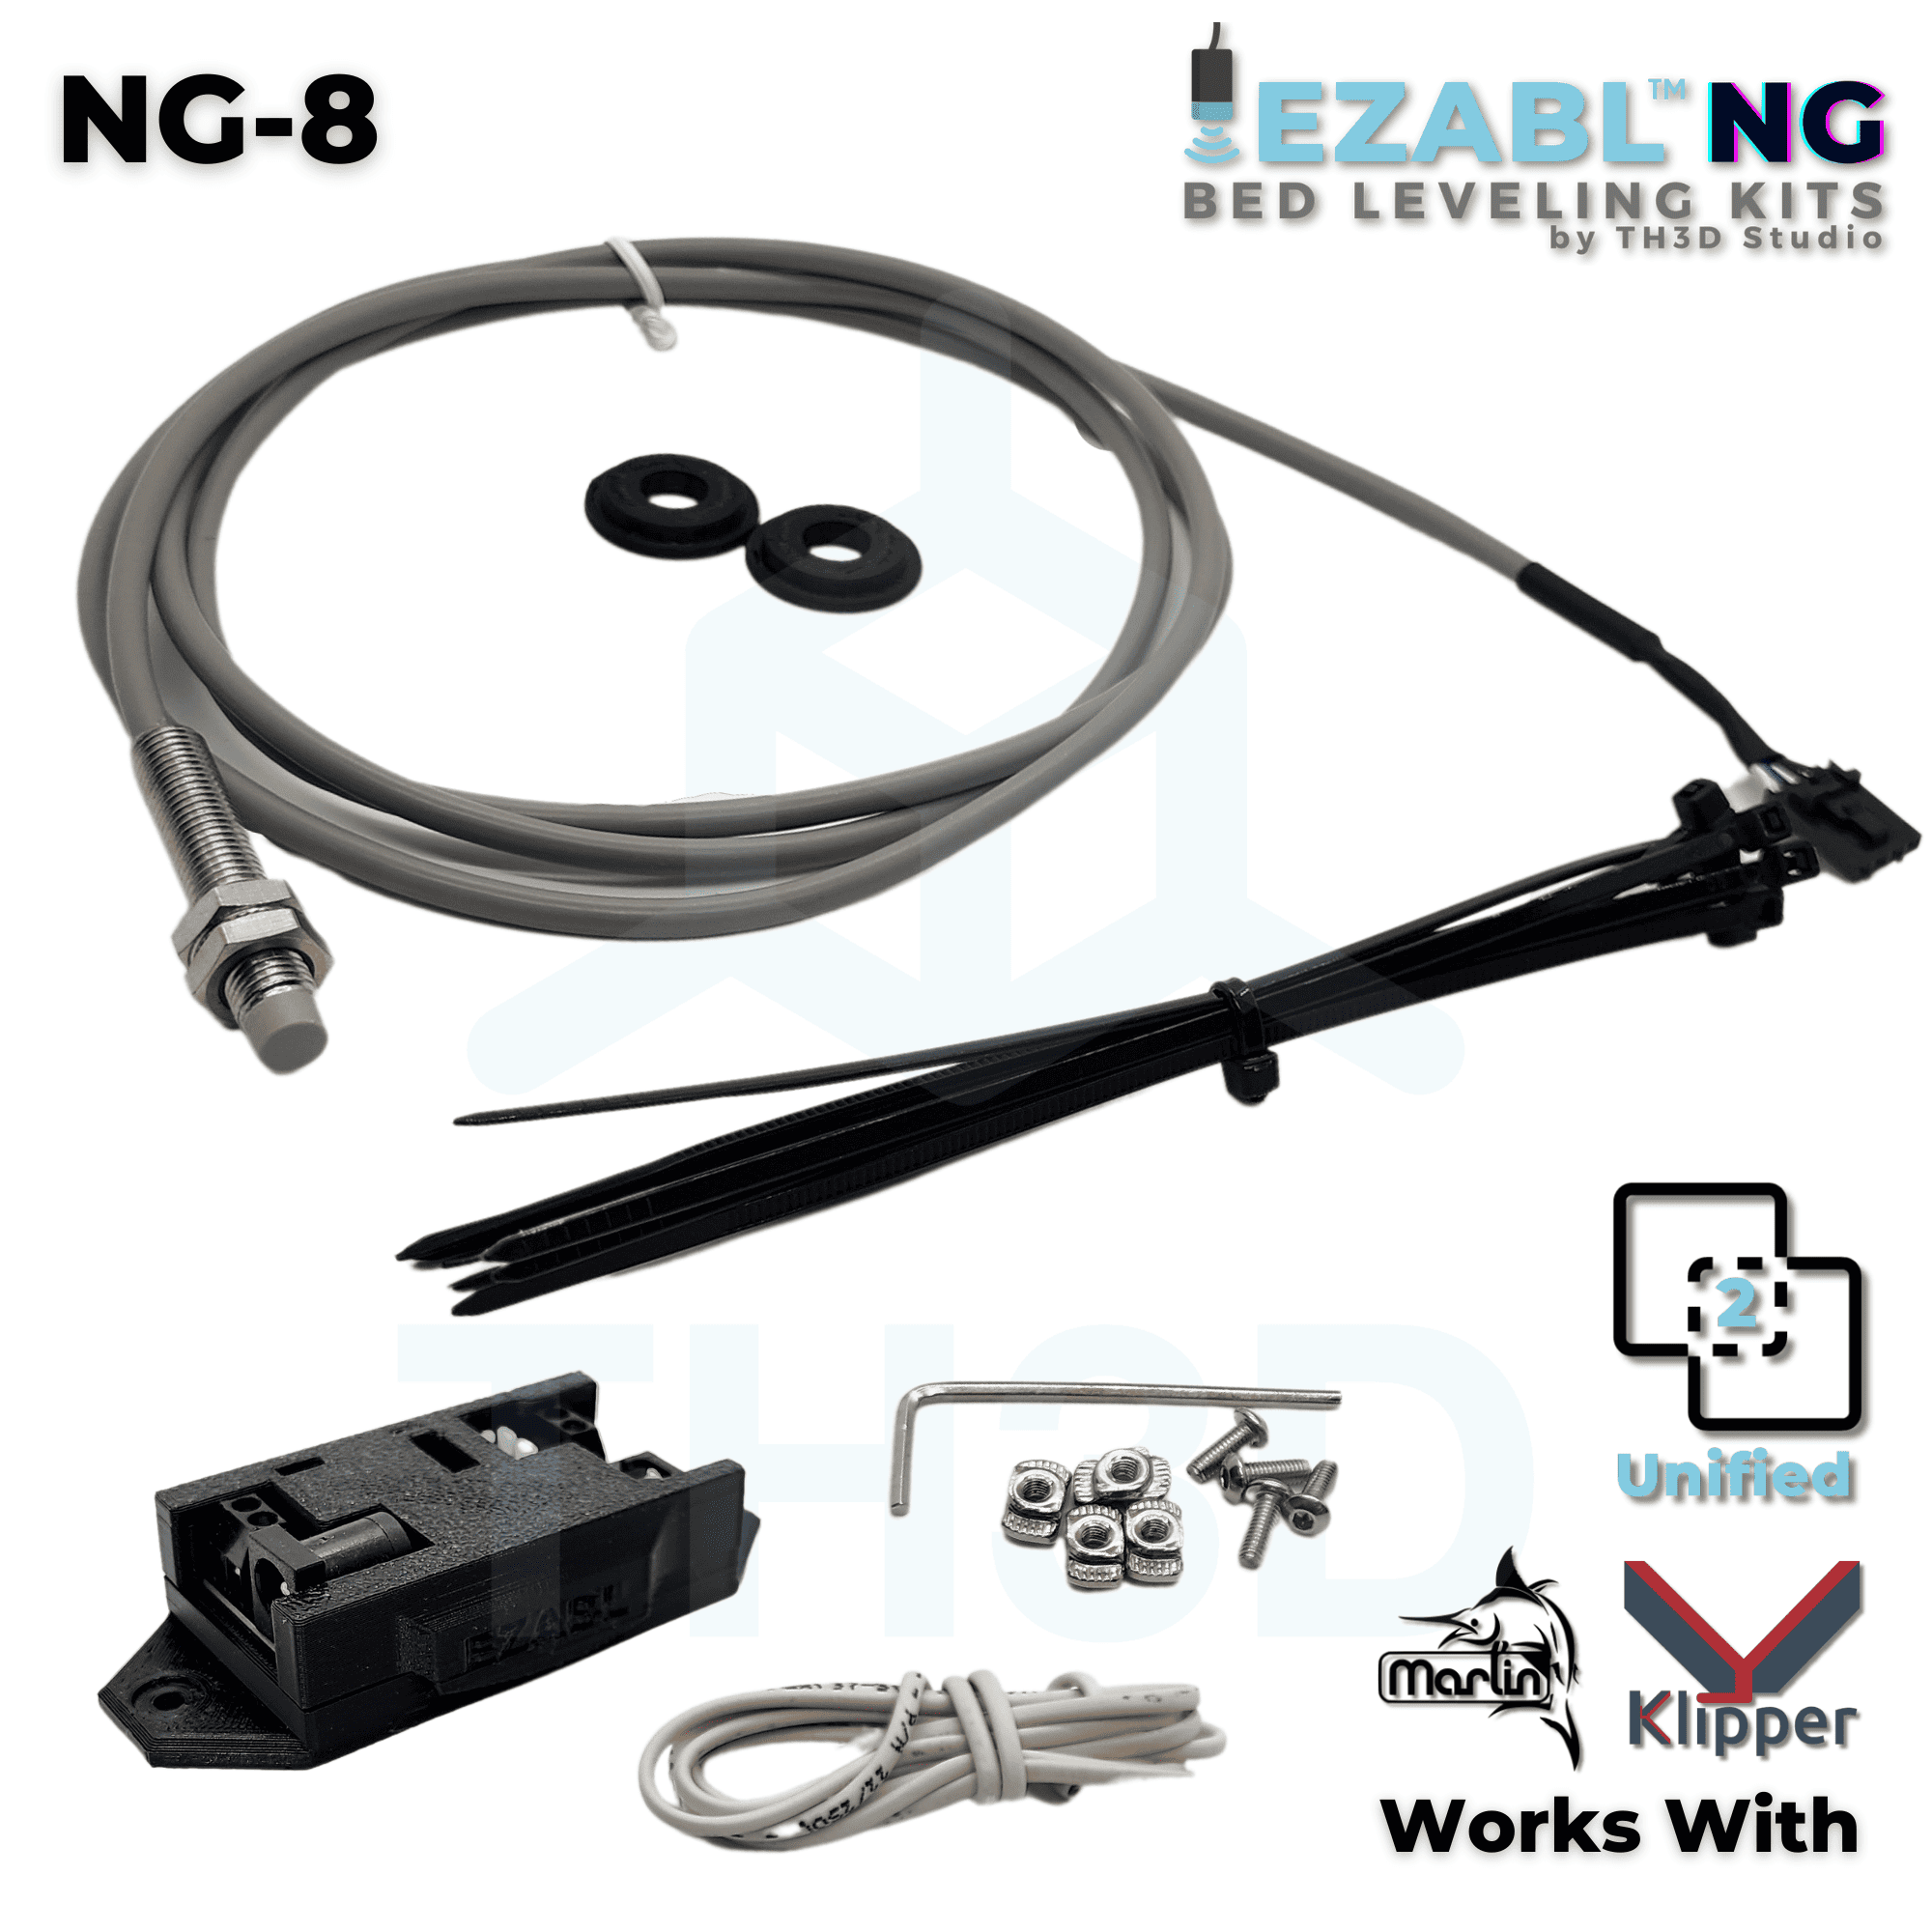
Upgrade your 3D Printer effortlessly with our EZABL Auto Bed Leveling system. Experience rapid precision, shielded cabling, and multiple power options. No moving parts, no impact from temp/humidity. Plus, enjoy US-Based support. Choose from our OEM mounts or included STL files for easy mounting. Plus, one free 3 month copy of our Unified 2 Firmware is included via email. Some printers require additional parts (cables and/or LCD kits).
Usually ready in 1 hour or less - See how it works | View on Google Maps
Description
The EZABL™ kits are a product designed, manufactured, and sold exclusively by TH3D to make adding automatic bed leveling (ABL) to your printer as easy as possible. Everything from the hardware and firmware to use the kit is tuned for the best performance by us here at TH3D and supported by our US Tech Support team.
Our EZABL kit works with most 3D Printers. Works with our Unified 2, Marlin, Klipper, and RepRap Firmwares. To make sure we have firmware and official support for your particular printer model check our official compatibility list here: EZABL Printer & Firmware Support List
If you have any questions that are not answered on our page here then Contact Us or use the Live Chat before purchasing.
EZABL™ Quick Links
Installation Guide, Firmware, and STL Files
- EZABL Installation Guide
- Unified 2 Firmware Downloads
- Klipper Setup Guide
- Sensor Mounts and other STL Files
Setting up with standard Marlin or have a printer with a 3rd party control board? Check out our setup guide here: EZABL Firmware Setup for “Vanilla” Marlin
Troubleshooting Information Help Center in the “EZABL” section. Need help that our troubleshooting articles don’t cover or have a question? Send us a message with our Contact Us page.
EZABL™ FAQ
How Does the EZABL™ Mount?
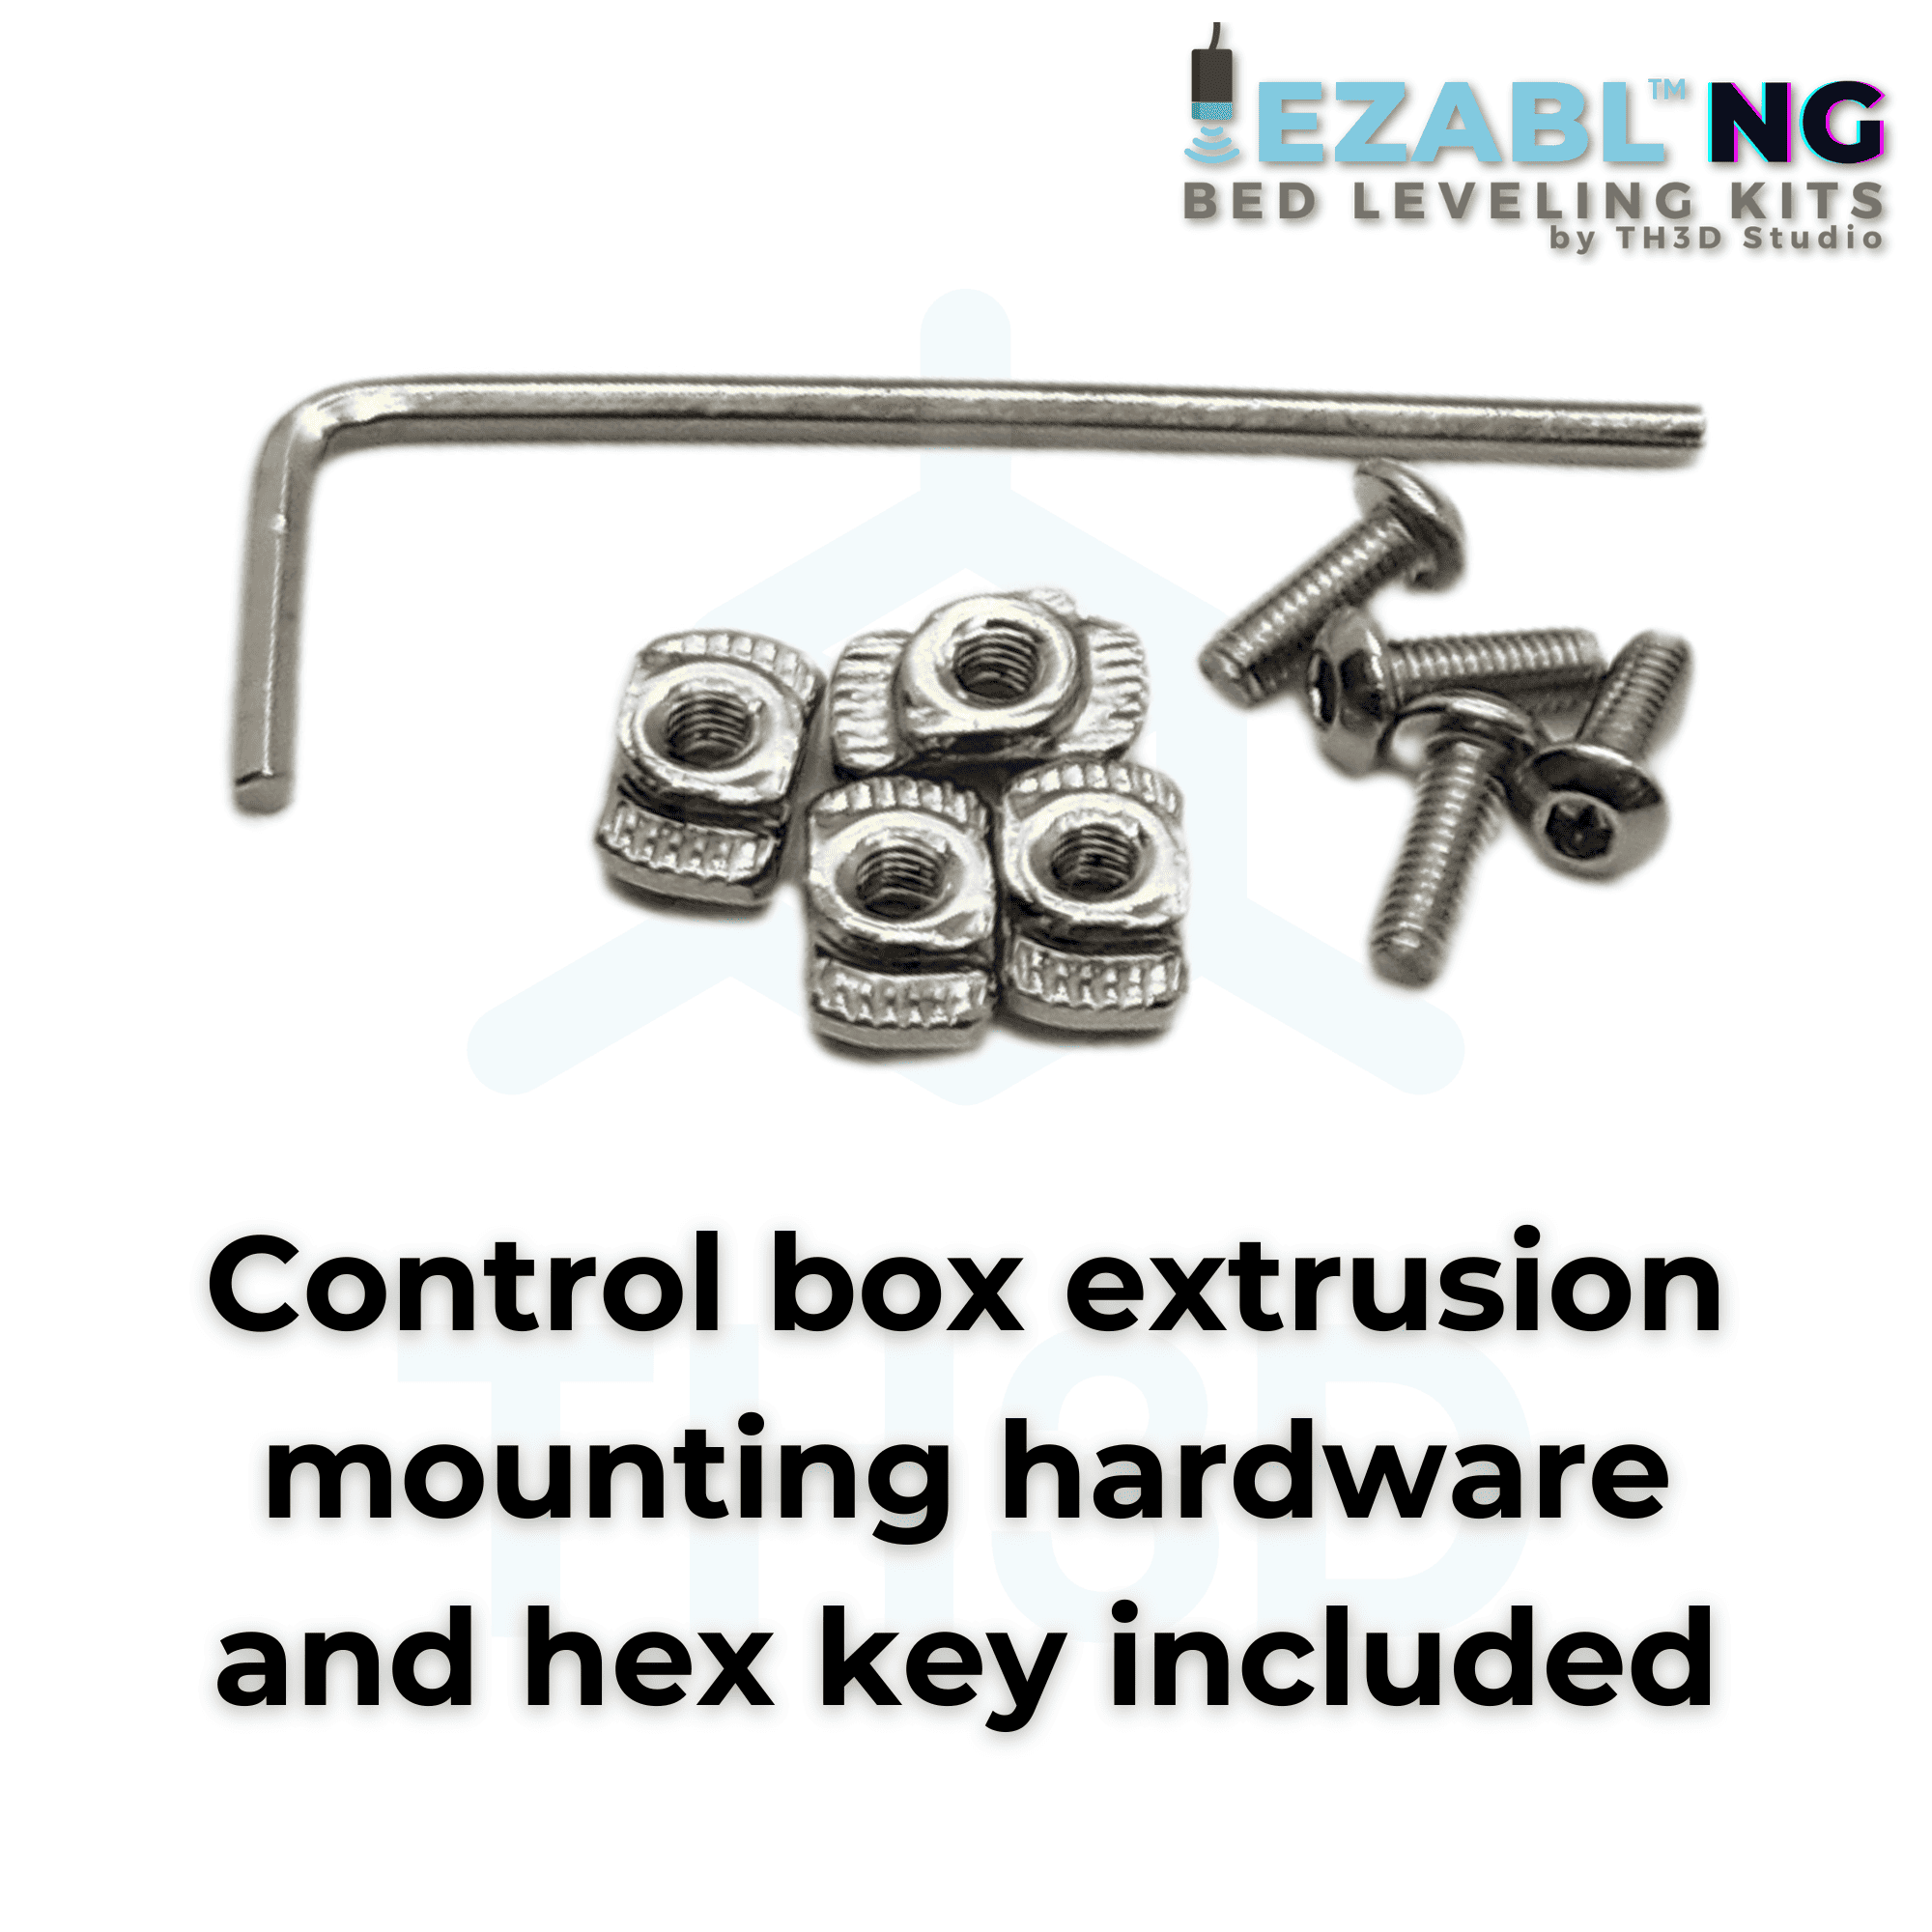
The EZABL™ mounts to your printer hotend and we supply STL files for over 40+ different mounting options for the 25+ machines we support. All our STL files are located in the Unified 2 STL Pack. You will either need to print a mount for your particular printer or select one from our OEM mount selection above. You may need some M3 screws (or others depending on the mount) to mount the sensor and we have a screw assortment that covers all the sizes you may need for all the most popular mounts.
Do I need to have a bootloader on my printer?
Yes, you do and most modern printers have this already loaded on the board. Almost all 32 Bit CPU boards come with bootloaders on them. If your printer has a 1284p CPU on it, then you will need to flash the bootloader. Click here to get our Bootloader kit. If you are not sure you can use the Live Chat or Contact Us and we can let you know if your printer needs a bootloader flashed or not.
Does the EZABL work with Klipper?
Yes, these probes are supported by Klipper firmware. You can see our Klipper setup guide here: https://tickets.th3dstudio.com/products/article/ezabl-klipper-setup-guide Before installing our probe you must make sure the rest of your Klipper setup is completed. If you need assistance with a simple config change/check related to the EZABL sensor it is covered. If your issue is more involved and you are using Klipper, that call time will be billable. EZABL customers get 20% off remote support services if they need it.
What is the accuracy of the EZABL™?
On a machine with no mechanical issues and a properly installed sensor our kits typically achieve 0.01mm or better accuracy. Most of our customers report a M48 result of 0.005-0.001mm when properly installed.
What is the warranty length?
EZABL NG kits come with a 1 year warranty and support length.
Can you include a sensor mount?
We have “OEM” mounts available above as optional addons but if you want a custom mount printed up we also offer print services in PLA, PETG, and ABS. Contact Us with the STL files if you want a custom mount printed.
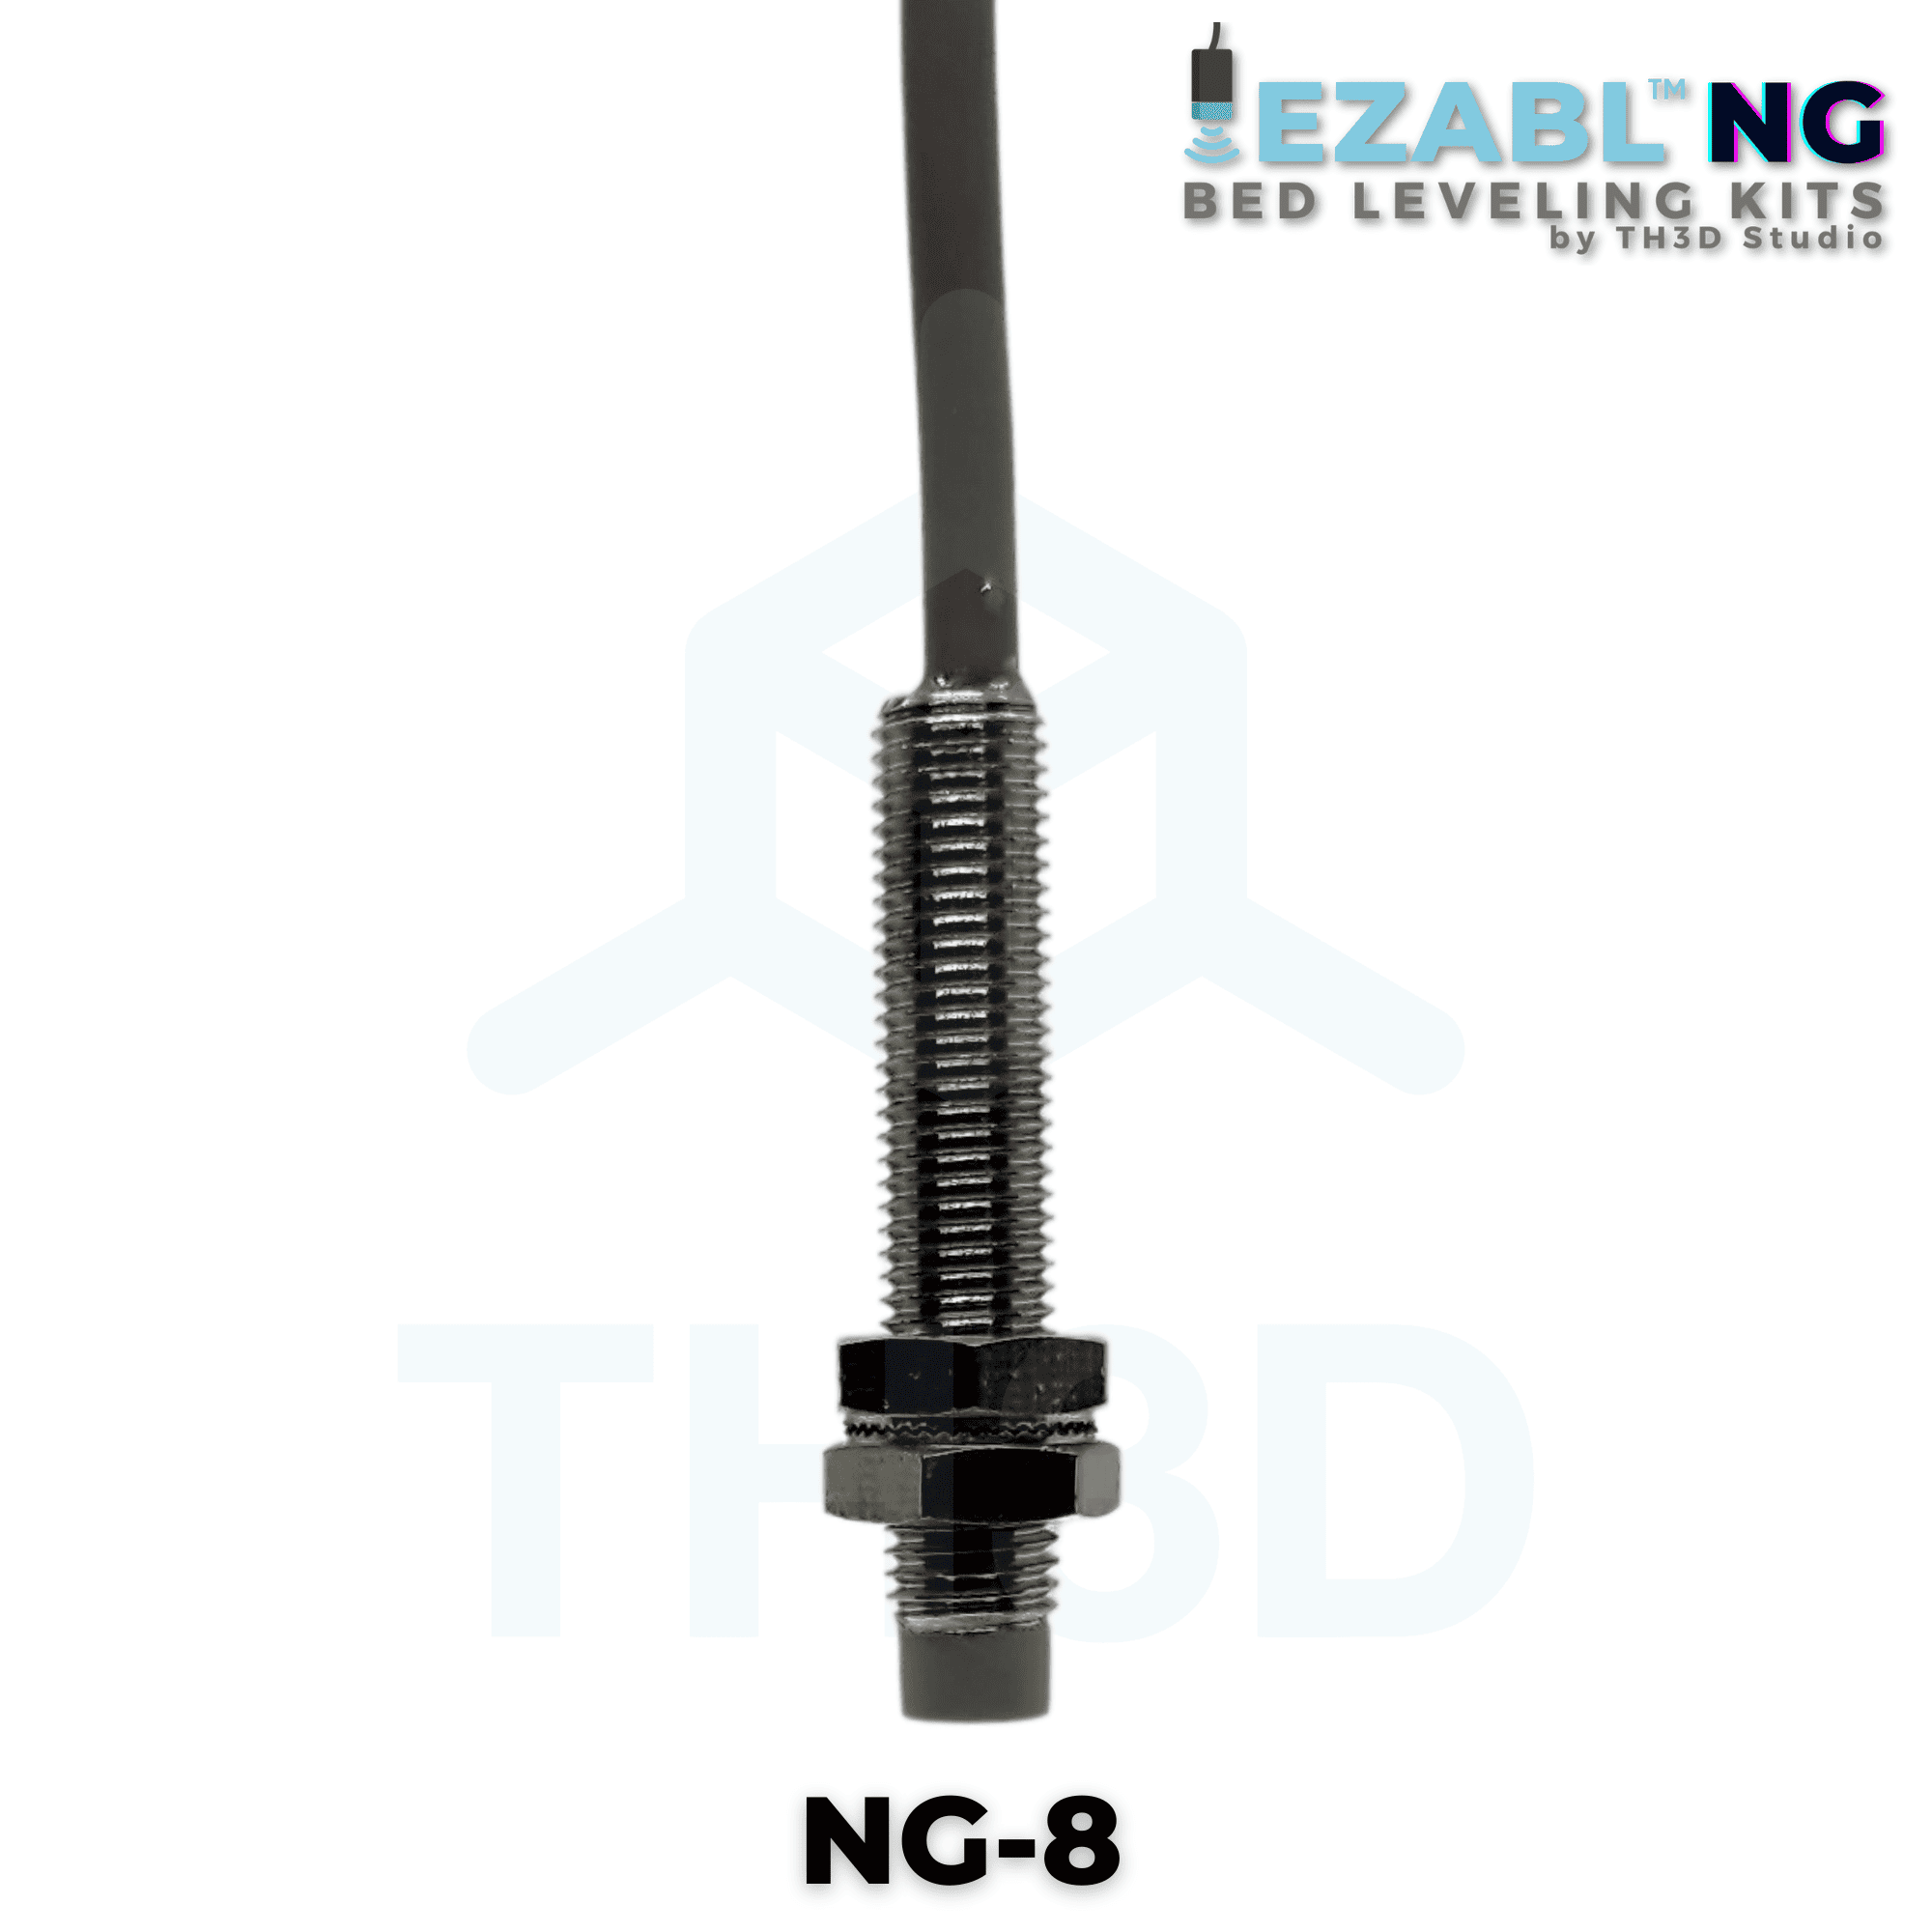
How much does the EZABL™ sensor weigh?
- NG-8 is about 0.3oz w/2x Included Nuts
What is the maximum ambient temperature the EZABL™ can operate in?
The maximum ambient temperature recommended is up to 70C. We have tested them in enclosures up to 75C ambient temperatures. Ambient is the temperature of the air around the sensor. You can use our EZABL on bed temperatures up to 150C.
Does the EZABL™ work on my build surface?
The higher end NG sensors work on almost every print surface that you print on. Our sensors do not require a special type or color of surface to work. Tested to work on glass, pei, steel, flexplates, garolite, and FR4 type plates. Polypropylene are NOT supported as they are not dense enough for the sensor to detect.
Will the EZABL™ work with an AC Bed?
Yes! We’ve made excellent sensors that make them work on AC beds that are properly connected with a quality SSR. If you use a good SSR (like the Mager we sell) then you will have no issues with your EZABL™ kit with an AC bed (and you can control the bed from your printer!)
Where is the EZABL™ made?
The EZABL™ is designed by TH3D and we use multiple suppliers across the globe to source the parts and build our custom EZABL™ boards & sensors. All final testing, QC, packaging, and support is done here in the US. Sensors and control boards are Made in China and Designed in the US. Printed parts are Made in the US. Other accessories vary, refer to product pages for COO.
I have a custom printer or one with a control board I swapped, will you setup my firmware for me?
The EZABL will work with any Marlin, Klipper, or RepRap based machine. However, our included support covers machines that are listed above with their original control boards (or supported aftermarket boards) and our Unified Firmware. On custom printers (this includes models we support but with their boards swapped) we cannot possibly account for every variation when a customer swaps their board or has a custom machine.
Does the EZABL™ Kit work with OctoPrint/EZPi?
Absolutely! We love OctoPrint and use it here. Every one of our production machines has an EZPi kit on it and our EZABL™ kit.
Have a question we didn’t cover here?
No problem! Contact our Support Team or use our Live Chat with any questions you may have and we’ll be happy to answer them!
Reviews (8)
8 reviews for EZABL™ NG – Auto Bed Leveling Kit for Unified 2, Klipper, Marlin Firmware – Lightweight 8mm Probe
Add a review
Additional information
EZABL™ NG-8 Sensor
| Weight | 4 oz |
|---|---|
| Dimensions | 4 × 4 × 1 in |
| Sensor Model | NG-18, NG-8 |
| Made In | 🇨🇳 China w/QC in 🇺🇸 USA |
| Warranty Length | 1 Year for NG Kits |
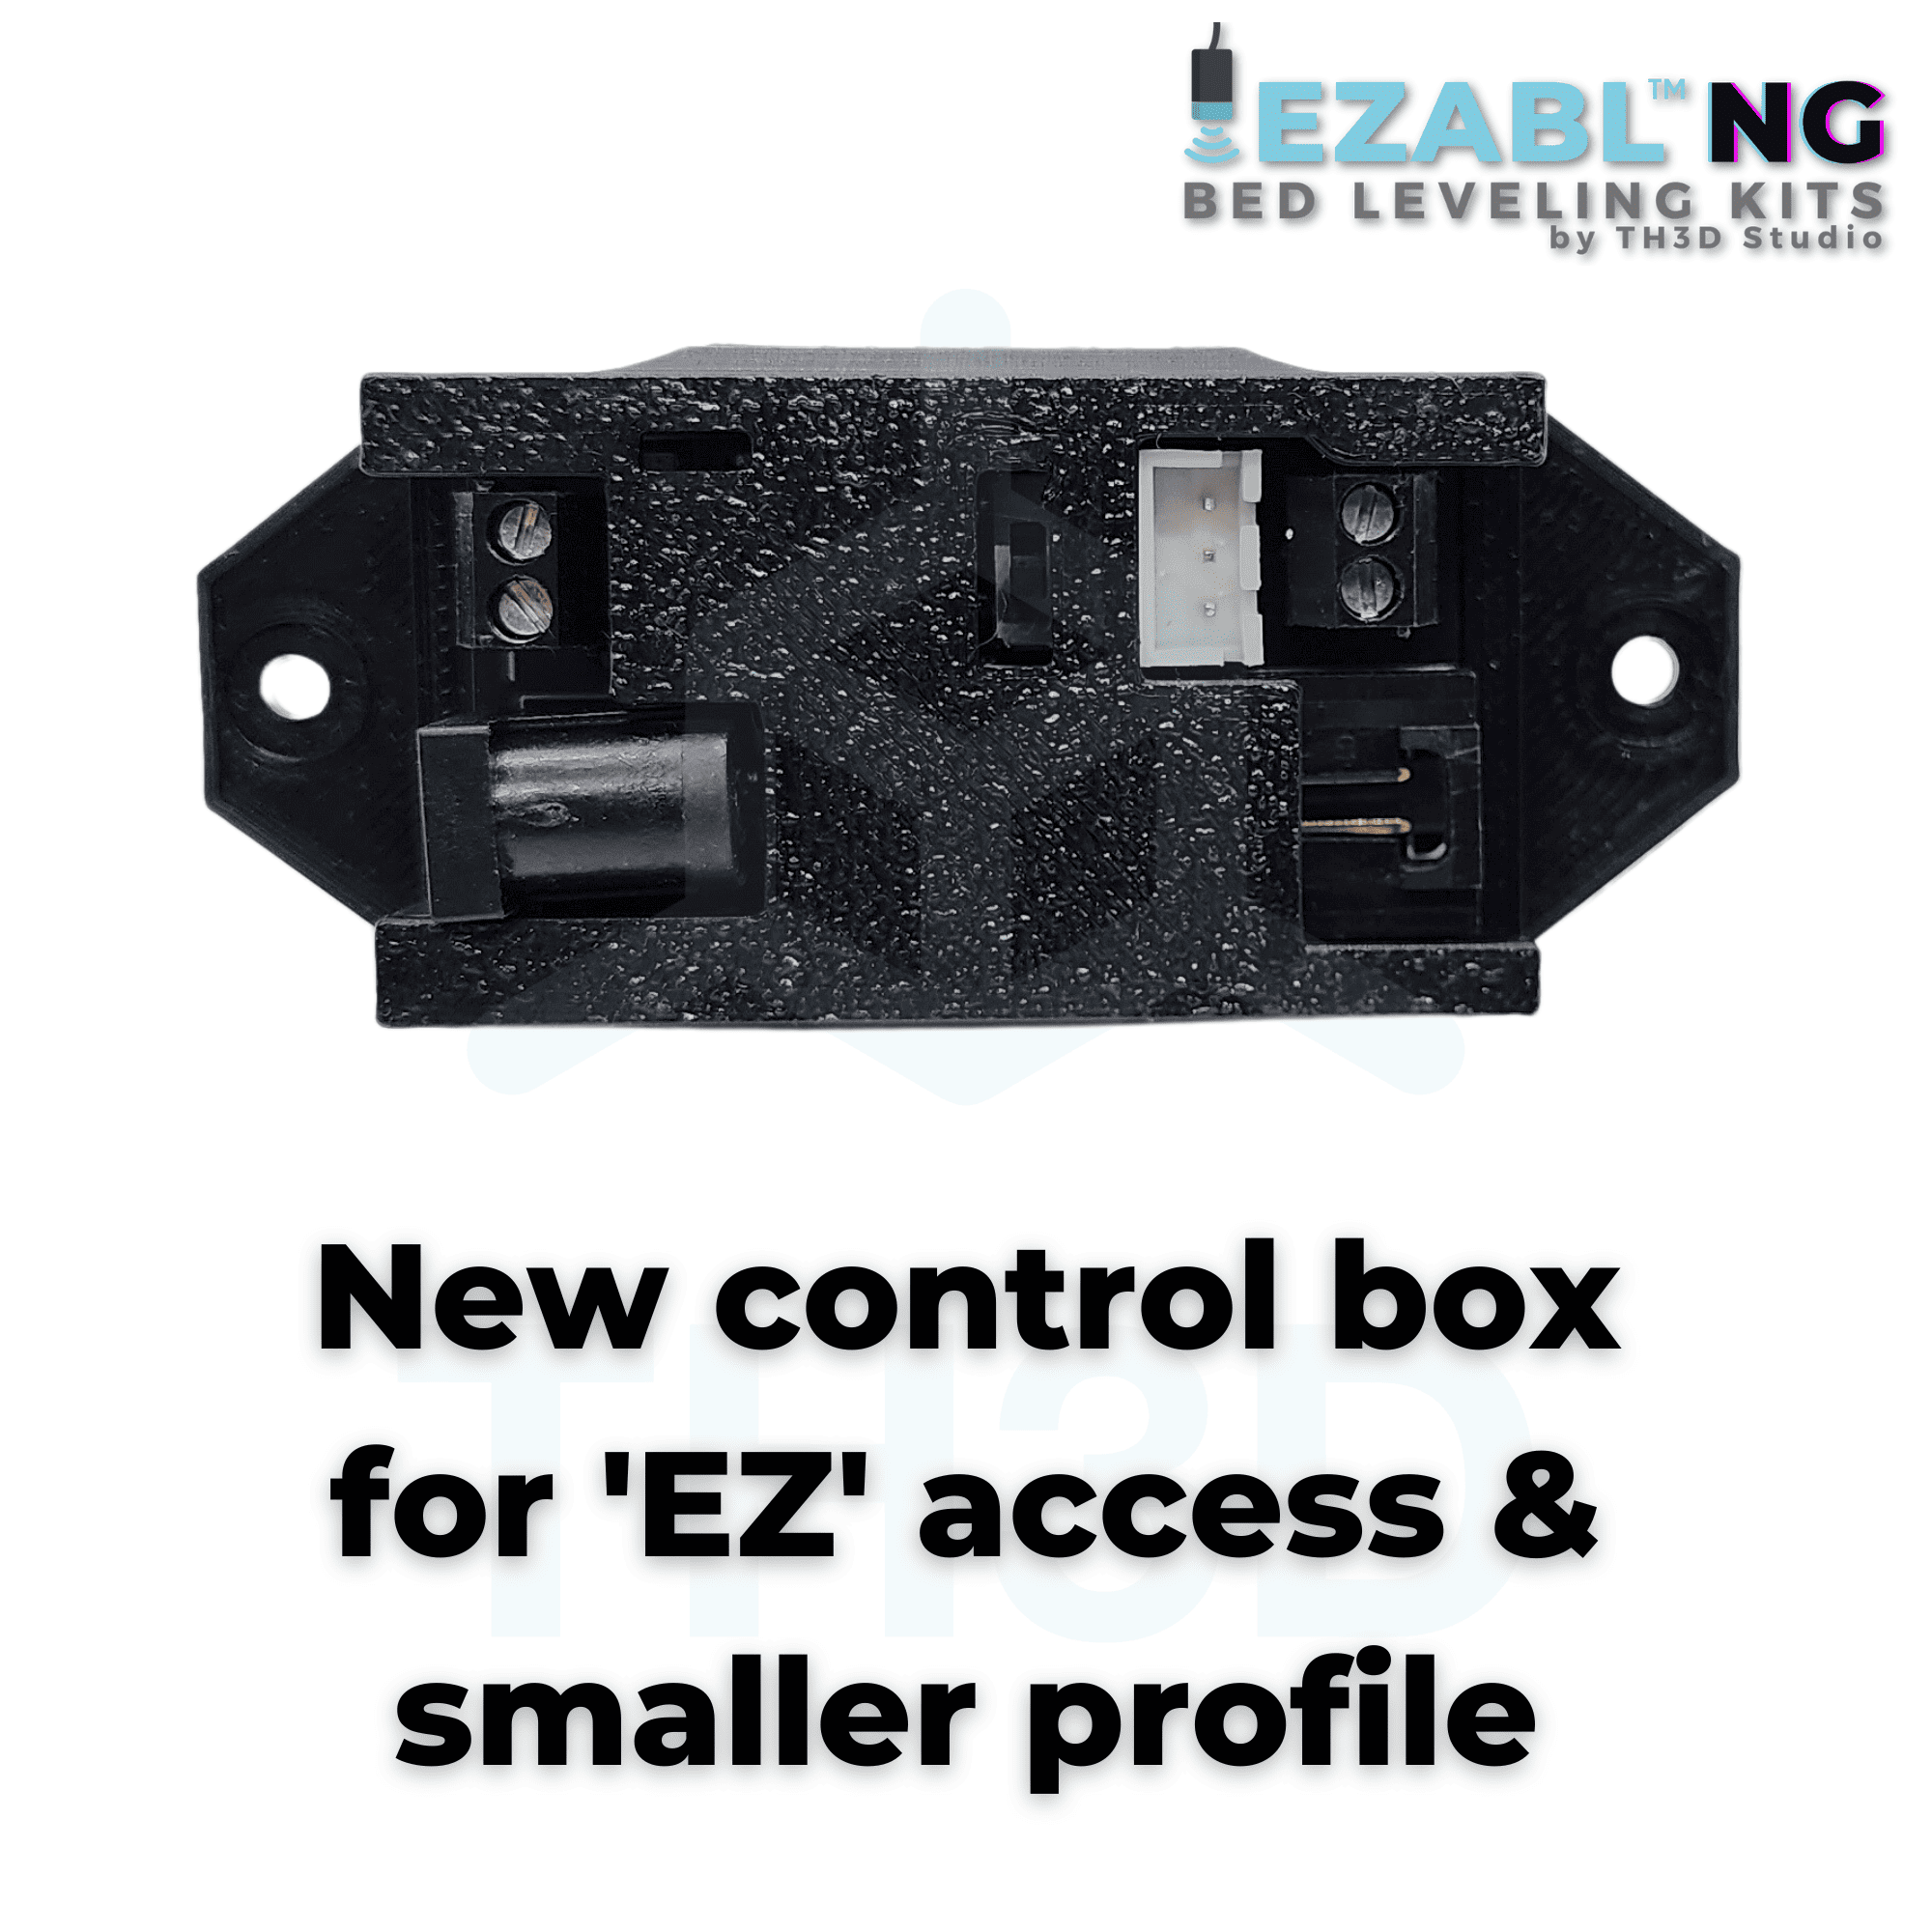
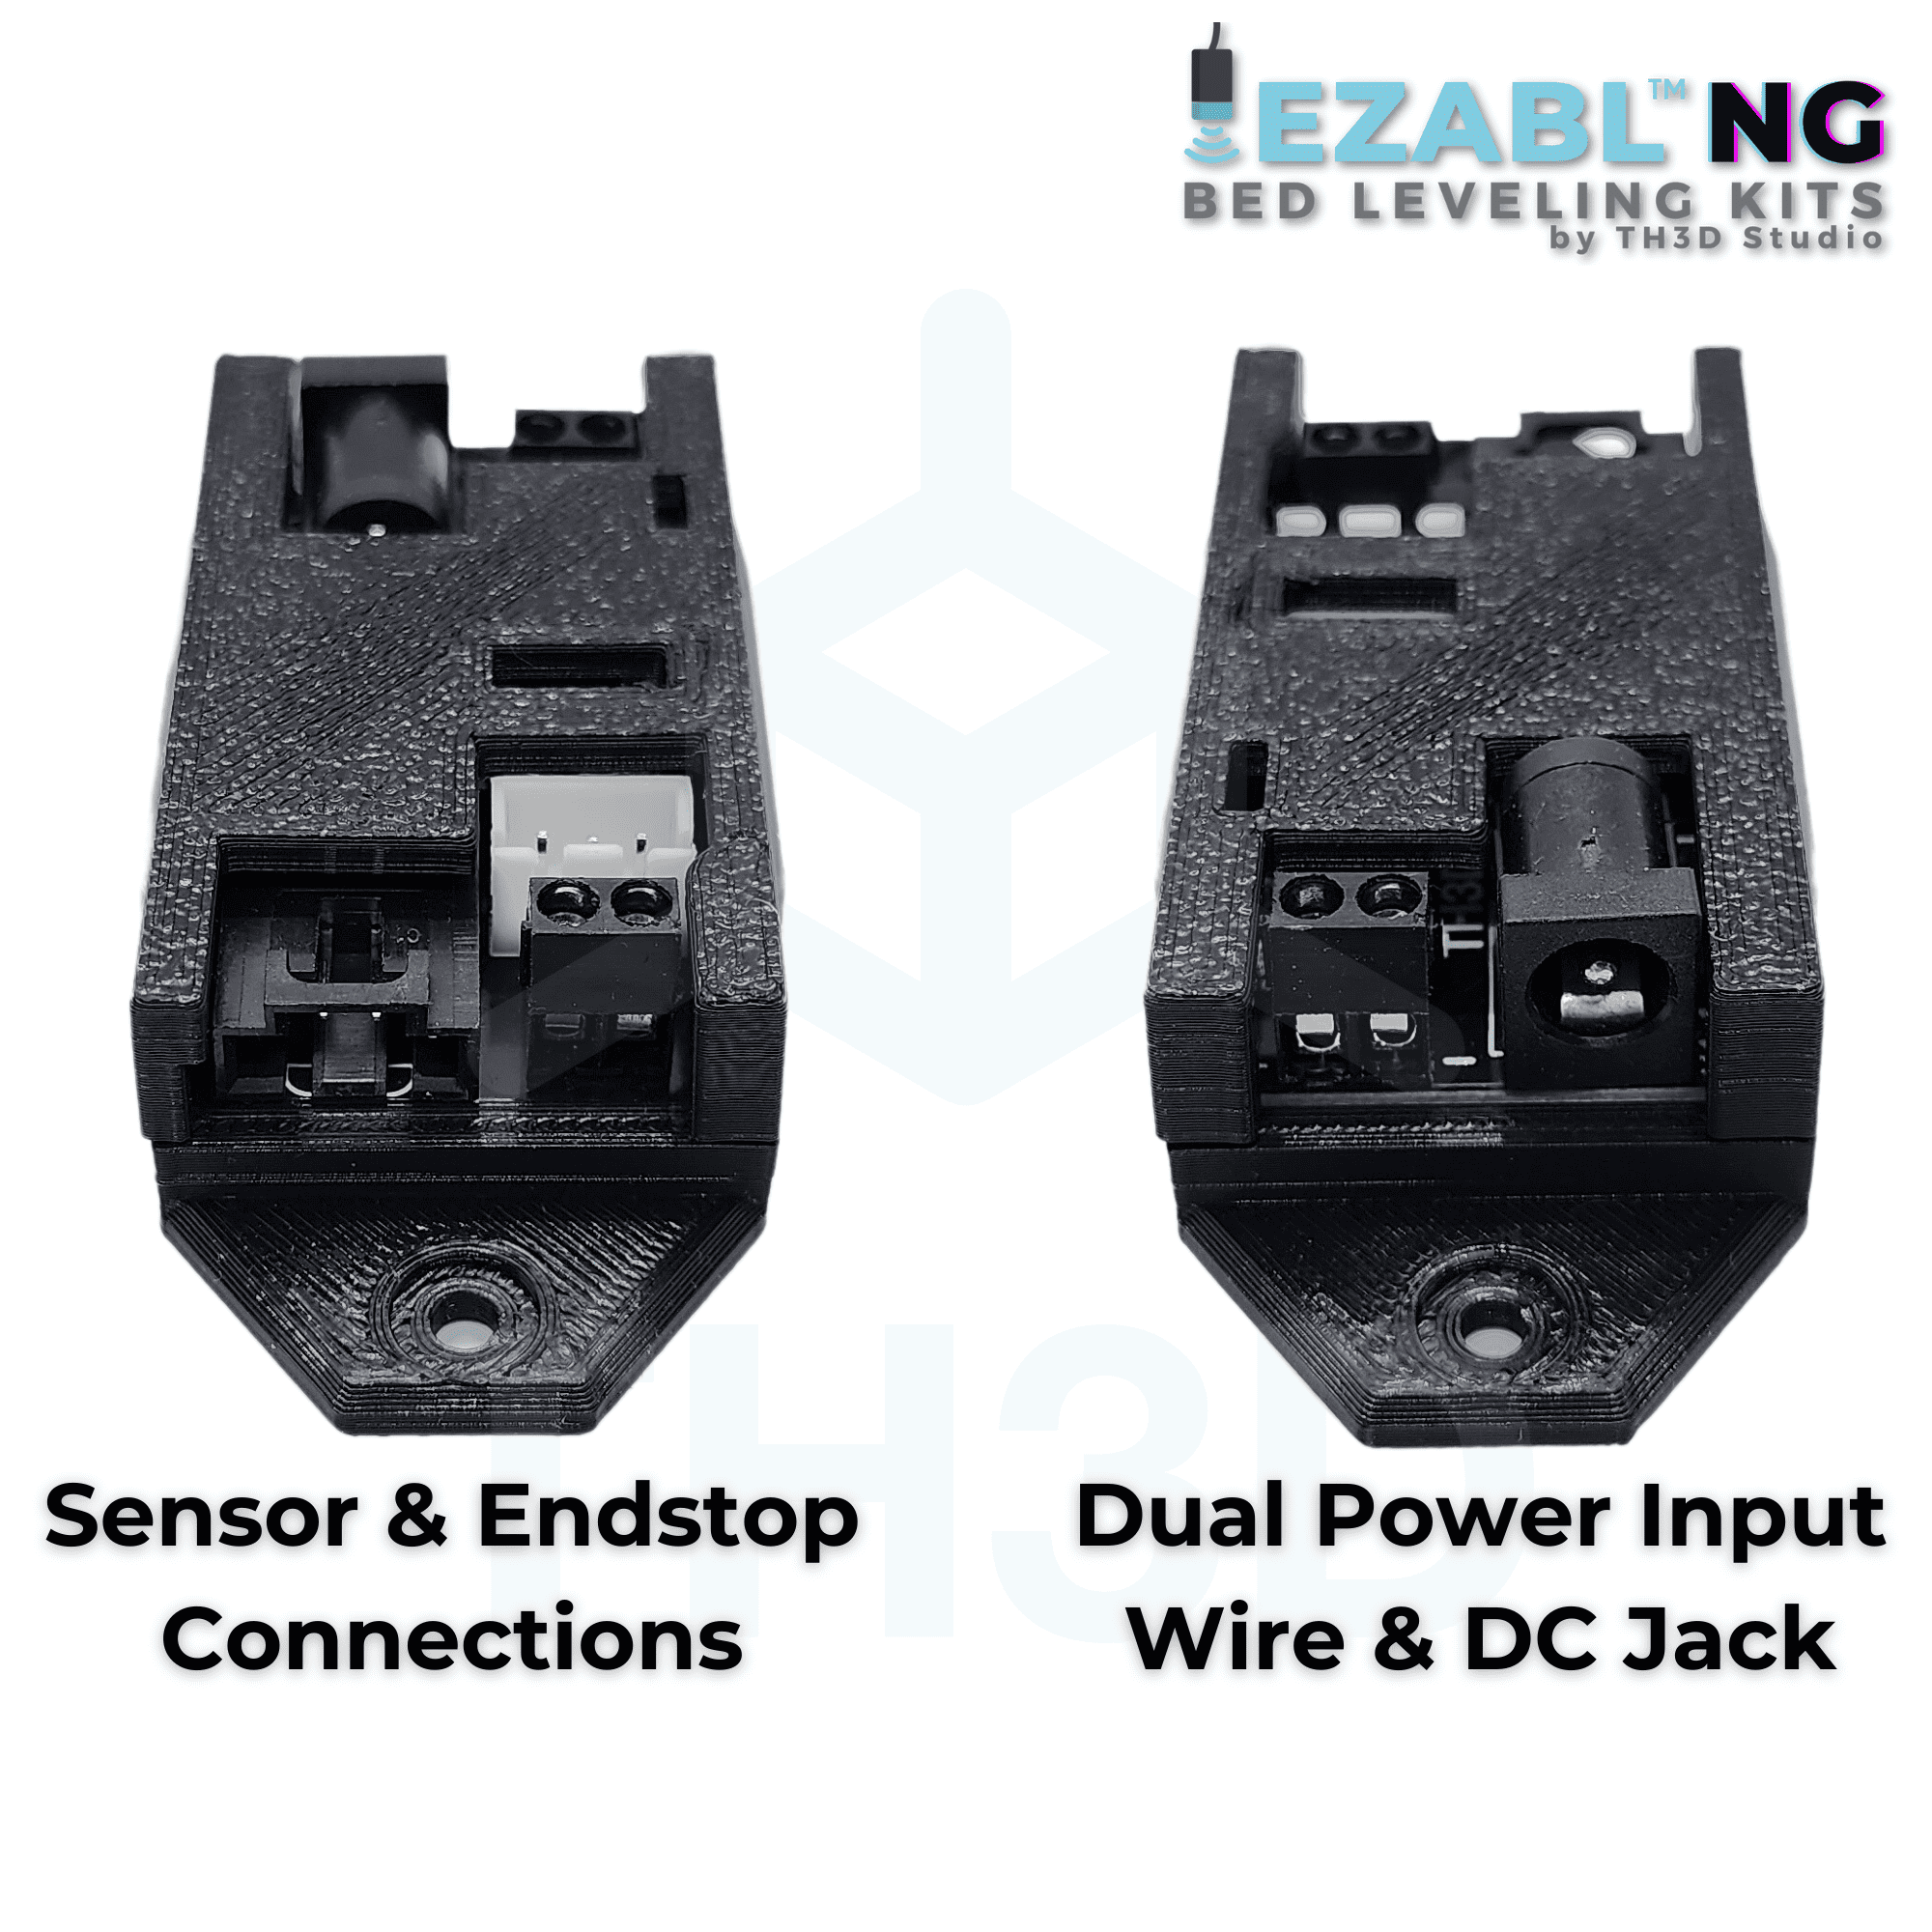
EZABL™ NG Control Box
| Weight | 4 oz |
|---|---|
| Dimensions | 3 × 3 × 1 in |
| Made In | 🇨🇳 China w/QC in 🇺🇸 USA, 🇺🇸 USA (with 🇺🇸 USA and 🌎 Global Materials) |
| Warranty Length | 1 Year for NG Kits, 6 Months for NG LITE Kits |
EZABL NG-8 Sensor Mounts (ABS)
| Weight | 1 oz |
|---|---|
| Dimensions | 1 × 1 × 1 in |
| Mount Type | AnyCubic Chiron, Creality CR-10/Ender 3/Ender 5/5+, Creality CR-10 V2/V3, Creality Ender 2 Pro, Creality Ender 3 V2, Creality Ender 3 S1/Sprite Extruder, Creality Ender 5 S1, Sovol SV01 Pro, Sovol SV05, Sovol SV06, Sovol SV06 Plus |
| Made In | 🇺🇸 USA (with 🇺🇸 USA and 🌎 Global Materials) |
| Warranty Length | 6 Months |
Replace your bed springs
| Weight | 4 oz |
|---|---|
| Dimensions | 4 × 4 × 1 in |
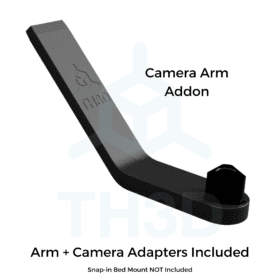
| Kit Version | Standard Kit, Camera Addon |
| Made In | 🇺🇸 USA (with 🇺🇸 USA and 🌎 Global Materials) |
| Warranty Length | 6 Months |
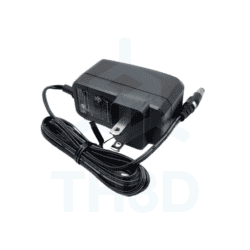
EZABL AC Power Adapter
| Weight | 4 oz |
|---|---|
| Dimensions | 3 × 3 × 2 in |
| Made In | 🇨🇳 China |
| Warranty Length | 6 Months |
Related products
Bill VanOrden –
I acquired a used Creality CR-10 a few weeks ago.
Initially I installed the TH3D Firmware which made a big difference tot eh operation of the unit. Seeing the positive comments about teh automatic bed leveling device I placed an order.
Got it all installed the other day and the unit it up and running. Installation and setting up went quickly and easily. The system works great.
I have to recommend this device to others.
Bill
vipergtsrrt10 (verified owner) –
i put either the 18 or the 8 sensor on all my printers im ffixing to use the 8 on my cr10s5 corexy conversion and on my zero g merc1 buikd