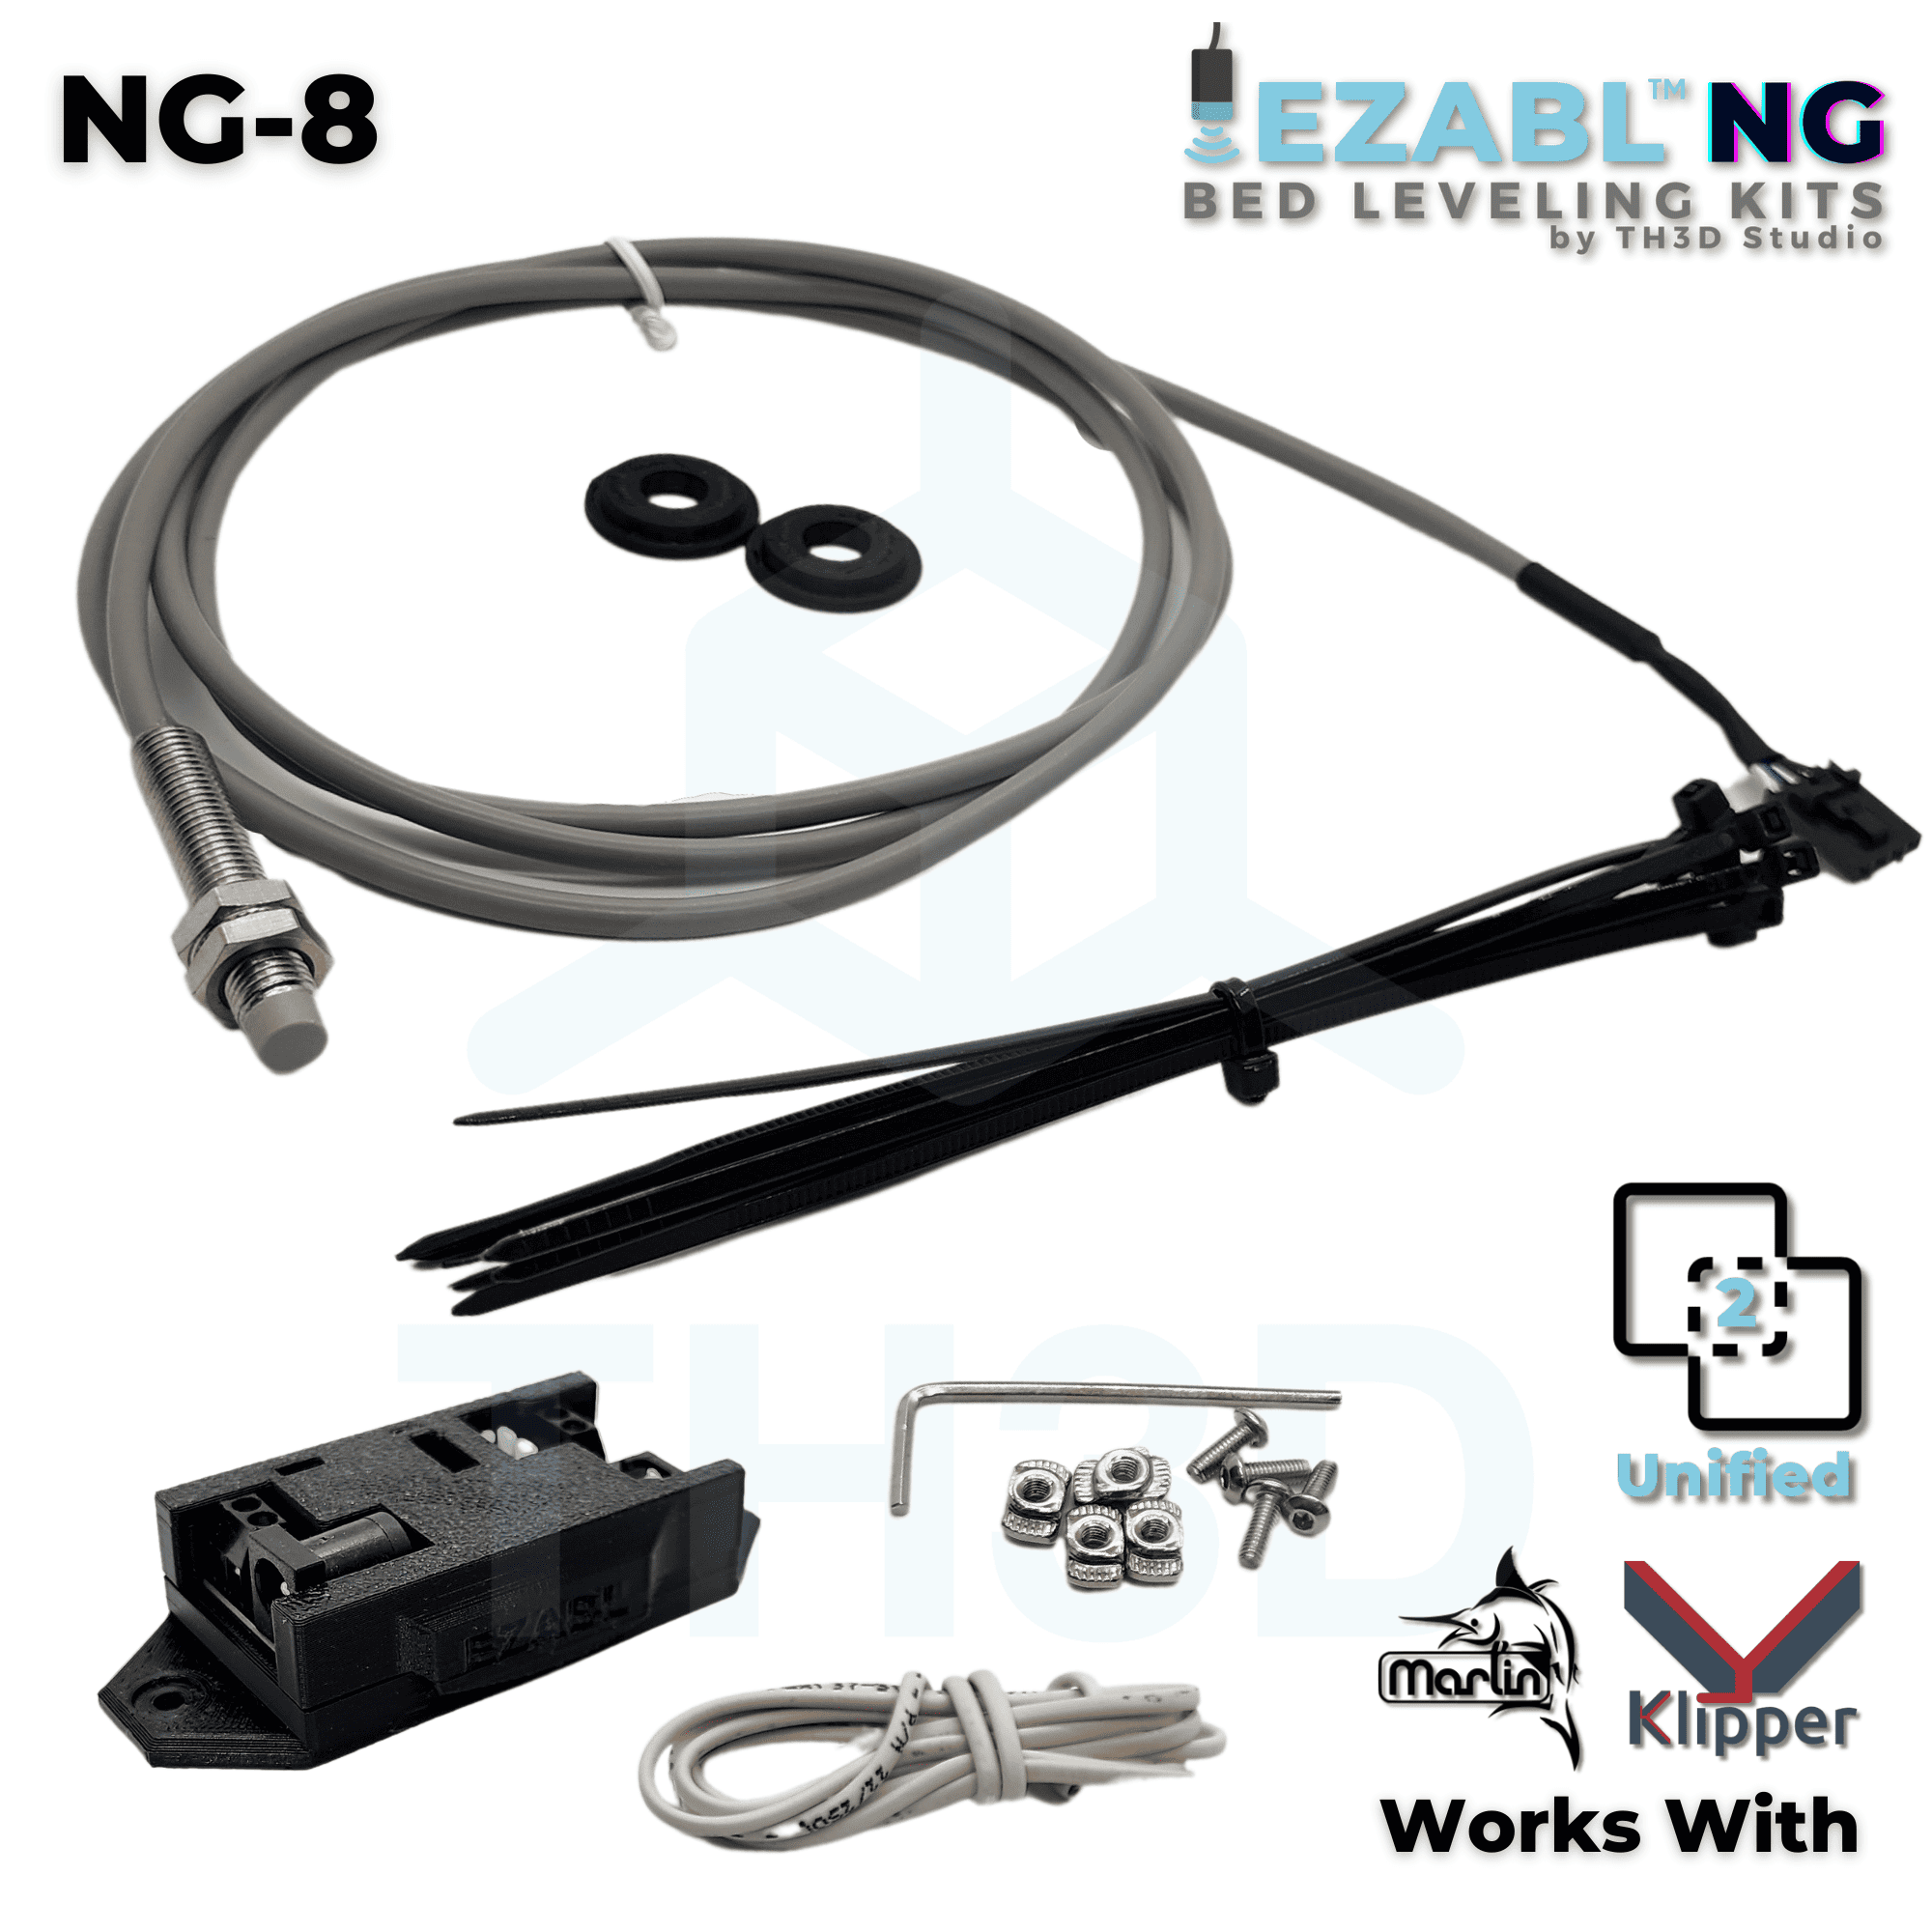
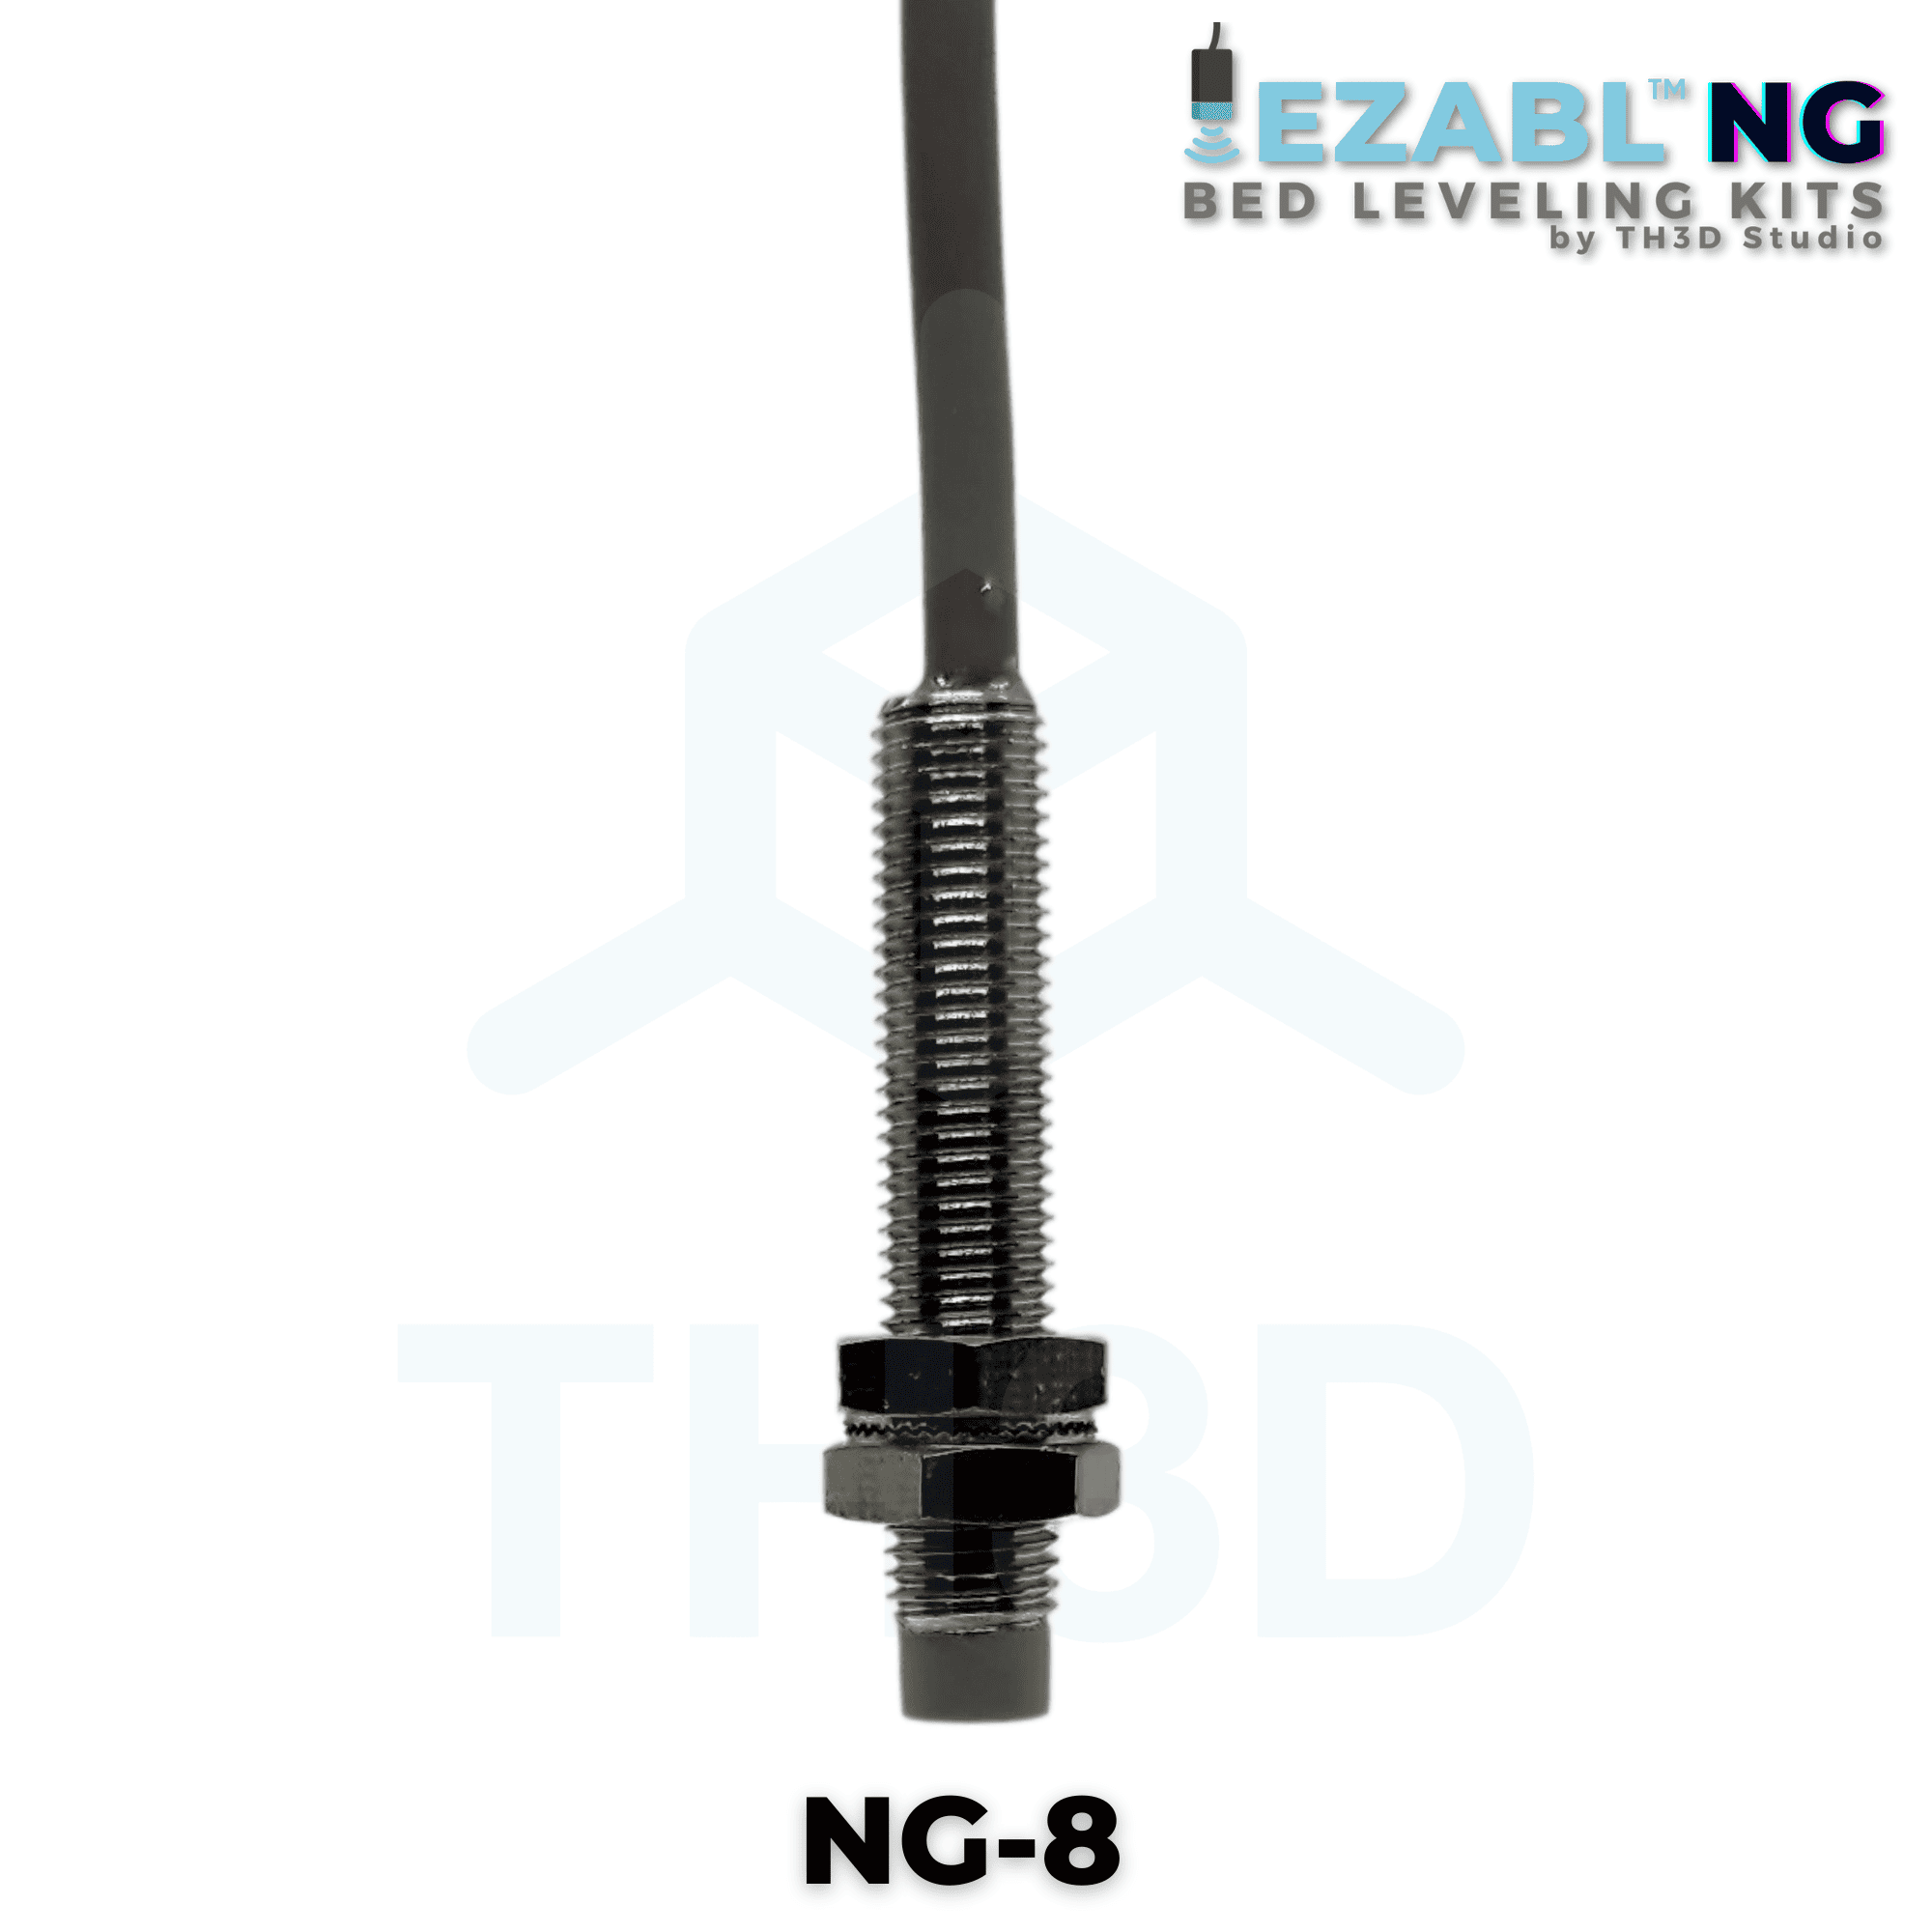
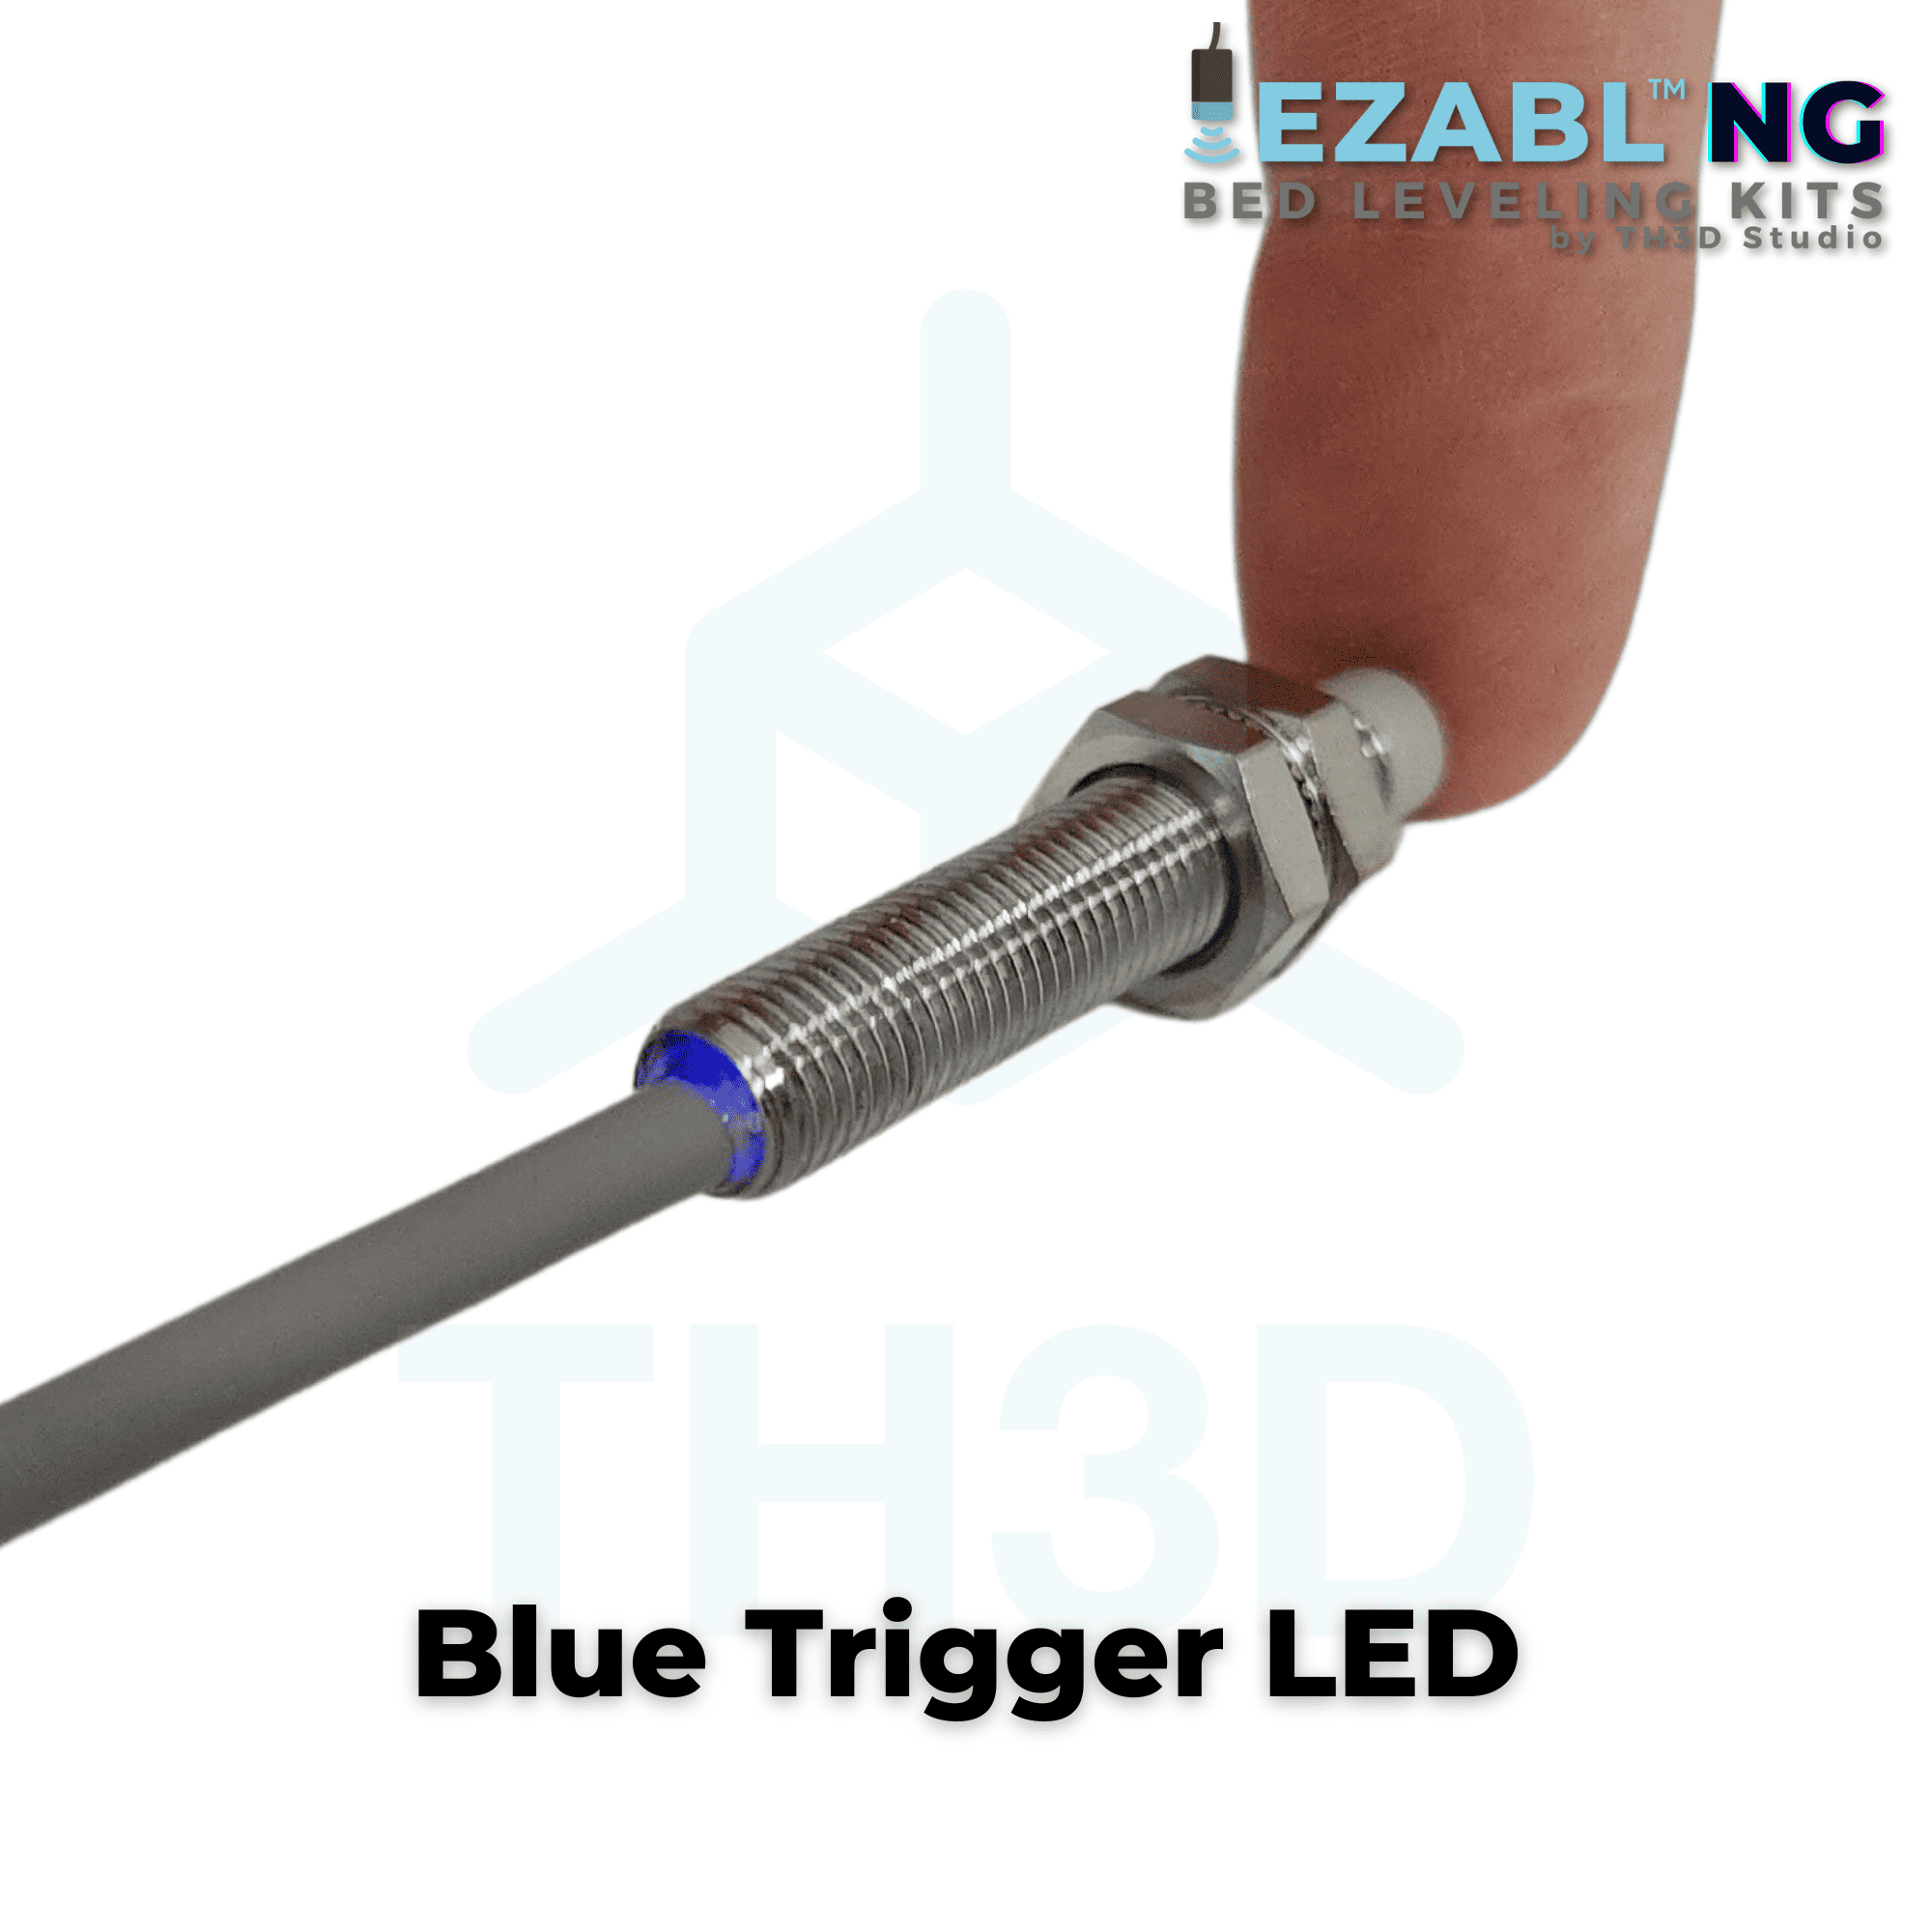
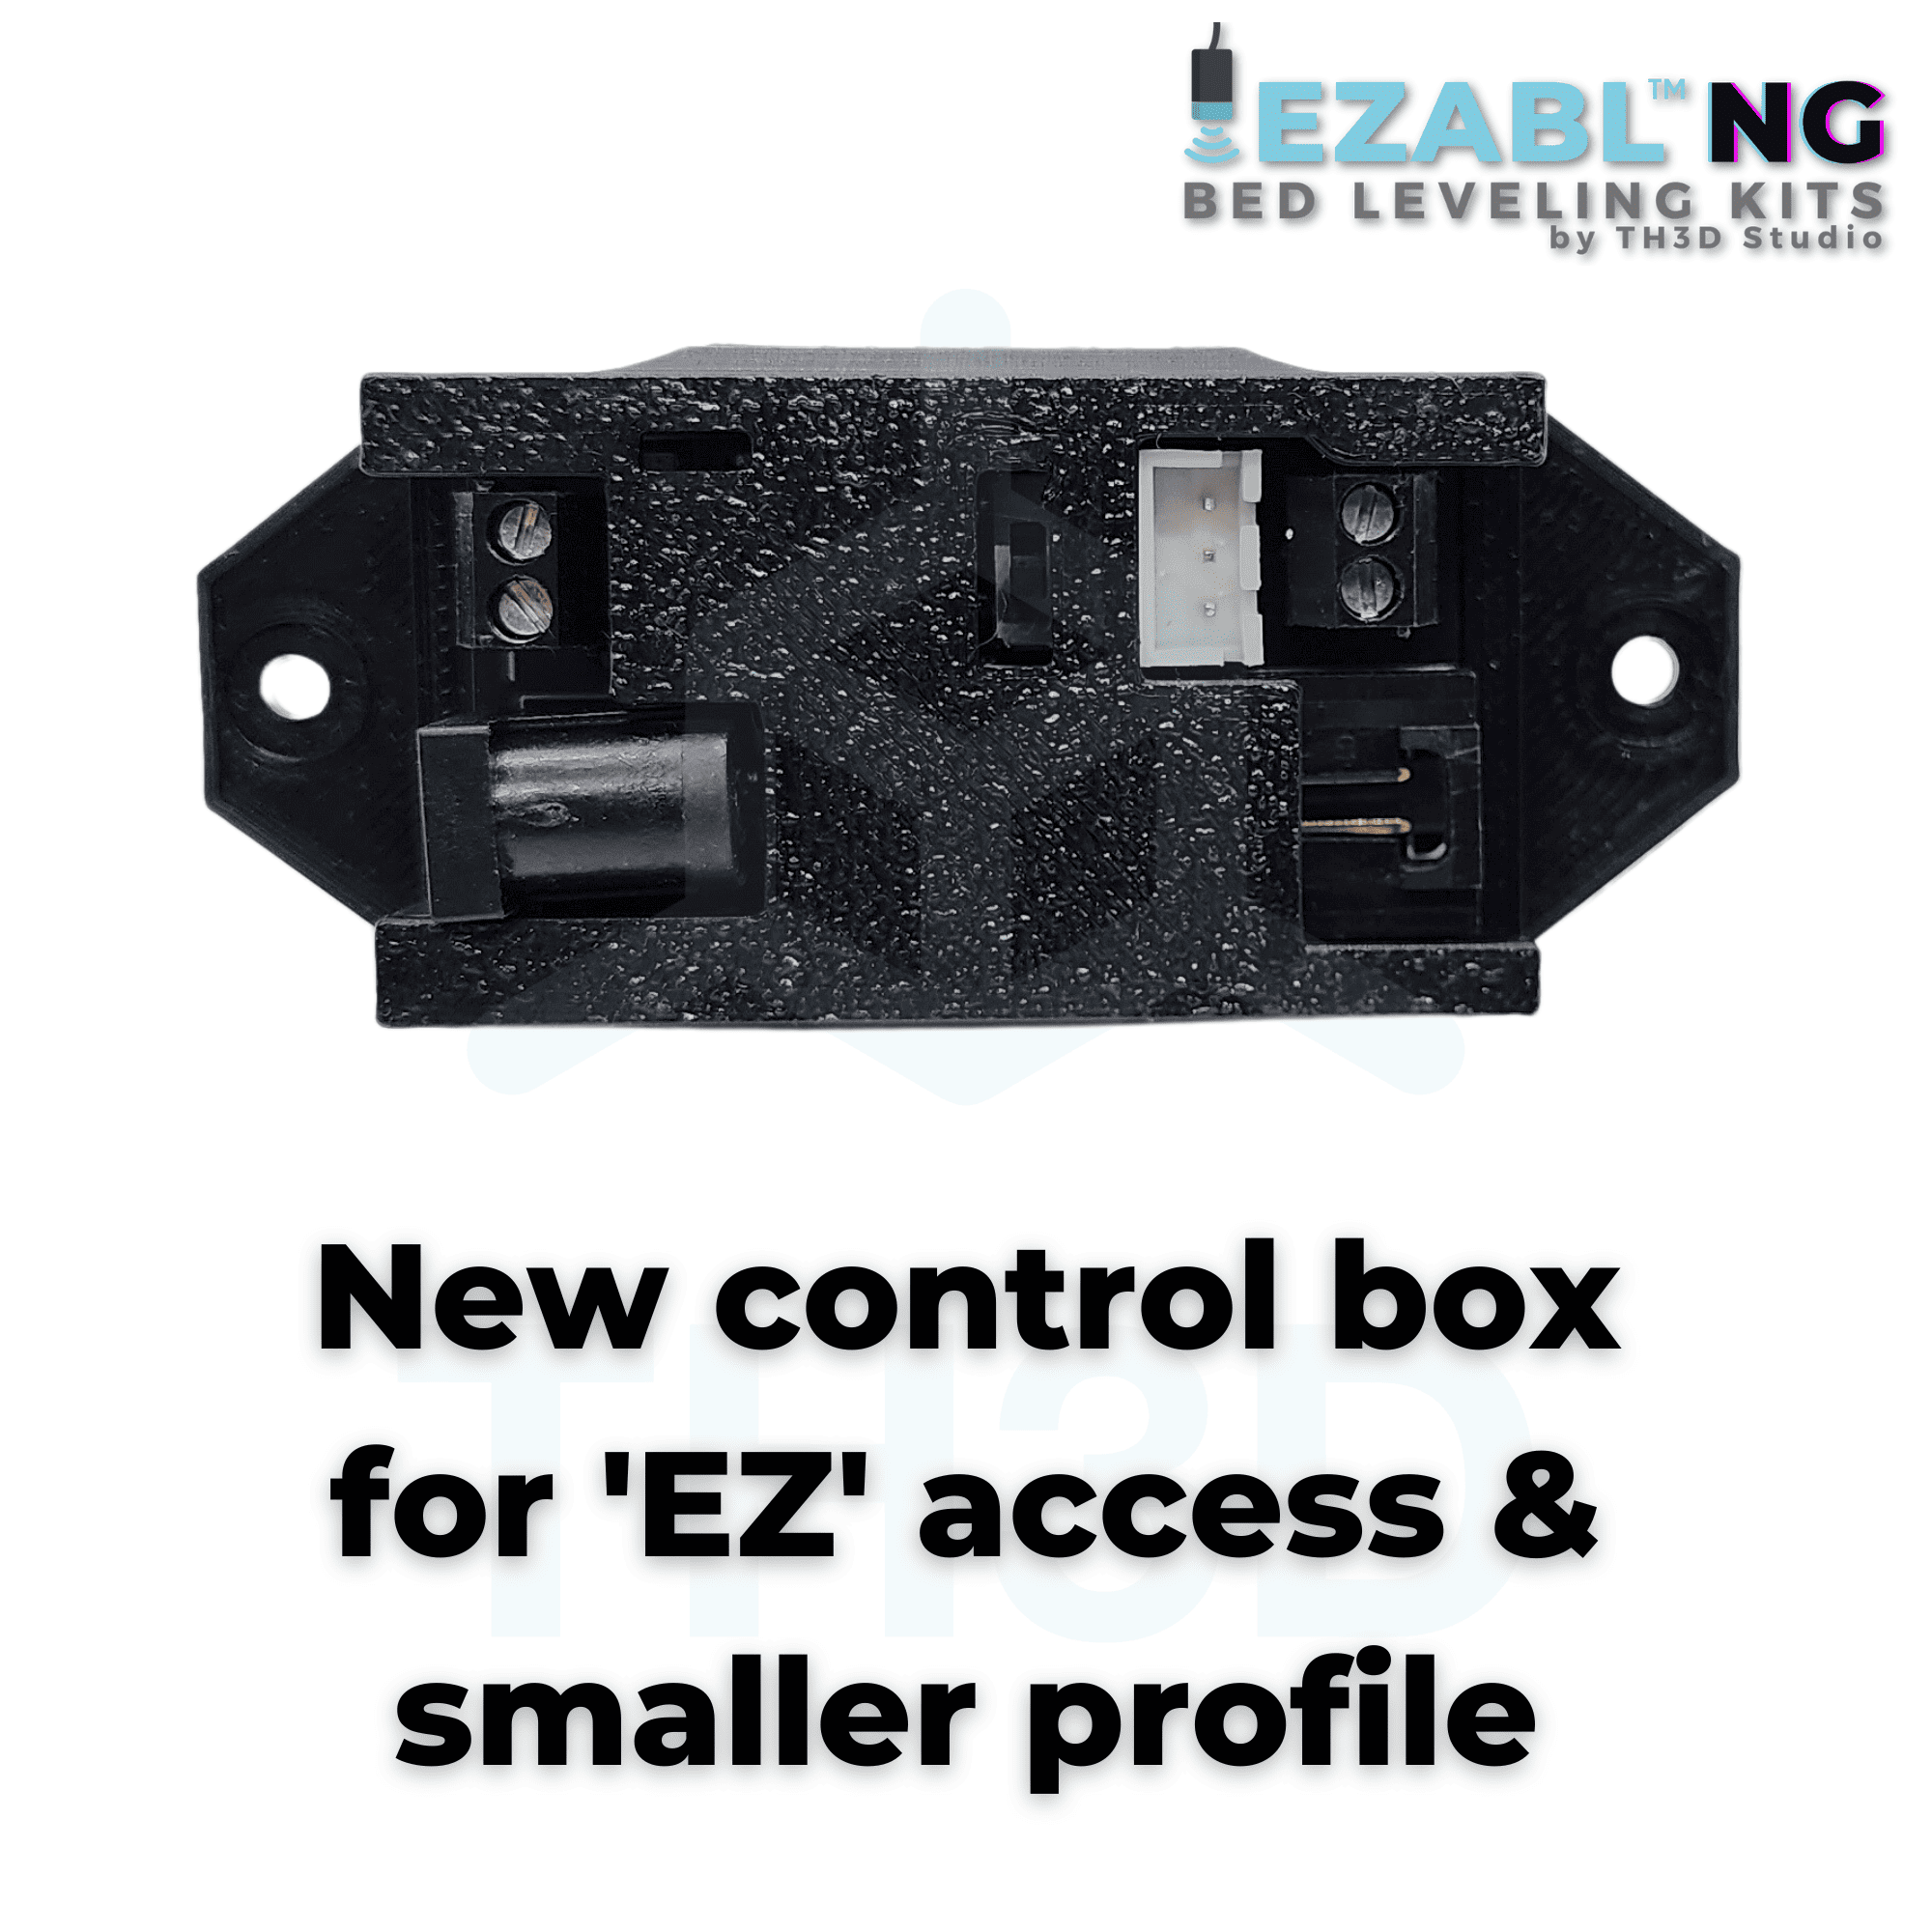
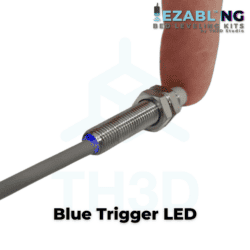
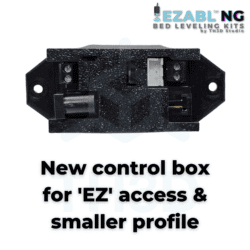
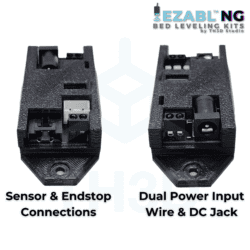
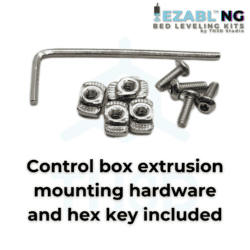
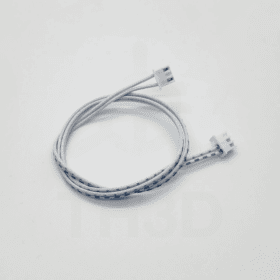
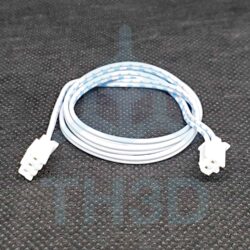
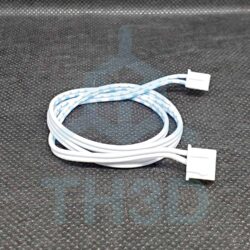
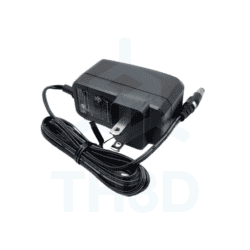
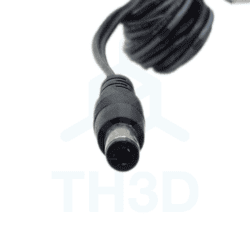
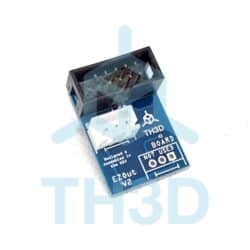
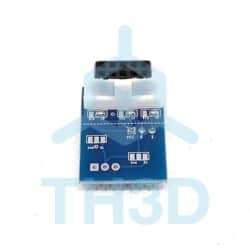
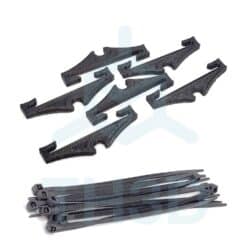
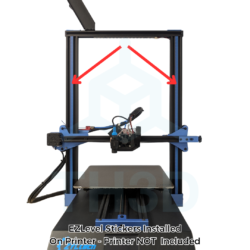
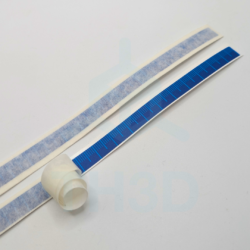
The EZABL™ Pro kit is a product designed, manufactured, and sold exclusively by TH3D to make adding automatic bed leveling (ABL) to your printer as easy as possible. Everything from the hardware and firmware to use the kit is tuned for the best performance by us here at TH3D and supported by our US Tech Support team.
Our EZABL kit works with most 3D Printers. To make sure we have firmware and official support for your particular printer model check our official compatibility list here: EZABL Printer & Firmware Support List
If you have any questions that are not answered on our page here then Contact Us or use the Live Chat before purchasing.
Installation Guide, Firmware, and STL Files
- EZABL Pro Installation Guide
- Unified 2 Firmware Download
- Klipper Setup Guide
- Sensor Mounts and other STL Files
Setting up with standard Marlin or have a printer with a 3rd party control board?
Check out our setup guide here: EZABL Firmware Setup for “Vanilla” Marlin
Troubleshooting Information Help Center in the “EZABL” section. Need help that our troubleshooting articles don’t cover or have a question? Send us a message with our Contact Us page.
How Does the EZABL™ Mount?
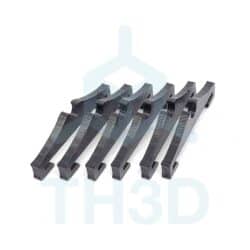
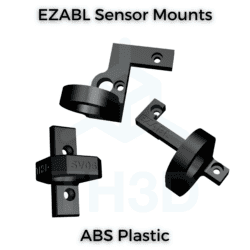
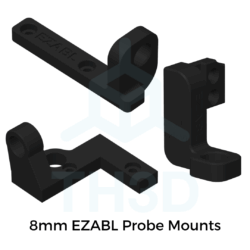
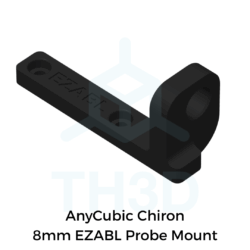
The EZABL™ mounts to your printer hotend and we supply STL files for over 40+ different mounting options for the 25+ machines we support. All our STL files are located in the Unified 2 STL Pack. You will either need to print a mount for your particular printer or select one from our OEM mount selection above.
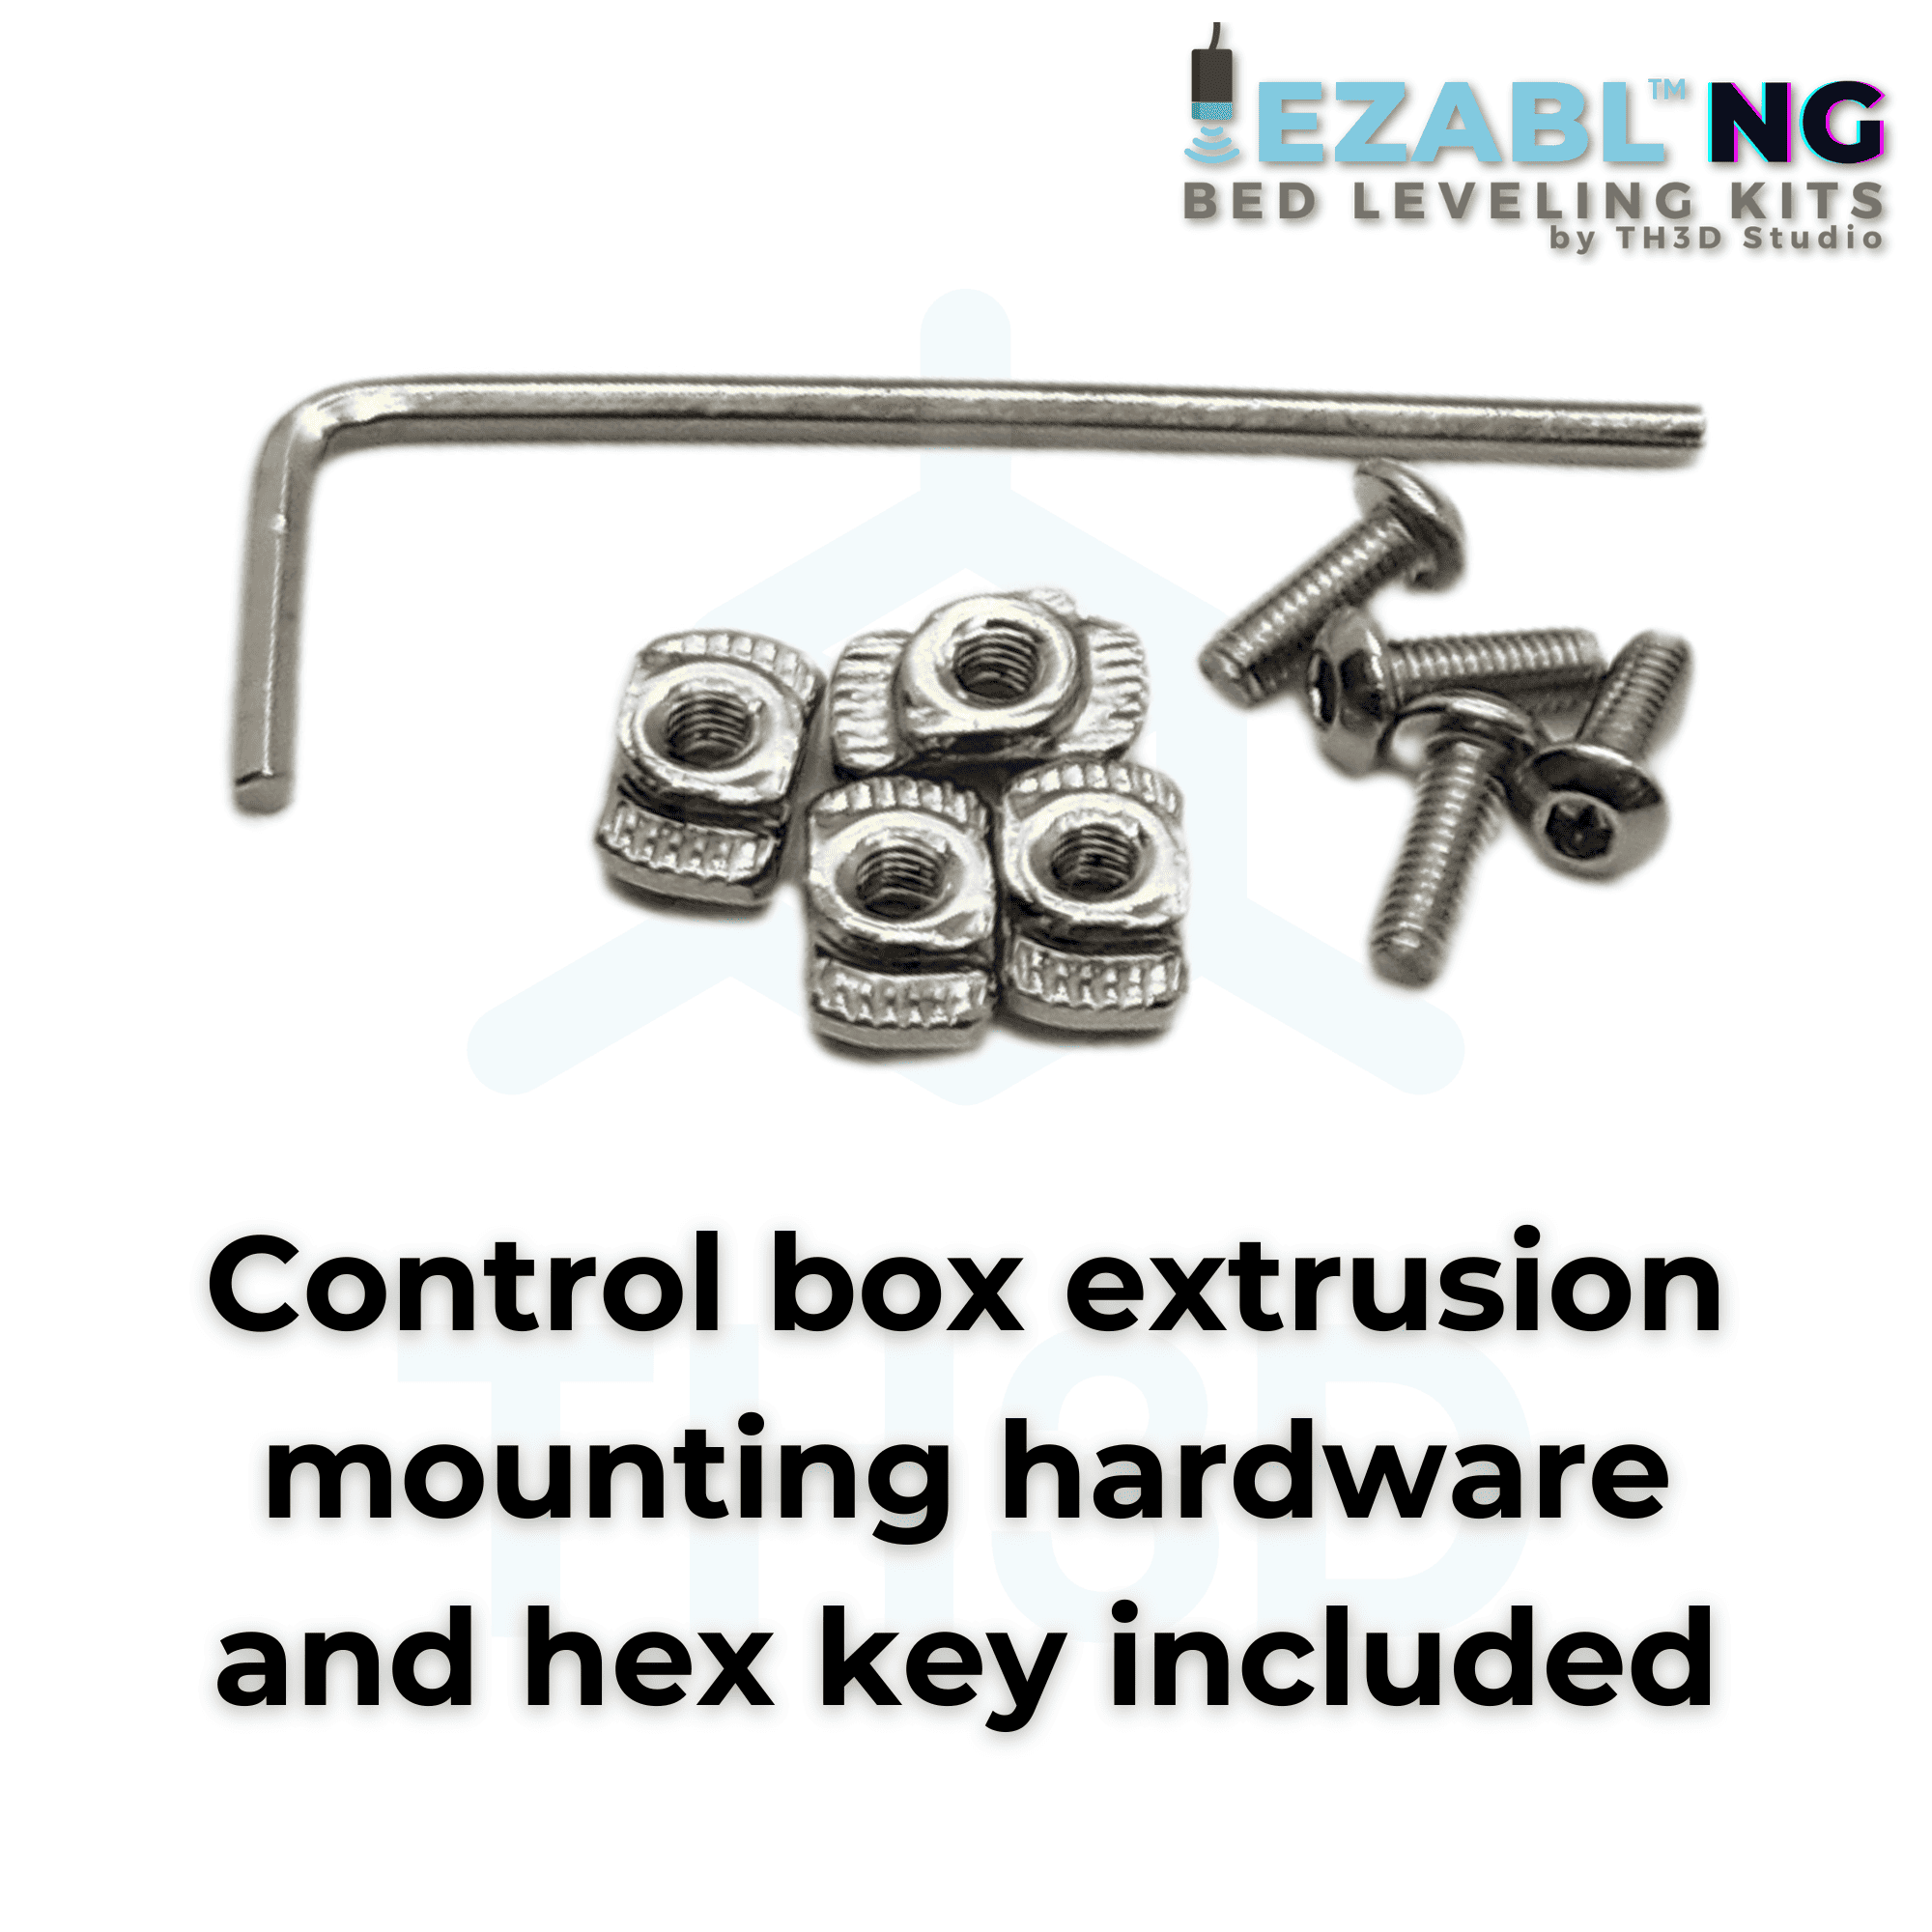
You may need some M3 screws (or others depending on the mount) to mount the sensor and we have a screw assortment that covers all the sizes you may need for all the most popular mounts.
Do I need to have a bootloader on my printer?
Yes, you do and most modern printers have this already loaded on the board. Almost all 32 Bit CPU boards come with bootloaders on them.
If your printer has a 1284p CPU on it, then you will need to flash the bootloader. Add on the Bootloader kit above.
If you are not sure you can use the Live Chat or Contact Us and we can let you know if your printer needs a bootloader flashed or not.
Does the EZABL work with Klipper?
Yes, these probes are supported by Klipper firmware. You can see our Klipper setup guide here: https://support.th3dstudio.com/helpcenter/ezabl-klipper-setup-guide/
Our support covers the EZABL probe setup. Before installing our probe you must make sure the rest of your Klipper setup is completed.
What is the accuracy of the EZABL™ Pro?
On a machine with no mechanical issues and a properly installed sensor our kits achieve 0.01mm or better accuracy. Most of our customers report a M48 result of 0.005-0.001mm when properly installed.
Can you include a sensor mount?
We have "OEM" mounts available above as optional addons but if you want a custom mount printed up we also offer print services in PLA, PETG, and ABS. Contact Us with the STL files if you want a custom mount printed.
How much does the EZABL™ Pro sensor weigh?
- 18mm is about 0.9oz w/2x Included Nuts
- 8mm is about 0.3oz w/2x Included Nuts
What is the maximum ambient temperature the EZABL™ can operate in?
The maximum ambient temperature recommended is up to 70C. We have tested them in enclosures up to 75C ambient temperatures.
Ambient is the temperature of the air around the sensor. You can use our EZABL on bed temperatures up to 150C.
Does the EZABL™ work on *insert surface here*?
Our sensors work on all print surfaces that you print on. Our sensors do not require a special type or color of surface to work. This means you can use them on glass, pei, steel, flexplates, garolite, and more!
What is the difference between the EZABL™ Pro/Mini/Micro?
Just the physical size and weight of the sensor. We have smaller sensors for people who want a smaller, lighter probe for specialized applications where the larger 18mm probe will not fit.
Will the EZABL™ Pro work with an AC Bed?
Yes! We’ve made major improvements to the new Pro sensors that make them work on AC beds that are properly connected with a quality SSR. If you use a good SSR (like the Mager we sell) then you will have no issues with your EZABL™ kit with an AC bed (and you can control the bed from your printer!)
Where is the EZABL™ Pro made?
The EZABL™ Pro is designed by TH3D and we use multiple suppliers across the globe to source the parts and build our custom EZABL™ Pro boards & sensors. All final testing, QC, packaging, and support is done here in the US.
I have a custom printer or one with a control board I swapped, will you setup my firmware for me?
The EZABL will work with any Marlin, Klipper, or RepRap based machine. However, our included support covers machines that are listed above with their original control boards (or supported aftermarket boards) and our Unified Firmware. On custom printers (this includes models we support but with their boards swapped) we cannot possibly account for every variation when a customer swaps their board or has a custom machine.
Does the EZABL™ Pro Kit work with OctoPrint/EZPi?
Absolutely! We love OctoPrint and use it here. Every one of our production machines has an EZPi kit on it and our EZABL™ kit.
Have a question we didn’t cover here?
No problem! Contact our Support Team or use our Live Chat with any questions you may have and we’ll be happy to answer them!
Warranty Information
6 Months Warranty - Our warranty covers any and all defects with the product. If your product fails or has problems within the warranty period you can contact our support team by using the Contact Us link. Technical support is limited to the scope of the product itself and not your entire machine.
Damage/Failure due to improper installation, improper usage, failure resulting from an issue with the machine the product is installed on, 3rd party products connected to our product, and/or modification of the product are not covered under warranty.
m.cornieles (verified owner) –
I try to be as honest as i can on reviews because when i make any purchase i rely on other people reviews….
So far this is the best piece of hardware and software I have added to my CR-10 printer.. is a shame i wait almost 18 month to do so.
This product simply works PERIOD. Since i installed the EZABL pro kit to my printer i have had only 2 bad prints and none were relate to the printer, it was the filament that broke due to a bad extruder….
I once said, all 3D printers should come by default with this EZable installed, that would change the experience of 3D printing… i had to go through a tone of issues because of not labeled bed but that is on the past…
5 out of 5 starts for this product…. NICE work TH3D.
(3) (0) Watch Unwatch
Rolo (verified owner) –
I was so sick of manual bed leveling using springs and adjustment knobs. I was never able to get it right and would get so frustrated I’d give up on most print jobs. I was ready to throw out the printer. I’d been considering the EZABL for sometime, but was intimidated by the install, and it turned out to be a lot easier than expected. This paired great with the Solid Bed Mounts! This was a life changing upgrade and I’ve never printed so well. I recommended it to a friend who was also having issues and it’s changed his life too. Highly recommended. My prints never printed as good as they do now. It definitely brings peace of mind.
(1) (0) Watch Unwatch
tbabcock67 (verified owner) –
This was my first purchase from TH3D and cant say enough about how well this works and the over all benefit it made to the quality of my prints. I am fairly new to 3D printing and will admit the physical install of the device is quite easy but getting all of the computer work done left me with multiple challenges. I would highly recommend doing all the research first before preparing to take on this task. Understand how to flash and set up the Unified firmware as well as the settings in your start gcode of your slicer. When complete, it performs just as advertised and even better then I expected. The support team is amazing and adds so much value to the purchase of the product it will be easy for me to buy more items from Tim and the TH3D group in the near future.
(1) (0) Watch Unwatch
David A. (verified owner) –
I’ve finally determined what my problem was,and now the ezabl works very good. The pre printed mount I got was well made,and easy to use. The written instructions along with the video were fantastic. Thanks for making a fantastic product with awesome support.
(1) (0) Watch Unwatch
spudmlgnjr (verified owner) –
Sure you can level your bed, but if the surface isn’t flat then what? Then you get the EZABL, now perfect first layers every time. Turned my CR-10S from a headache into a rock solid machine.
(1) (0) Watch Unwatch
CRUISER DON RUSSELL (verified owner) –
I AM PLEASED TO REPORT THAT THIS UPGRADE WAS THE CORRECT ONE TO MAKE. I THINK I AM BECOMING REALLY ATTACHED TO TH3D PRODUCTS. AS WITH MY OTHER ITEMS, I ENJOYED ALL THE VIDEO SUPPORT AND THE WEALTH OF THEIR KNOWLEGE BASE.
I’M STILL WAITING FOR MY REPLACEMENT STEPPER, BUT I DID PROVE THAT ALL IS SET-UP CORRECTLY AND AWAITING USE.
I FIND IT VERY EASY NOW TO RECOMMEND TH3D PRODUCTS, THEY GOT IT COVERED !
(2) (0) Watch Unwatch
Antony Pearce (verified owner) –
I have been printing for over two years with a couple of different printers. I installed an EZABL on my CR-10S on Tuesday night. Tonight is the first time I have ever walked away before the printer had finished the first layer, in fact it hadn’t even completed all the outlines.
(1) (0) Watch Unwatch
patrickjhenninger (verified owner) –
I’m fairly new to 3D printing, but I like to get my hands on technology as much as possible. I bought an Ender 3 Pro, without knowing ANYTHING about 3D printing. I ended up with a crash course on how things work, different terminologies, and was at it for about 2 weeks before I was tired of leveling my bed. I didn’t want to take a chance on an eBay kit, so I came to TH3D and started reading through different things, and decided this was the best kit for me. I ordered everything including the solid bed mounts and Arduino Uno. I will admit some of the instructional videos are fast-paced, but after watching, pausing, watching again- I got it tackled. My printer has been NONSTOP since, and the quality of what I’m printing has improved SO much.
I can’t speak for other printers, but if you have a Creality printer (Ender 2/3/Pro, CR, etc) then definitely get this!
Make sure you have some extra screws for mounting the sensor to the hotend, I lucked out and reused some from my extruder before I upgraded.
Oh, the Nerds were a nice touch.
(2) (0) Watch Unwatch
Kuba –
Will it work with creality cr-x?
(0) (0)
Tim Hoogland –
CR-X Support is not currently supported but it will be next week with a LCD swap.
(0) (0)
junaish –
I am planning to get this for both cr-10s and cr-10s pro. The cr-10s pro already comes with an auto bed levelling sensor. Will it be easy to just swap it out and place this in? Also, cr10s is 12v and cr-10s pro is 24v… Will that be a problem? One final question. There are two sizes. Which should I go for? I know it’s upto me, but which would be the right choice for both?
(0) (0)
Tim Hoogland –
The kits work with both 12V and 24V printers. For the Pro you need to install the LCD conversion kit as well as the EZABL conversion for that machine (CR-10S Pro LCD + EZABL Upgrade Kit) and it will not work with the stock printer firmware due to differences in the sensors. For both machines the 18mm sensor works perfect for both and they don’t benefit from the smaller 12mm sensor.
(0) (0)
glasseyi (verified owner) –
This has been the one of the BEST! upgrades I have done to a number of my printers!! Easy to set up! easy to use! Follow the terrific guide and your set for the best first layer you’ll ever get!! Thanks to Tim and the crew for another top quality upgrade!!
(2) (0) Watch Unwatch
Tim Hoogland –
This product is not going to magically fix all mechanical issues on your printer. It compensates for the bed, that’s it. All the points in your review are valid but you’re dinging our product rating because your printer is not properly assembled. Having your machine properly built and dialed in is essential to ANY ABL probe. Leaving a low review on our product because your printer is not properly built is not fair at all. Our team spends a lot of time determining issues with peoples printers. If we really didn’t care about helping you we would tell you outright that it’s your machine to fix and leave it at that. Instead we do help people determine where their printer issues are so that they can use the product.
(9) (0) Watch Unwatch
mmathosian (verified owner) –
Easy to set up. Incredibly accurate and consistent results. This is my second EZABL kit from TH3D and I wouldn’t use anything else!
(1) (0) Watch Unwatch
Joan Serfati –
Hi! Thanks for your review. Could you give me more information about your printer? What are the upgrade you did? (to store cable so cleanly + your direct extruder).
(0) (0)
Tim Hoogland –
Not sure what machine you are referring to. Please submit your inquiry here: https://www.th3dstudio.com/contact-us/
(0) (1)
Joan Serfati –
I was answering to the comment of “mmathosian (verified owner) – October 26, 2019”
his machine looked so nice 🙂 I found out that he printed the chains .
(0) (0)
Question
Jason Rodriguez (verified owner) –
Good Evening,
I have previously purchased two of your ezabl sensors. My first purchase was your version 1 ezabl a few years ago. I will admit I was a newbie to 3d printing and never installed it because I was unsure and didn’t have the time to fully understand about how to install a bootloader etc. I currently have a cr-10 and in the last few months have finally dialed in my printing after seeing that you were selling a new updated ezabl. I purchased your new ezabl along with a ton of accessories to include a sensor mount, Arduino uno, ez-pi, and many many other products. I just recently purchased a second 3d printer and I am looking to install my version 1 ezabl onto my new tevo tarantula pro. I am attempting to place another order for some parts for that printer and was wondering if it is possible to order the tevo tarantula pro sensor mount in abs from your site. Unfortunately I am unable to find just the mount for sale with out purchasing an all new ezable sensor. I love your sensor but after several purchases I need to try and save as much as I can and I wanted to finally use the version 1 18mm sensor that I have laying around that I never used. I located the file you provide on your site to print the sensor mount but I am currently in the process of printing a life size R2D2 in pla and cant spare the printer, hence my purchase of a new printer, nor can print in abs at this time. can you please let me know if it is possible to purchase the ezabl mount in abs from you without purchasing the new sensor. I have an order pending as I wait. Sorry for the long explanation but I really love your sensors and products and since buying them have been finally printing nonstop. thank you in advance for your help.
(0) (0) Watch Unwatch
Tim Hoogland –
You can contact our support team at support@th3dstudio.com for a custom one-off mount request. We can do that through a custom charge. It is important to note that the V1 and V2 kits are NOT 24V compatible. Only the V3 and V3.1 kits were 24V compatible.
(0) (0)
skater-boy24ryan (verified owner) –
Strate out of the box I had issues with my CR10S hot bed being warped. After months of issues and countless YouTube videos on fixes using tape etc. I stumbled upon th3d and their EZabl kits. I was sold immediately as I was desperate for a solution. So glad I did. With their firmware and ezable I now have peace of mind that my printer is not only safer to use but also I am no longer wasting filament and getting amazing prints every time.
Thank you Tim and team for the awesome firmware and products.
(0) (0) Watch Unwatch
jeff.buzzell (verified owner) –
The install was easier than i expected. followed the instructions and bam, it worked. Great upgrade though makes me realize how warped my bed is.
The things i would change are some better cable management for the control box and a better connector for the power in the control box. the small wires and location are difficult to connect up.
(0) (0) Watch Unwatch
Paul Gariepy (verified owner) –
Amazing unit and firmware. It has made printing on my cr5 s5 fun again! no more bed leveling issues! it just works every time!
(0) (0) Watch Unwatch
TreeClocker67 (verified owner) –
Do you spend your precious time leveling your bed manually like some kind of 3D printing cave man? Do you want to have beautiful first layers? Do you want the ability to hit print and not have to worry about watching your first layer to see if your manual leveling job turned your nozzle into a bed engraving tool?
Then buy the EZABL Pro and throw that paper away. Rejoice knowing that after you install the EZABL Pro you’ll be saving trees from being used as a leveling too.
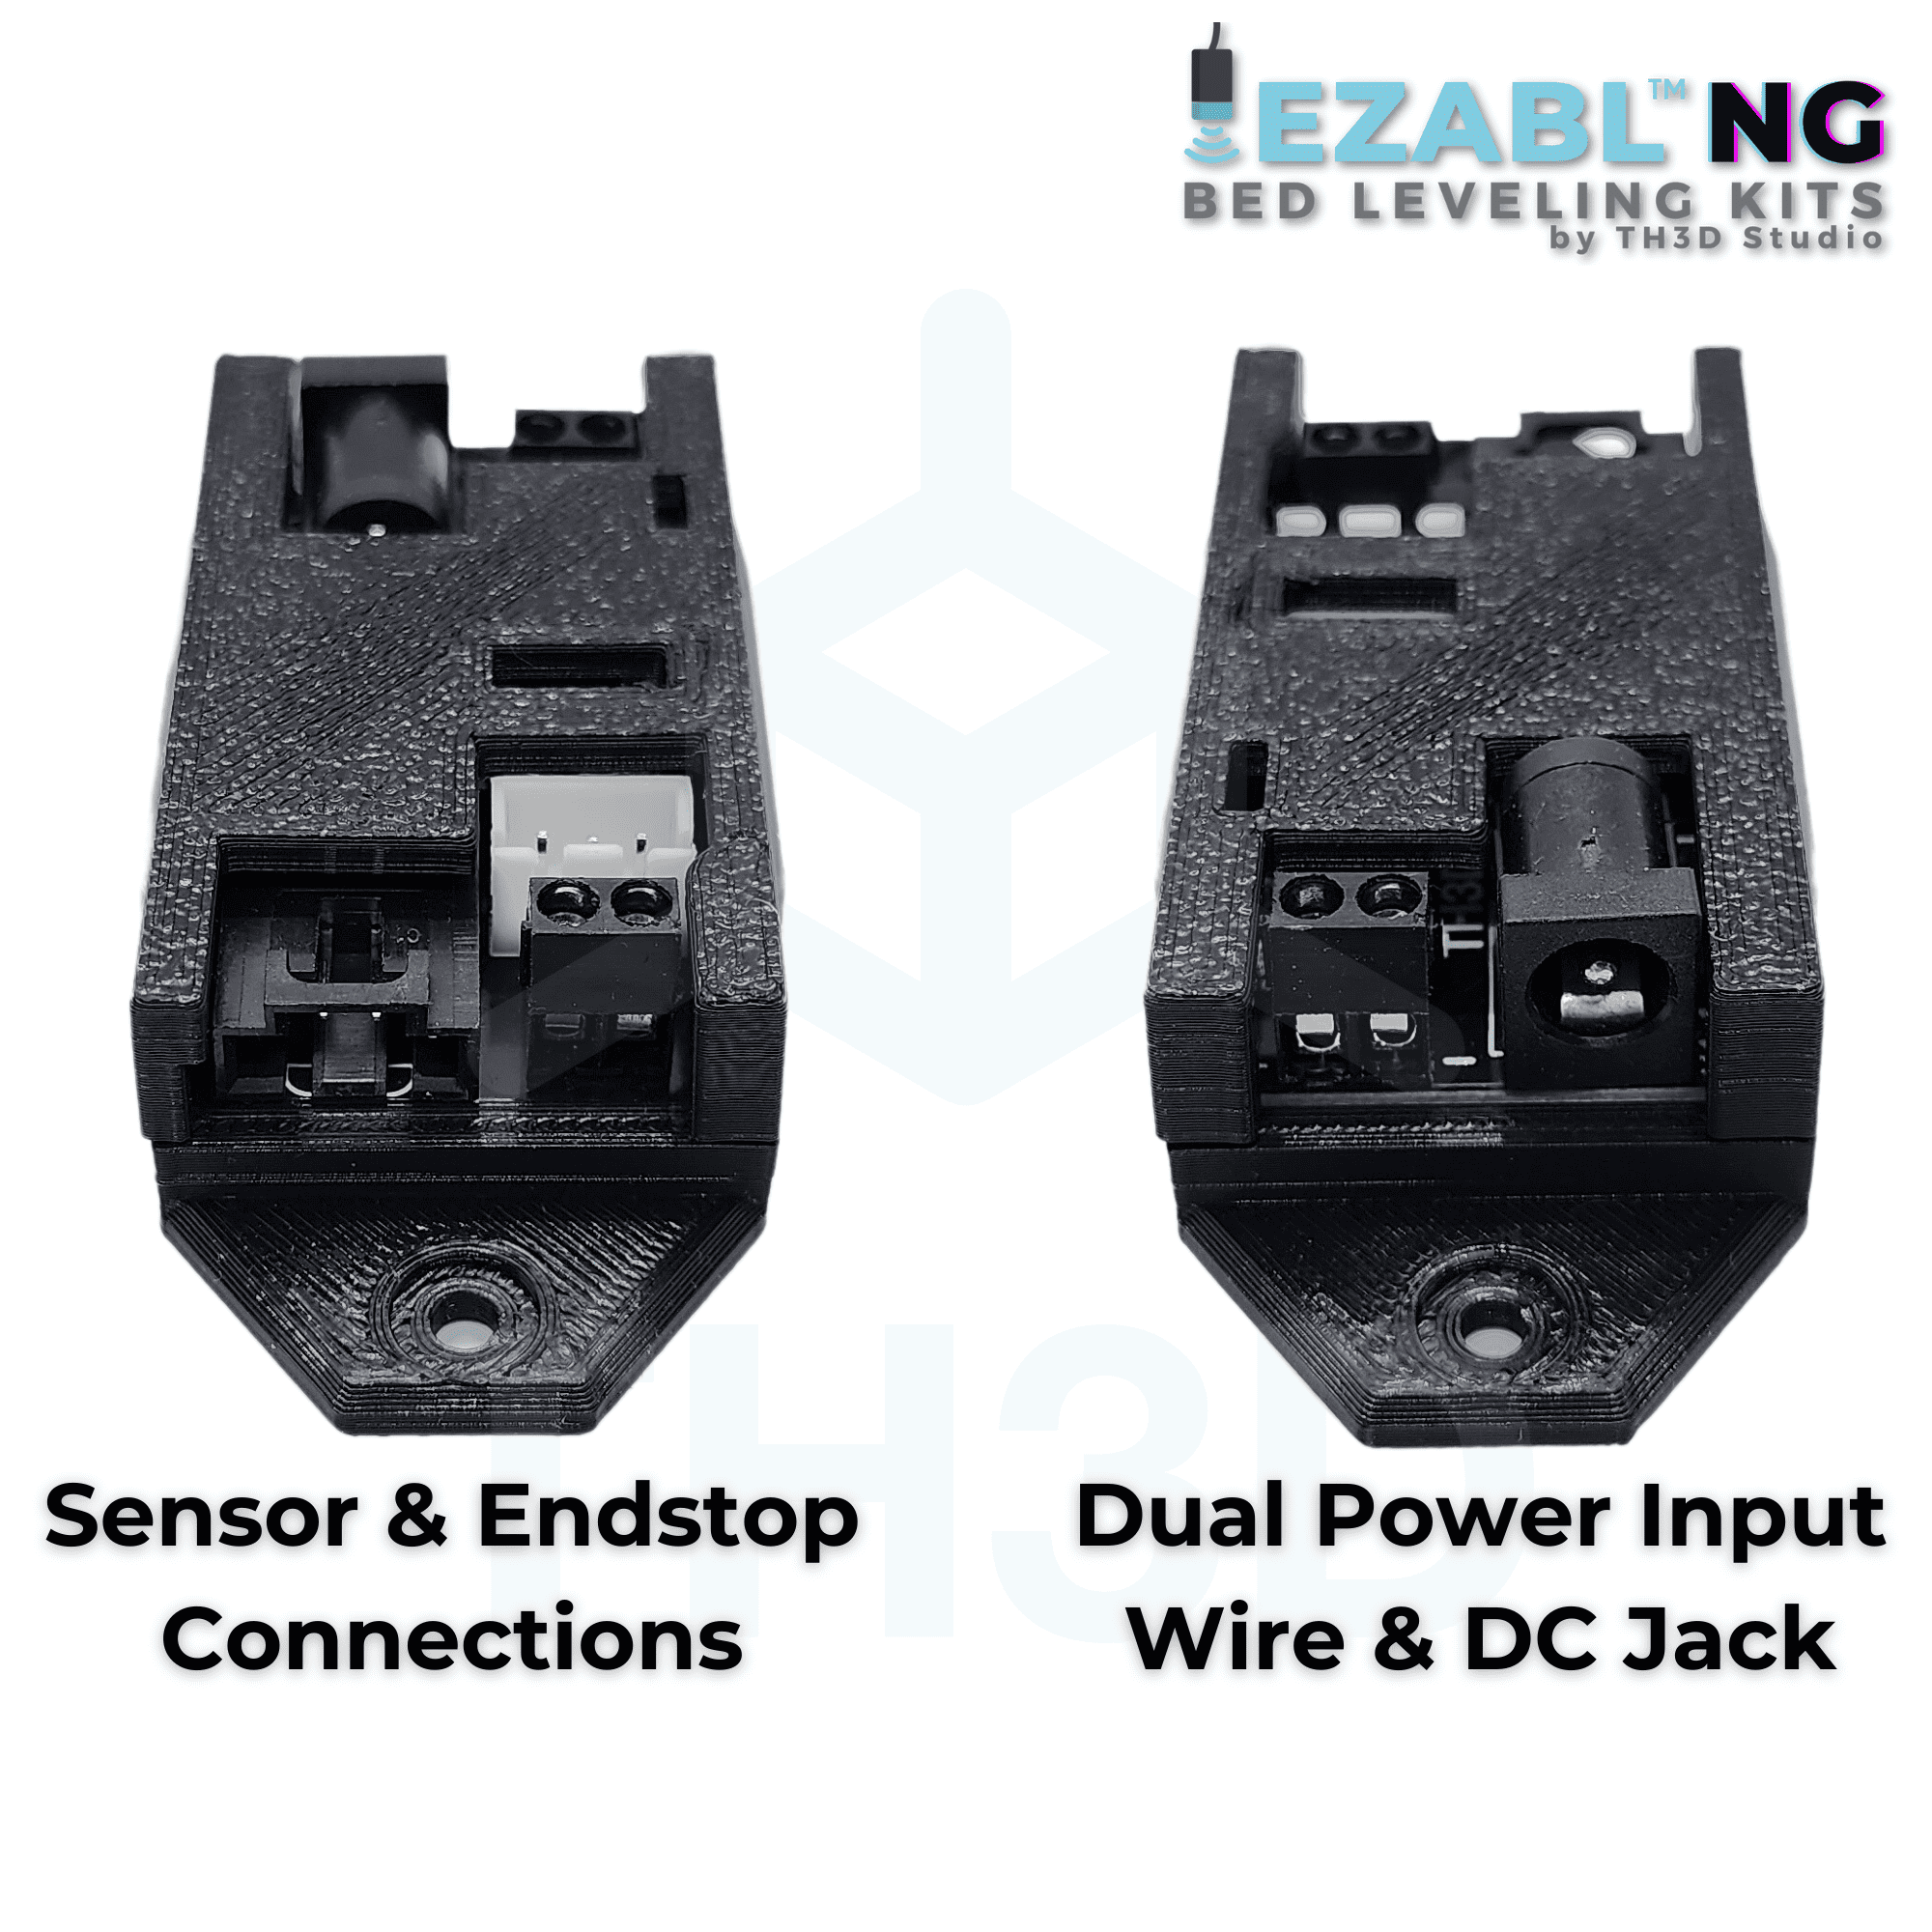
The installation of the EZABL pro is way easier than the old version, the included case has more mounting options, the option to directly power it via a plug OR direct wire, no more plug cutting, the color scheme.
The EZABL Pro/EZABL are on both my printers and make printing life so much better.
“Just do it. Don’t let your dreams be dreams” – Shia Labeouf
(0) (0) Watch Unwatch
Tim Hoogland –
OMG. Best review ever. Love it! <3
(0) (0)
Cecil Clontz (verified owner) –
After struggling for more than 40 hours with two different BLTouch V3.1 on an Ender 3 and finally determining that despite all the guides and all the firmware changes, it just wasn’t going to work. I received the EZABL sooner than the tracking said and it was installed in under an hour. It works exactly as advertised. The guide and video were extremely thorough and the kit is well designed. The Unified firmware was packaged well which made it simple to configure and compile. I wish I had started with EZABL and not BLtouch but lesson learned.
(5) (0) Watch Unwatch
JAMES SCHINDEWOLF (verified owner) –
I thought I was the only one struggling with the BLTouch v3.1. Reading this review solidified my decision to purchase the EZABL.
(0) (0)
Pat –
Will this work with an SKR 1.3 board?
(0) (0)
Tim Hoogland –
The EZABL will work with boards running Marlin in general. The important thing to know is that our support team covers technical support with machines that are listed on the product page in terms of firmware setup and troubleshooting. If you have a 3rd party board (like the SKR) you will need to setup your own firmware for that board and then follow the guide we have for setting up the sensor with Marlin: https://www.th3dstudio.com/knowledgebase/ezabl-setup-for-vanilla-marlin/. Once all the firmware is setup if you do have questions about the EZABL itself, not the firmware for the 3rd party board, that would be covered under the included support.
(1) (0)
Spencer Francisco (verified owner) –
I’ve been a BLTouch evangelist for awhile until I did my own independent repeatable tests to find that it wasn’t as consistent as I hoped. This was after doing all kinds of bed adjustments from different springs to removal of springs. Still couldn’t get the best first layer. After doing some homework on the EZABL, I couldn’t believe I didn’t have this sooner. The install was pretty straight forward and the Unified Firmware had some simple configuration to get started. So far I’m very happy with the results. Thanks guys!
(0) (0) Watch Unwatch
Question
Troy –
Is EZABL compatible with End 5 Pro?
(0) (0) Watch Unwatch
Tim Hoogland –
Yes this works with the Ender 5 Pro.
(0) (0)
Barry Mizes (verified owner) –
I had manually leveled my bed and been using it that way for a number of months. The problem was that the glass was warped to varying degrees and so while I could get a few areas level, other areas would not be level. As long as I printed in these distinct leveled areas, everything was good. Last week I decided to print something large, and of course, those parts in the unlevelable areas did not adhere properly. Being tired of this nonsense, I bought the EZABL Pro kit and installed it this morning. Using the printed guide and the video, the installation was easy (I had already uploaded a bootloader and new firmware). To really test how well it worked, my first print was a large item that I set to print dead center where the worst warp had been. I’m happy to report that the first layer printed perfectly – everything adhered and no curls or missing areas. I know there are lots of options out there for bed leveling, but what sets Tim’s gear apart is that he has made it easy for anyone to install and use it. It just plain works. Thanks again for a well designed and supported product.
(0) (0) Watch Unwatch
Brynn MacFlynn (verified owner) –
All the issues I had installing this were my fault. Period, end of discussion.
The biggest thing to remember is that when you’re adjusting the sensitivity, you’re setting the point at which you want to stop to keep from crashing into the bed. So when they say you want the light on, you want the RED light on, and only just on. When I first installed it and calibrated I set the red light to be just barely off. That was a poor decision, leading to inconsistent leveling and driving my hotend into the bed many times before I sucked it up and redid everything.
Now though? I’ve gone from fiddling with everything multiple times in the first frantic minute of a print to (with solid bed mounts) twiddling the nob once or twice to babystep and then walking away. Much easier, more consistent, and less stress and fretting. My one problem is the starting gcode provided puts the swipes on the very edge of the build plate–however since I’m using a mirror bed from Ikea, I have to put the mirror on the very far left in order to avoid printing into thin air. Not a problem by a long shot, just means I’m watching for those magnetic build sheet sets to come back in stock ASAP!
(2) (0) Watch Unwatch
Cornelius H (verified owner) –
I thought I’d order it and wait for a good day to dedicate to configuring a new setup, but overall this was far easier to setup than the Ender 3 pro and/or using an Arduino to flash the Ender firmware to Marlin ( which I was running before I bought this). A pdf scan and youtube video later and this thing is printing better than I could have imagined. On top of that, I went for the solid bed mounts which makes this all even easier.
Definitely happy with this purchase. It’s going to save me hours on printer troubleshooting and setup.
(0) (0) Watch Unwatch
marc –
I’m trying to figure out if this upgrade will work with another upgrade I’m considering. I’m considering installing the Silent Mainboard V1.1.5. The problem I foresee is that both upgrades require their own firmware to be flashed. I’m new to this 3D printing but the computer part of the process isn’t making sense if I want both. Is it possible to run both?
(0) (0)
Tim Hoogland –
Yes, it will work with the Creality silent board and we have that board supported in our firmware. 🙂
(0) (0)
iain.wheeley (verified owner) –
I can’t believe I waited so long to bite the bullet on this purchase. Easy to install and calibrate and I have now pretty much given up on baby-sitting my first layers on any print I do for PLA, PLA+ and PETG as I know it will come out perfect.
3 Thumbs up
(0) (0) Watch Unwatch
pumbaa17 (verified owner) –
The EZABL Pro was a Christmas present to myself and at first I was not sure I was happy with it. It was a journey and in the end all of the issues were mine. That said I now have an Ender 3 Pro that is fine tuned to consistently deliver a great first layer and great quality prints overall.
The setup guide was easy to follow and detailed. I had the unit installed and configured in no time at all but initially my print quality did not change a bit. I contacted support and began my journey with Mac began. He was quick to react, provided detailed guidance and suggestions and when available include links or photos to help explain the actions he was asking me to take. We were pen pals for almost a month. This had everything to do with me and my schedule and nothing to do with TH3D/Mac. I almost always had an e-mail response within 24 hours.
In the end,all of the issue we mine and easily resolved. I now have a supremely aligned printer frame, fully grounded and calibrated sensor. Very happy with my purchase and my introduction to TH3D.
Tim – I cannot say enough about the support that Mac provided. Timely, professional, patient with a relatively new user and always there with a suggestion, advice or guidance. If all of your team provides the same level of customer service your company has a great future. Thanks for the great products and service.
(1) (0) Watch Unwatch
reconit (verified owner) –
Ordered from Australia, arrived quick but more importantly it is running fantastic. It is by far the single biggest hurdle to 3D printing (getting a bed level) and it is now fully automated on my machine. Took about half a day in time to get it all operating to the level I am now very happy to achieved with the EZABL. Well done TH3D you have developed a great product, let me know if you ever decide to IPO.
(1) (0) Watch Unwatch
Myles W. (verified owner) –
Bed levelling is one of the biggest hassles of most 3D printers. I stopped 3D printing for almost a year because I was constantly getting frustrated with bed levelling issues. Now i’m back to printing everyday and I know I can just turn on the printer, fire up a print, and have consistent results every time.
Just a warning though, ABL can only compensate for so much, you have to make sure your bed is trammed reasonably well (making sure it’s as parallel as possible with the X gantry). But once you do that, you never have to touch the bed knobs ever again.
I have taken off one star because the OEM Ender 3 mount option is poorly designed, and poorly printed on top of that.
– The adapter rings to fit the 12mm sensor have elephant’s foot and therefore would not fit over the sensor’s plastic threads without damaging them
– It blocks the bolt for one of the carriage wheels
– Too thick around the screw holes, preventing the screws from threading into the carriage plate. Had to ream them with a drill bit.
– Unnecessary overhangs
– Very rough, inconsistent surface finish
The mount will get you by, but if you already have a working printer it’s much preferable to print a mount from Thingiverse. I ended up designing and printing my own mount which is much more suitable for the Mini.
(0) (0) Watch Unwatch
Tim Hoogland –
Sorry you weren’t happy with the printed part quality on the mount parts. Can you email support@th3dstudio.com and we’ll get it taken care of for you? Thanks!
(0) (0)
Question
kyle perlman (verified owner) –
The yellow wire labeled “W” on the board snapped and the probe no longer works. When I open the rubber casing I see the 3 other wires, but not the yellow one. Where is it? Thanks! 🙂
(0) (0) Watch Unwatch
Tim Hoogland –
We don’t have a yellow wire on the probes. Maybe you are referring to the white one? If so that connects to the ground shield on the cable for EMI but that would not prevent the probe from functioning. Please contact our support team here: Contact Us
(0) (0)
Question
Jonathan Chappell (verified owner) –
How do I install the G-Code for my Ender 3 Pro using Cura 4.4.1?
(0) (0) Watch Unwatch
Tim Hoogland –
See here: 3D Printing Questions – Custom Start G Code in Slic3r, Simplify3D & Cura Slicers
(0) (0)
hrsnround34 (verified owner) –
Very Easy hardwire install on my Ender 3.
I watched the videos a couple times in the last week before ordering. Once i got the EZABL it was such an simple install.
I only did this upgrade so i could switch between surfaces without having to re-level the bed.
I probe 9 spots on the bed and the variation from spot to spot is 4.5 to 4.7. so the bed is definatly not warped.
You must follow the Z calibration instructions. Watch the video. Do not pinch the paper under the nozzle like you do on manual level. Just let it grab the paper. I had my nozzle so tight to the bed that the fillament was jamming and backing up in the tube. After cleaning the 4th jam. I re-watched the video and saw how Tim just let it grab the paper and then backed it off using the baby stepping. I then did the same and i have had perfect prints every time.
I have tested going from a magnetic surface, to a TH3D EZMat on a hard plate to a glass surface. Now i just change surfaces, tell it to print and let it run. No readjust needed.
(0) (0) Watch Unwatch
Question
DGG –
So is this an inductive sensor or touch sensor or some other technology? Inductive sensors won’t work on most glass beds and touch ones are more fragile. I have a glass bed Artillery Sidewinder that has never worked with any inductive sensor I’ve tried because its 6mm lattice glass.
(0) (0) Watch Unwatch
Tim Hoogland –
We’re using custom made 600hz sensors. They run on capacitive technology and are extremely accurate. Many people will spread false information about capacitive sensors because of experiences with low end ones that do not perform (like Toms3D video on sensors).
(0) (0)
carlos varas (verified owner) –
I had been using a generic sensor with an optocoupler for a while and could never get the level quiet right on my cr10 with mirrored glass. I tried everything and nothing worked until this sensor. I have to say that quality really does matter. While my previous sensor technically worked this one is sooo much better. I have a pretty warped bed and this thing just printed the best first layer covering most of the bed Ive ever seen!
(0) (0) Watch Unwatch
justin.toner (verified owner) –
So now I can finally press the print button and confidently walk away knowing I will have a perfect print! I have upgraded two ender 3s, a cr10s pro and am getting ready to do my ender 5 plus as well. The reason, well since I put this abl on my ender3 it has been the most reliable printer of the bunch. I removed my skr mini and touch screen from my other ender3 pro with bl touch due to inconsistent prints and lots of issues. Swapped back to a 1.1.5 silent board and put the ezabl on with th3d firmware and now it too prints perfectly every time. Cr10s pro has been a nightmare trying to get consistent first layers. Hoping the ezabl kit I have for it but yet to install will make it print as well as my enders 3s. The cr10s pro and ender 5 plus won’t pause for me in cura post processing to make the printer pause at an exact layer to be able to change colors. Only the ender 3s with th3d firmware have worked for me when trying to do this so that and the perfect first layers are why all 4 of my creality printers will be ezabl outfitted.
(0) (0) Watch Unwatch
justin toner (verified owner) –
update…now the cr10s pro is printing beautiful, consistent first layers! Just have to install my new kit on the remaining ender5 plus in my farm and I will have all four of my printers running the exzact same setup making my life much easier!!! Thanks Tim
(0) (0)
ssmith40 –
After 3 months of pulling my hair out. It was very frustrating only getting 1 print out of my CR10-S Pro then spending 2 days of frustration trying to re-level the bed because the stock sensor was rubbish.. I saw the EZABL pro and of course thought Naah it wont fix the issue..
I was hesitating if I should spend anymore money on the printer.. I was ready to cut my losses.. But decided to give it a try..
Well all I can say is WOW.. what a difference this thing makes.. I just send the gcode now to the printer and walk away..
The EZABL combined with the solid Bed mounts and your bed leveling issues are a thing of the past.. I cant recommend the EZABL enough now..
(0) (0) Watch Unwatch
Ken (verified owner) –
This sensor works great on my Cr-20 Pro. It can probe the bed much faster than the BLTouch V3.0 the printer came with, all while staying extremely accurate even after it heats up. The EZABL is really easy to install and it is extremely straightforward to calibrate. The installation guide was easy to follow and documented each step perfectly. The build quality of this sensor is miles above the BLTouch and has no moving parts to break.
After using the sensor for a couple of months it still functions perfectly. The only problem I’ve had so far was not related to the sensor, but to the printer itself. I’ve noticed that if you tighten the eccentric nuts for the bed too much or one is tighter than the other is skews the results. If you are having problems and think it isn’t compensating correctly, I highly recommend checking the eccentric nuts for the bed.
(0) (0) Watch Unwatch
besunagel (verified owner) –
What a difference this made, ABL in less time than the BL touch. Easy to install and calibrate, got my bed tuned in tight. Loved it so much, got another one for my other printer.
(0) (0) Watch Unwatch
Question
Cheyne Ross –
Is there any way that the EZABL Pro works with Anycubic i3 MEGA?
(0) (0) Watch Unwatch
Tim Hoogland –
Not at this time but with our upcoming firmware refresh that is due out at the end of March 2020 we’ll be able to add that machine in with the LCD kit we’re also developing.
(0) (0)
Question
MICHAEL A BAUGH –
does it work with the oem ender 5 plus
glass bed
(0) (0) Watch Unwatch
Tim Hoogland –
Yes, it works on glass surfaces with no issue.
(0) (0)
David –
Hi, Does this work with the Creality Silent Board on an Ender 5 Pro ? Would I still need to install the boot loader, as my understanding is the Silent Board has one installed. Thank you!
(0) (0)
Tim Hoogland –
It will work with the silent boards from Creality and is supported in our firmware. As for the bootloader that has been hit or miss. Creality has shipped some with no bootloader in the past. To see if you have one try flashing our firmware (dont enable the EZABL settings) and see if it uploads to the board. If it does upload then you have the bootloader. If it does not upload then it needs the bootloader.
(0) (0)
Question
Dennis –
Is the CR-X now supportet?
(0) (0) Watch Unwatch
Tor Blazeby (verified owner) –
We have a few things to finish up for the CR-X but it should be supported soon
(0) (0)
Tim Hoogland –
It will be this week. We need to add the mount to the site as well for people using the machine. You’ll need 2x M3x12mm Screws for the OEM mount for that machine.
(0) (0)
bruce boots (verified owner) –
This was easily installed, works great and has many places to hide the adapter box.
(0) (0) Watch Unwatch
ryandkaiser (verified owner) –
Installation was a breeze. The one question I had was answered via email within minutes. You can’t ask for better documentation. Calibration was a pain for me, but only because my bed was so incredibly warped. After reviewing the troubleshooting guide, I realized it deviated in height too much for the sensor to handle, so I put spacers under two of the solid mounts, which brought it within about 1mm and “viola!”–instant first-layer porn–every time. I love this company and will always look here first when I need something for my printer.
(0) (0) Watch Unwatch
Andrew Esquivel (verified owner) –
This thing is blazing fast compared to the BL touch, Its just as (if not more) accurate too. My 7×7 scan in super fast probe mode makes the BL touch look like a joke. I can get standard deviations of 0.0005.
its just better in every way. it was easy to install. Such an easy thing to recommend.
(0) (0) Watch Unwatch
Kurt Medley (verified owner) –
I installed the EZABL in conjunction with the solid bed mounts for my Ender 5. After some fiddling with my z-offset, I’ve got this thing dialed in. Not having to level my bed in between prints has been amazing. This device practically guarantees repeatable, perfect first layers* across the dimensions of the bed. I don’t babysit my first layers anymore. I won’t be considering another printer without ABL now. The EZABL spoiled me.
*it did for me ;D
(0) (0) Watch Unwatch
Walter Dominguez (verified owner) –
This thing is awesome im new to 3d printing and was afraid it would be to complicated for me but i grew tired of having to level my bed. This was super easy to setup on my Ender 5 Pro just take your time and follow the instructions customer support was awesome to answer my only question even with this covid-19 stuff going on got it delivered super fast. If you have a 3D printer you need this!! All my prints now are perfect!! Also got some free Nerds candy always a plus.
Thanks TH3D
(0) (0) Watch Unwatch
Collin Farmer (verified owner) –
Although many will argue that only lazy people use an ABL sensor, this is the best upgrade I have ever bought for my Ender 3 Pro! Don’t even bother with the BLtouch. That thing is trash compared to the EZABL. BUT BUY BUY
(0) (0) Watch Unwatch
Nate Gilstrap (verified owner) –
This was an absolute game changer for my Ender 3. I have struggled with bed leveling since day one. Would get good prints but have to level after almost every print. I opted for the solid bed mounts from TH3D as well as the EZABL PRO. The install was super simple and after about an hour I was up and printing. I feel much more comfortable with setting my print and walking away now. Thanks for the quality products! Happy to have you in Indiana as well, shipping was crazy fast.
(0) (0) Watch Unwatch
Question
Kimi –
Which sensor should I use for CR-10 mini?
(0) (0) Watch Unwatch
Tim Hoogland –
18mm works fine for that machine and is a few $ cheaper.
(0) (0)
curtis.collins –
Thanks.
(0) (0)
vipergtsrrt10 (verified owner) –
this has helped me out with my cr10s s5…makes it where i dont have to live level the bed as it prints anymore…i have gotten a few for the printers i upgraded for Christmas presents…
(0) (0) Watch Unwatch
Question
Tori –
Can the EZABL pro kit be used on the new 2020 Creality CR10 – V3 with the new E3D Direct Drive Extruder ?
(0) (0) Watch Unwatch
Tim Hoogland –
The “V3” of the CR-10 is just the “V2” with the direct version pre-installed. You’d just set the esteps in our firmware (there is an option for those) and flash it like a “V2”. We’ll be adding in a direct drive option once we get their retrofit kit for ours so we can get the exact settings.
(0) (0)
Sean Bennett (verified owner) –
This was so easy to install on my Ender 3 Pro. It looks intimidating but it was a breeze. It took less than 10 minutes to install the hardware. The Firmware was so simple to flash and I have never worked with firmware before. The instructions are easy to read and follow with plenty of links to videos. The Z limit video was the best. The calibration took me a little longer, but that due to me missing a page in the instructions. Once I found what I missed I finished up the calibration in about 5 minutes. I like that I did not have to mess with my controlled board for any connections. I used the external power supply to make it even easier. Now I want one for my CR-10S. And an EZ board Lite when they become available. I passed your website on to a friend who has a small 3d printing business and is looking for quality upgrades.
(0) (0) Watch Unwatch
Nukuqua (verified owner) –
Cant fault the ezabl, took no more than 40 min to insall, works like a charm. Highly recommended. Only took 28 days to arrive to Australia.
Thanks TH3D
(0) (0) Watch Unwatch
Alex Eckman (verified owner) –
Great product, works well and easy to install!
(0) (0) Watch Unwatch
Tim Hoogland –
Sorry you are having a bad experience. The kit includes technical support. It’s probably something small being missed and our support team can help you out. Just contact them here: Contact Us Also, I see you do not have an Pro kit according to the order records. This page is for the EZABL Pro.
(0) (0) Watch Unwatch
Question
junaish –
I am planning to get this for both cr-10s and cr-10s pro. The cr-10s pro already comes with an auto bed levelling sensor. Will it be easy to just swap it out and place this in? Also, cr10s is 12v and cr-10s pro is 24v… Will that be a problem? One final question. There are two sizes. Which should I go for? I know it’s upto me, but which would be the right choice for both?
(0) (0) Watch Unwatch
orders-4044 (verified owner) –
I have had great luck with the ABL on my two Prusa printers and was looking for something for my Tornado. At first I thought about a mechanical sensor but really liked how accurate my Prusas are. So I purchased this and WOW! Absolutely accurate. I did not use their firmware because I have a Prusa extruder on my Tornado and made too many changes to the firmware. So after spending about an hour getting the firmware to work with this ABL I was up and running. I also really like the start script they recommend using, it is well thought out just like their EZABL! I can easily recommend this to anyone.
(0) (0) Watch Unwatch
cbt is my favorite kpop band –
This thing makes printing small precise models a breeze and their customer support is amazing and the instructions cover everything.
HOWEVER, some parts seem out of date, mainly the calibrating the sensor section because it doesn’t mention the green and red LEDs, also there is not a single video online explaining how to set up the current model not even from TH3D. Also “plug and print” isn’t accurate especially if your printer does not have a bootloader.
ALSO, BE EXTREMELY CAREFUL OFFSETTING ZERO, when I offsetted the zero the way shown in the video they provided via a link in the instructions it was so low it crashed into the side of the bed and when I pushed the bed down to move it out of the way the nozzle became buried into the bed leaving a small crater.
ALSO ALSO, the lid for the ezabl circuit board case is really hard to open when its shut so don’t close it until you are completely done
ALSO ALSO ALSO make sure you have the following because it isn’t in the base kit
mount (can be bought as an extra or printed)
Arduino uno with jumper wires and USB chord (can be bought as an extra)
hardware(can’t be bought as an extra, idk what type of screw it is but on an ender 3 the screw that fastens the back of the lid covering the motherboard fits)
(0) (0) Watch Unwatch
Tim Hoogland –
Thanks for the feedback. There is no video out specifically for the EZABL Pro right now. It sounds like you were looking at the old EZABL version installation guide. The one for the Pro is here: https://www.th3dstudio.com/hc/en-us/articles/360043726911
(0) (0)
Question
Brandon Bricker –
Can this plug into the BL Touch port on a Bigtreetech SKR Mini 3 V2.0? What do I have to do to use this?
(0) (0) Watch Unwatch
Tim Hoogland –
This would connect to the Z endstop of your board. You would set up the machine firmware with the manufacturer supplied firmware as if it did not have an ABL probe and then follow our Marlin setup guide here: https://www.th3dstudio.com/hc/en-us/articles/360043293552-EZABL-Firmware-Setup-for-Vanilla-Marlin
(0) (0)
Darrin Lee (verified owner) –
I have an Ender 5, and have been printing for a little over a year with it, and I wish this EZABL would have been my first upgrade. I now can crank out prints without wasting time trying to level my printer all the time, and still having some areas that just don’t stick very well. Shipping was super quick, and I followed all the directions and videos. The only issue I ran into was missing the part about adding new gcode into my Cura. As soon as I did that, everything has worked seamlessly. Do yourself a favor and get one of these. You will not regret it.
(0) (0) Watch Unwatch
Question
curtis.collins –
I plan to install the EZABL on an Ender 3. Which sensor do you suggest, the 12mm or 18mm?
(0) (0) Watch Unwatch
Tim Hoogland –
The ender 3 works great with the 18mm. The 12mm exists for some machines that don’t have the space for the 18mm version.
(1) (0)
badadz (verified owner) –
I have had this installed for a while along with the solid bed mounts from TH3D and like everything related to 3d printers there are some learning experiences.
1. It is easier and more predictable to use the printed gap tool located here to set the 2mm offset: https://www.thingiverse.com/thing:2984179
– With this, my z-offset is exactly “-2000”
2. While printing I noticed the offset changed over time – I put a dot of glue on the adjusting screw once I was happy with the initial offset and it has been steady since.
3. The larger EZABL is what I recommend (I have tried both).
4. Solid bed mounts are a must – (Those springs get out of alignment enough and the ABL is not going to be able to counter)
5. Octoprint and Bed Visualizer is also a must for any ABL – Try and get to 1 color prior to printing (I did not on first attempt and damaged my bed, but this was my issue with printer alignment and tensioning). Getting the eccentric not correct on the X-axis was one of my hurdles to this.
Manual bed levelling is a pain and causes so many failed prints. Get an ABL and once you dial in the right Z-Offset with this, it’s just click and print afterwards. I have friends with the BLTouch and while they are happy with it, I trust the proximity sensor approach better than a physical pin (We all know devices with moveable parts wear and eventually will fail). So I wrote the review like this to both recommend the device, the TH3d Company, and give some upfront tips that I hope will help you hit the ground running a little better than me.
(0) (0) Watch Unwatch
badadz (verified owner) –
Recommend
1. Printing the “EZABL Sensor Placement Assistant” from Thingiverse.
2. A dot of glue on the adjustment screw after you get the right offset (Vibration was changing mine over time)
3. Solid bed mounts
I have tried the mini and full and think the full was more accurate but maybe that was just me.
(0) (0) Watch Unwatch
jjflugum –
Couldn’t make it any easier
(0) (0) Watch Unwatch
Joseph Galloway (verified owner) –
This works very well. The setup was easy with the thorough installation guide & videos. I really appreciate this product. Great work!
(0) (0) Watch Unwatch
Elliot Moore (verified owner) –
TLDR: don’t waste your time with other bed leveling products or doing it yourself. Get this.
Ever know someone who tried to get into 3D printing on the cheap? Yep, that was me. I was the guy who tried mesh bed leveling and the cheap touch probes. Both worked for a while but eventually I had to babysit every print. I finally made the wise decision of buying the EZABL Pro. It’s night and day. Now my hobby is 3D Printing, not the 3D printer!
Buy it. You’ll burn through the equivalent cost of filament using something else.
(0) (0) Watch Unwatch
Question
Zachary Piazza –
What do I need to make this work for ender 3 v2? I already ordered the solid bed mount system. I thought I could use that with any auto leveling system. Clearly I should have read the inductions more clearly.
(0) (0) Watch Unwatch
Tim Hoogland (verified owner) –
You would just need the kit itself and either print a mount or add one on above.
(0) (0)
Perry Hunter (verified owner) –
Slightly tricky to get installed and calibrated, the Z-offset instructions are no longer corr3ect for the latest Unified Firmware release, but once I got that figured out it wasn’t bad at all. This and a z-axis sync belt for the CR-10S has made all the difference in the world, totally worth the time and money.
(0) (0) Watch Unwatch
Tim Hoogland (verified owner) –
Hi there Perry. Can you let us know what the issue is with the instructions so we can update them? The process should still be the same for Unified 1 and Unified 2.
(0) (0)
Question
wjhunt (verified owner) –
I purchased this (EZABL) for my ender3 v2. I see reference to printed instructions. Where can I get those?
(0) (0) Watch Unwatch
Tim Hoogland (verified owner) –
The directions are all online in our help center. The guide is here: https://www.th3dstudio.com/hc/product-information/ezabl/ezabl-pro-installation-guide/
(0) (0)
Question
j.a.taylor9559 –
Will the performance of the EZABL Pro be impacted if I print inside of an enclosure? Thanks!
(0) (0) Watch Unwatch
Tim Hoogland (verified owner) –
The EZABL Pro works fine in an enclosure. Just keep the enclosure air temperature at 70C or lower.
(0) (0)
Question
Bryan Hammons –
You state “No touchscreen models are supported due to their limited, closed source firmware.” The Kingroon KP3 is listed as compatible yet it uses a touchscreen. I have KP3 and would like to make sure it can be used on the KP3 b4 purchasing. Thanks.
(0) (0) Watch Unwatch
Tim Hoogland (verified owner) –
The KP3 is a special exception since its LCD is driven from the printer control board. It works with the KP3 when you use our provided firmware.
(0) (0)
todd schisler (verified owner) –
very easy to install tuning your printer is the hard part but that has nothing to do with the kit, the resources and customer service is next to none to both tune your printer and update your firmware and install the kit very good pictures a handy manual you can download the parts they offer to support your kit are well constructed Im extremely happy with the kit I received. If your having problems more than likely it in the tune of your printer so be prepared to have to go through your printer and make adjustments but it has nothing to do with how the kit works. I had a loose bolt I would not have found that took me a couple days to find but my printer is working better than it has ever worked and that was because of all the support reference material they offer in one convenient place and the advice of there tech support. the time they take to help in support of there product is truly a testament to the company.
(0) (0) Watch Unwatch
Question
Stephanie Young –
Will this kit work with the MicroSwiss direct drive kit on the Ender 5 Pro?
(0) (0) Watch Unwatch
Tim Hoogland (verified owner) –
Yes it will, the Microswiss direct drive works with the same mount as the OEM carriage.
(0) (0)
Question
JRangel (verified owner) –
What are the EZABL specific setting in Marlin to add to the firmware?
(0) (0) Watch Unwatch
Tim Hoogland (verified owner) –
See our article here that covers that: https://www.th3dstudio.com/hc/product-information/ezabl/advanced-setup/ezabl-firmware-setup-for-vanilla-marlin/
(0) (0)
Jon White (verified owner) –
After spending many hours trying to get another bed leveler to work on an ender 5 pro with the 4.2.2 board I finally gave up and purchased the ezabl pro. Using the th3d firmware I was printing within 30 minutes. Fantastic product with easy to follow instructions.
(0) (0) Watch Unwatch
Question
trevordhovis (verified owner) –
Is it not possible to buy the small board that comes with this kit. Both of mine are damaged, not from use but from moving. Sensor is fine, printer are fine. But the small board is damaged.
(0) (0) Watch Unwatch
Tim Hoogland (verified owner) –
We do not sell them separately on the website, but if you contact support with the order numbers and proof of the damaged boards they can set up a custom order to get you some new control boxes to replace the ones that got damaged in a move.
(0) (0)
Aaron Alfred (verified owner) –
I’ve been pulling my hair out with this darn BLTouch for months now and found out about this so I decided to give it a shot. This is hands down the best thing I’ve purchased for my 3D printer! Along with the firmware my printer is printing in a quality I have never seen come off of it before. Even decided to put the sticker over the ender logo because this machine is now a TH3D product (lol)
Photo has been removed
(0) (0) Watch Unwatch
Question
williamforest28 –
Is there a difference in sensor quality between the pro and pro mini? I already have a direct drive on the ender 3, so the mini would make more sense for weight reasons. What do yall think?
Thanks
(0) (0) Watch Unwatch
Tim Hoogland (verified owner) –
Both sensor sizes are made by the same place, the quality is the same. The only difference between the 2 is the size. We use the same electronics and fully shielded cabling on both. Both sensors also use the same control box as well to drive the sensor.
(0) (0)
Derek Macias (verified owner) –
I was struggling using the bltouch and other firmware and maintaining a level bed and zoffset. Combined with the solid bed mounts, this solved everything for me. And the lcd conversion with the Unified Firmware makes tuning this printer so much easier.
(0) (0) Watch Unwatch
Question
Shane Durham –
Other than the size; is there any performance difference between the 18mm and the 12mm sensor? I’m going to be putting this on the Ender 6 and I figure a smaller size (less weight) would be better.
(0) (0) Watch Unwatch
Tim Hoogland (verified owner) –
There are no performance differences between the 2 sizes. We use the 18mm on our Ender 6 and it works great! Make sure to get the Ender 6 LCD conversion to use the EZABL with that machine.
(0) (0)
Question
rich.magda (verified owner) –
Can EZABL Pro be installed on a Voxelab Aquila by following the Creality Ender 3 V2 installation? Does the LCD screen need to be changed?
Thanks!
(0) (0) Watch Unwatch
Tim Hoogland (verified owner) –
We haven’t started “official” Aquila support yet nor do we have a mount for it right now, but some users have swapped the LCD to the Creality 12864 with our Ender 3 V2 conversion guide (link) and flashed it as an Ender 3 with a V4.2.2 board. Now we have not personally tested this approach, but it does seem like it would work since the Aquila board and settings are the same as the Ender 3 with the V4.2.2 board.
We will be doing development work on the Aquila in 2 weeks once we finalize the new Unified 2.0 update. Once that update drops, we will post a timeline for the aquila as we did for the Chiron in terms of update plans.
(0) (0)
Question
98daman (verified owner) –
Would it be possible to add a way for the software to detect the size of a part and change the area probed by the sensor? For example, if I only need to print a part with a footprint of 10mmx10mm I would only need a small area leveled rather than the entire bed. This would in turn decrease the extra time added to the overall print time.
(0) (0) Watch Unwatch
Tim Hoogland (verified owner) –
Marlin does not support that at the current time, which is what our firmware uses.
(0) (0)
Question
Mike Naumovski –
I was planning to install the EZABL on my Ender 3 MAX and was wondering which one would work better with it if anyone has already done this with the same printer?
(0) (0) Watch Unwatch
Tim Hoogland (verified owner) –
The 18mm sensor will work perfectly on the 3 MAX. 🙂
(1) (0)
Michel (verified owner) –
Je viens de l’installer sur mon imprimante Sunlu S8 en suivant les conseils de la Team.
C’est vraiment bluffant comme résultats la mise à niveau est ultra rapide et précise les impressions sont top.
C’est largement supérieur au BLtouch qui équipe ma Ender 3. Je pense équiper ma ender prochainement.
Un grand merci à TH3D.
(0) (0) Watch Unwatch
Question
Wayne Windsor (verified owner) –
I’m installing this on my E3pro with SKR Mini E3 v2, so building my own Marlin is a necessity.
Question about bed heating while probing:
I see multiple references of “heat the bed up before probing,” which makes a lot of sense and that’s how I’ve been operating so far.
In page for “Vanilla Marlin,” for Configuration.h we have “#define PROBING_HEATERS_OFF”
Is this necessary? With this setting, my bed will be at different temperatures between the beginning of the grid probe and at the end of the grid probe. I prefer 5×5 mesh probes.
(0) (0) Watch Unwatch
Tim Hoogland (verified owner) –
The bed doesn’t rapidly cool down. You can try with and without and use the M48 test to see what config provides better accuracy. It was more important to use those heater cycle settings on our older kits but the Pro kits don’t get bothered by the heaters.
(1) (0)
Question
Yu-Bing Chang –
1. When installing EZABL, what is the minimum distance recommended to be kept between this sensor and the hotend (assume hotend operating at 300C under 60C of environment)
2. What is total length of that black threaded mini 12mm sensor body?
Thanks.
(0) (0) Watch Unwatch
Tim Hoogland (verified owner) –
We’d recommend keeping it at least 10mm from the hotend heater block and using a silicone sock on it. 60C ambient is no issue for the sensor.
As for the dimensions we have CAD models on the site here for free: https://www.th3dstudio.com/hc/product-information/ezabl/advanced-setup/ezabl-pro-fusion-360-models-12mm-18mm/
(2) (0)
Patrick Euler (verified owner) –
This has been a complete change in printing for me. I had previously had many problems with my bed being warped and could not compensate for it (changed the bed a few times). After installing the EZABL I have had great first layers that are uniform and have not had any issues with any of it. Took a little bit to work things out, but after finding the right z-offset it has been outstanding. I should have gotten this a year ago and saved myself a lot of headaches!
(0) (0) Watch Unwatch
Donnie Boger (verified owner) –
After fighting a warped heat bed on my CR-10 mini I decided to bite the bullet and order the EZABL Pro. Seeing as I already updated my board to the Creality 4.2.7 and updated the firmware to the TH3D Unified. I followed Tim’s video on youtube to a “T”, recompiled the firmware, and now I’m getting perfect first layers. I’ve only been printing for 2 months now and Tim’s videos have helped me out a lot! I will be ordering 3 more EZABL kits for my other printers.
(0) (0) Watch Unwatch
Kevin Jones –
After getting a little help from Tor & Peter, I was able to get the EZABL Pro working perfectly! This is by far the best upgrade I installed on my Ender 5. Once the bed is trammed and a few checks of your machine to ensure everything is square and all the fasteners are tightened up, and you’ve updated your firmware to enable the EZABL, you’re on your way to setting it up. Not being 100% sure that I had everything correct and an issue I had with the firmware, I contacted the help center. Tor & Peter both gave me the answers I needed which helped me finish the install and setup.
I can’t recommend this product enough!!!! Don’t be like me and wait, get this ASAP for your new or existing printer to help you ensure your bed is trammed for every print.
Hats off to Tim, Tor, Peter, and the whole team at TH3D Studio!!!!
(0) (0) Watch Unwatch
Question
pwong591 –
Does this kit work for the CR10 Max? I see that the CR10 Pro(and the Youtube tutorial video) has similar hardware to the CR10 Max but I don’t see the CR10 Max under the list of supported devices.
If the CR10 Max is compatible, what if any special steps would I need to take in order to complete this install?
(0) (0) Watch Unwatch
Tim Hoogland (verified owner) –
We don’t support the CR-10 MAX as the LCD mounting is different from the Pro.
(0) (0)
Dylan Rainey (verified owner) –
I’m very impressed, got my EZABL Pro installed super easy, works great, and the dumdum and “happy Valentine’s day” stamp was a nice touch :). I’ll definitely be back in the future!
(0) (0) Watch Unwatch
wmpotts (verified owner) –
I despise the bed on my CR-10 leveling it is a nightmare. Its a slight u shape and I can never get the corners and the middle. I decided to upgrade the board and install Auto bed leveling I am a pessimist by nature so I had very little hope this would actually work as good as it is made out too. I have to say after installing it and then going back to actually read all the way through the install guide. It work and it works flawlessly.
Just don’t do what I did and forget to add the gcode to your slicer. Turns out it wont work so well if you don’t.
(0) (0) Watch Unwatch
mark.klabunde (verified owner) –
So I was using a BL-Touch and changed over to this OMG this is so much better. I do like that it’s silent and quick. Was quite easy to install on my ender 6. Ran the cable through the tube was able to push it through without any trouble. Hooked it up to the power supply and the z stop and adjusted it just like the video said to do. I like that everything you need is included with the product. Hell they even include the screwdriver to adjust the sensor 🙂 . Installed VS code didn’t have the check mark so went on the site and looked up how to install vscode and it stepped me right through. Easy pezy. Configured my settings (easy everything is commented in the firmware as to what each area does) Thanks Tim for a great product. Going to have to order a second one for the ender 3v2.
(0) (0) Watch Unwatch
Question
x2th (verified owner) –
I am installing an EZBoard V2 and an EZABL Pro on my Ender 5 Plus. I am using EZFirmware to generate my firmware. I think I know how to answer all the questions EZFirmware is asking me, except one: Which ABL_MOUNT do I select? There are many choices in the list, but none seem to match what I have. (Apologies if this is answered in some doc that I have not found yet…) Thanks!
(0) (0) Watch Unwatch
Tim Hoogland (verified owner) –
Hi there, we don’t do technical support over product questions. Please contact our support team on our contact page here: Contact Us
(0) (0)
Question
william johnston –
i wanted to know if the ezabl pro 8mm will work with a really strong magnetic bed, its a very strong magnetic bed much stronger than the magnetic sheets u can buy and stick on
(0) (0) Watch Unwatch
Tim Hoogland (verified owner) –
All our sensors work with strong magnetic beds. They are used on printers with strong embedded magnets like the Daedalus.
(0) (0)
Question
Eliseo202 –
what is the difference between the 18mm, 12mm, and 8mm probes? is there any difference in accuracy or reliability?
(0) (0) Watch Unwatch
Tim Hoogland (verified owner) –
All the probes are the same in terms of accuracy and reliability.
(0) (0)
Question
e.tomczak –
If 70C is max bed temp, how do you print ABS at 90?C
(0) (0) Watch Unwatch
Tim Hoogland (verified owner) –
Nowhere on the page does it state a max bed temp, you can use the EZABL with ABS bed temps with no issue. The temperature rating on the page is for the ambient temperature of the air around the sensor, NOT your bed temp.
(0) (0)
mark anton (verified owner) –
I own several ezabl on different machines. They work great, every time. Tim has made the firmware east to use amd provides us with EXCELLENT instructions. Name another company that does what th3d does and they will have my business also.y only regret is not having enough friends in 3d printing to tell them about th3d.
(0) (0) Watch Unwatch
slongalphaimaging (verified owner) –
Won the sensor on a recent steam on Hot Makes thanks for sponsoring the stream received it today super easy install and setup a lot faster than my BLTouch and I feel more accurate as well thanks again
Liked it so much I bought one for my Ender 5 Plus so much faster than my BLTouch
(0) (0) Watch Unwatch
Emerson Corder (verified owner) –
An absolute must on any printer. Easy to install and calibrate. Faster than and MUCH easier to install than the BLTouch.
(0) (0) Watch Unwatch
Question
Bryan Fissel –
Do you know when you might have more EZABLs in stock?
thanks
(0) (0) Watch Unwatch
Tim Hoogland (verified owner) –
We should have more on 2/14/23. We’re enabling the ability to backorder it today.
(0) (0)
Question
Paul Wolochow –
I already upgraded my Anycubic Chiron with the LCD conversion kit and running TH3D firmware. Anyone with a Chiron who added the EZABL and find it helpful?
(0) (0) Watch Unwatch
Tim Hoogland (verified owner) –
We’re running it in ours here in the print farm. Not many people use the discussion section on here so I don’t think you’ll get a non-staff reply haha.
(0) (0)