-
×
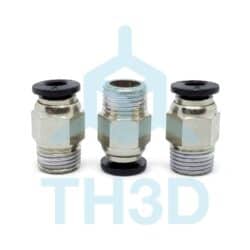
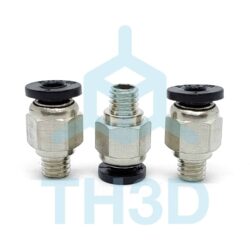 Tough PTFE PC4-M6 Fitting - 3 Pack
1 × $4.99
Tough PTFE PC4-M6 Fitting - 3 Pack
1 × $4.99


(25)
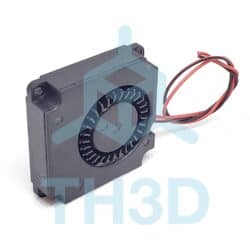
$4.99
(18)
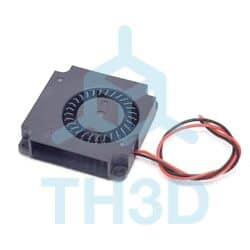
$3.49


(5)
$4.99
(4)
$4.99
Sale!
(3)
Original price was: $9.99.$3.99Current price is: $3.99.
(7)
$8.99
(4)
$4.99